Antique Workbench Transformation
 Sep 18, 2012

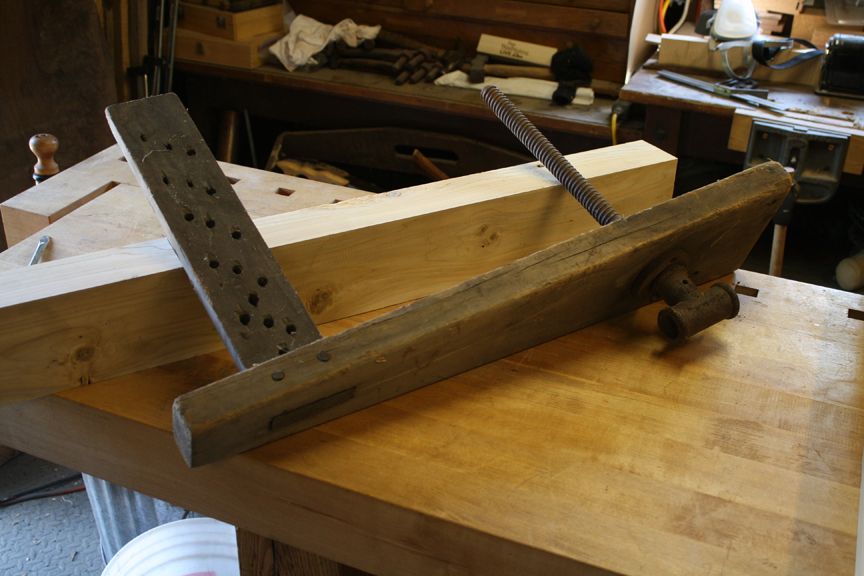
Here's a photo of the chop that I incorporated into the leg vise. It came from a metal screw leg vise, which was missing the nut.

I had an old workbench that was pretty solid, but lacked vises. I also had an old wood screw vise that was lacking a bench. After searching ebay for a few months, I came across a wood screw tail vise that looked like it would make a good match. Follow along to watch all the parts come together as they transform into a “new”, old bench.
-
Here's a photo of the chop that I incorporated into the leg vise. It came from a metal screw leg vise, which was missing the nut.
-
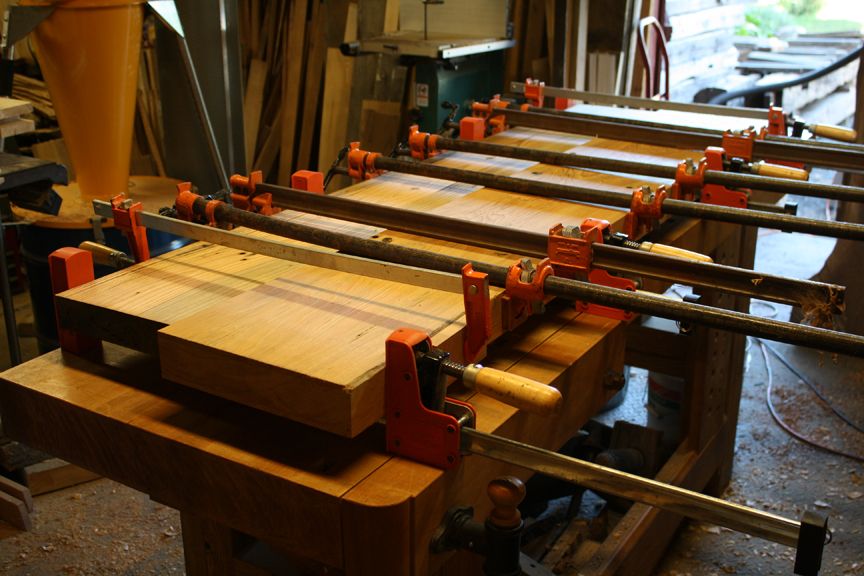
One yellow pine plank from the benchtop was too cracked and rotted to re-use. I had an old painters scaffolding plank made of Cyprus in the shop, and went with it, even though it's a little soft for a bench top.
-
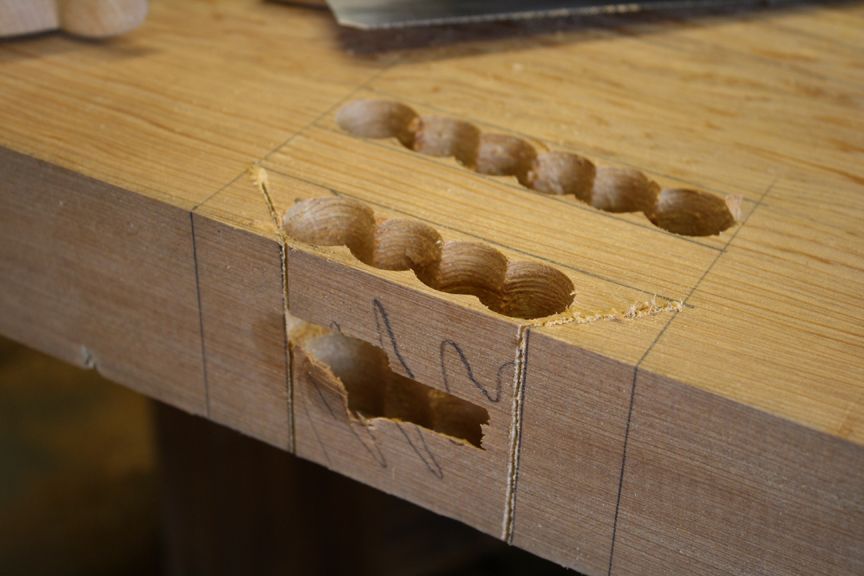
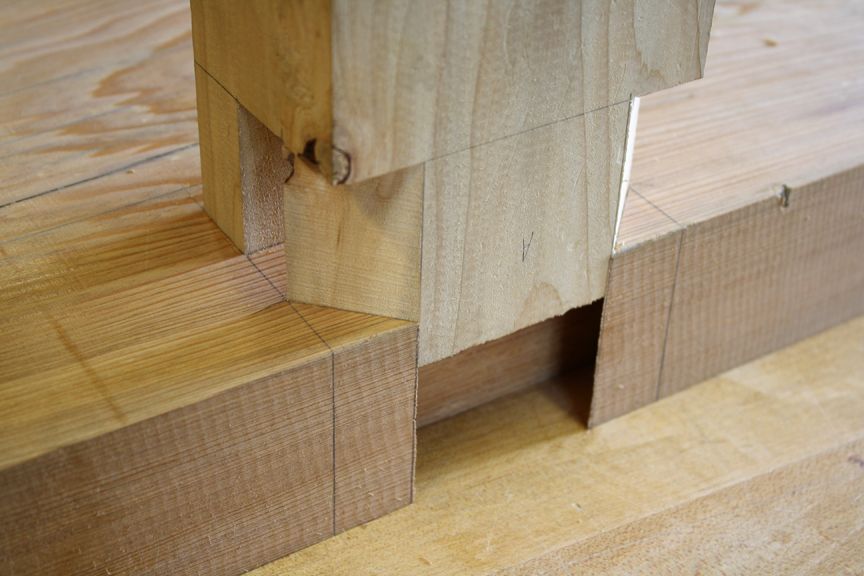
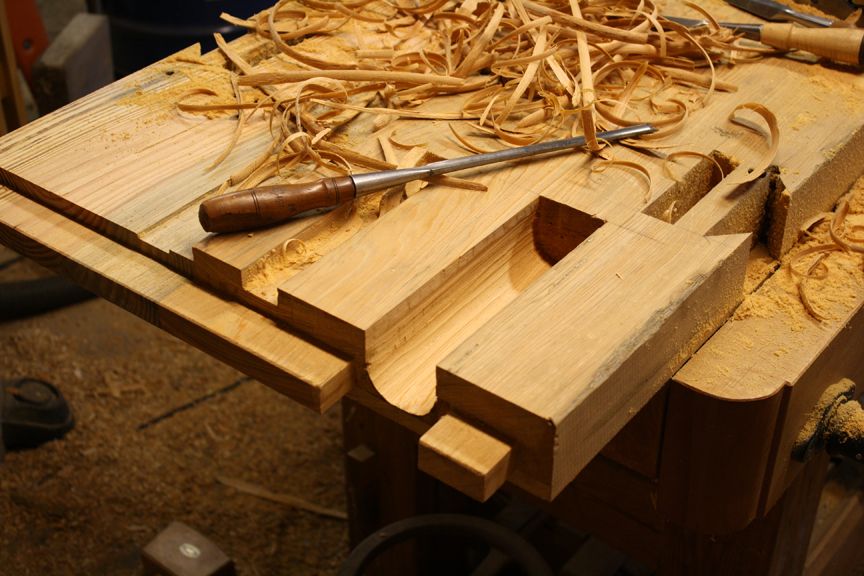
To cut a roubo style leg-to-top joint, I started with a forstner bit in a cordless drill. Then a hand saw defined the angles of the edge mortise.
-
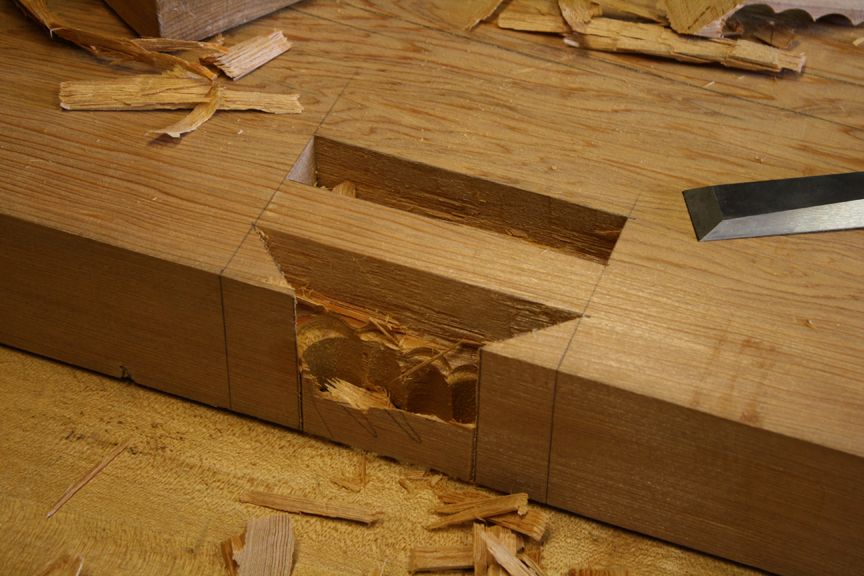
And a chisel cleaned up all the mortise walls.
-
This joint was fun to cut and fit.
-
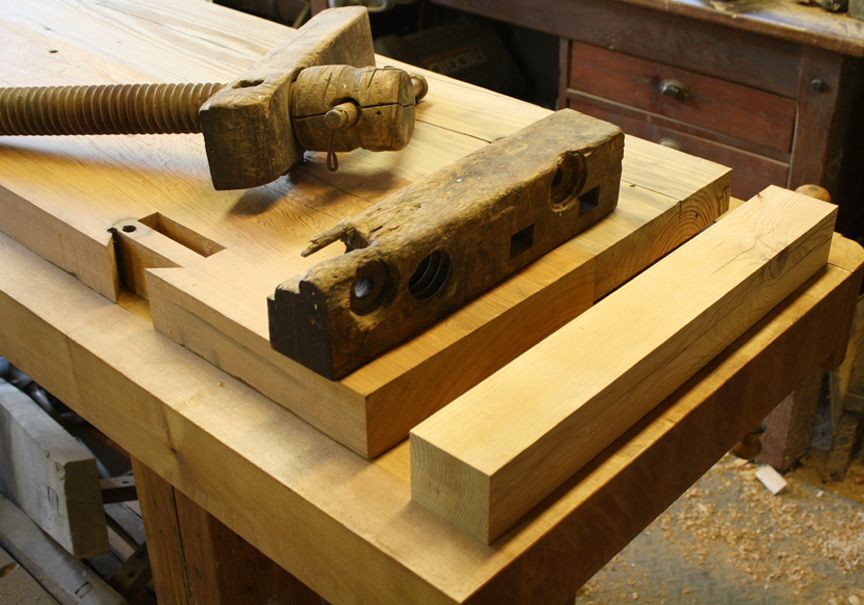
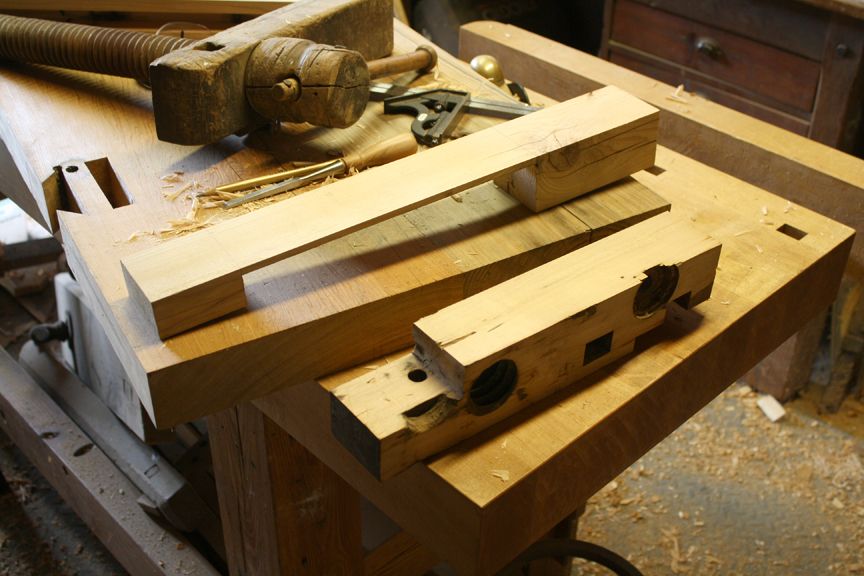
All the parts for the tail vise modification.
-
Part of the original tail vise block was missing a chunk from the corner, so I made a "shell" out of yellow pine that would extend to the full width of the bench. It wraps around the maple block that contains the threads for the screw.
-
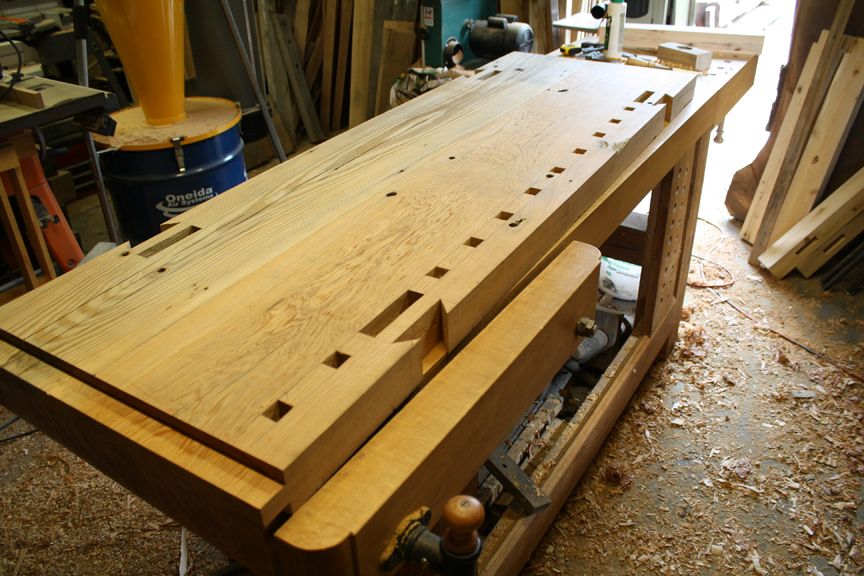
After the leg mortises were cut, I layed out and chopped all the bench dog holes.
-
For the leg vise, the original wood threaded block was squared up and recessed into the back of a new leg.
-
A recess was cut in the bottom of the top for the tail vise screw. Most of the waste was removed with a router, then a long gouge rounded things out. Next, I just need to clean up all the parts, glue the base together, and attach the vises.
-
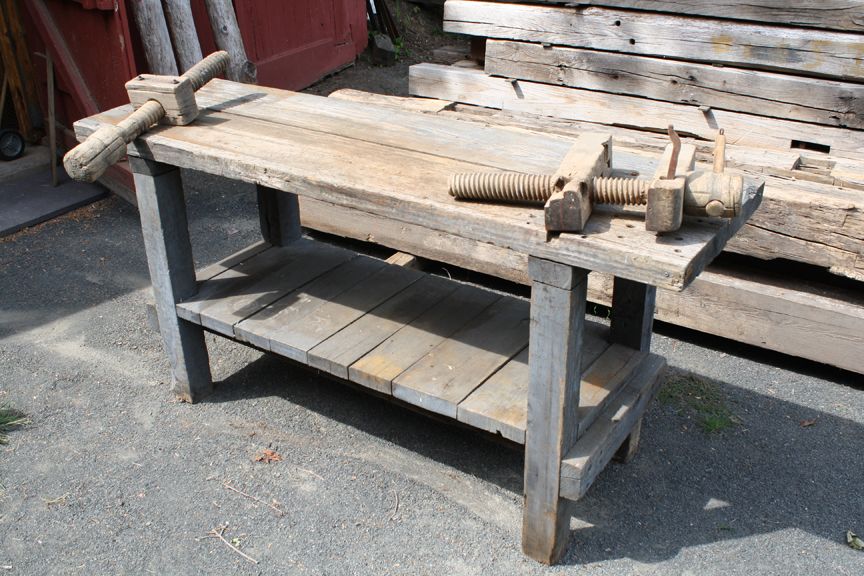
Here's the old bench and the antique wooden screw vises that will all be combined.
-
The first step was to dissassemble the bench and figure out which parts would be re-used and where.


Comments
Enjoyed this article.
Thanks
Nice transformation. I noticed you will be installing a leg vise. In my shop, that's my favorite the leg vise.
http://www.woodworkingwithajo.com
Guys: I look at your articles on my iPhone. Try it sometime and see if you can think of ways to make it better. Please.
davidpugh3, some of those new phones are nice, but I think if you look at these articles on a desktop computer, you might like it better. As for the article itself, I think it's a good idea to take some old tools, in this case a workbench, fix what needs to be fixed, and use it again for its intended purpose. Really cool article.
Looks like you did an excellent job with the restoration. I'm working on building my own workbench now. Having fun.
That is one impressive piece of work. Being able to use such a thing of beauty is a mighty reward for hard labor.
I always appreciated seen antique tools that makes there marks being treated with such respect. This is just great.
Log in or create an account to post a comment.
Sign up Log in