Hawaiian Steel Guitar Project – Part 2
 Jul 23, 2012

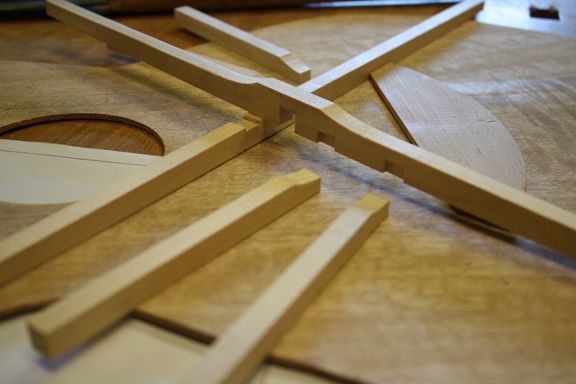
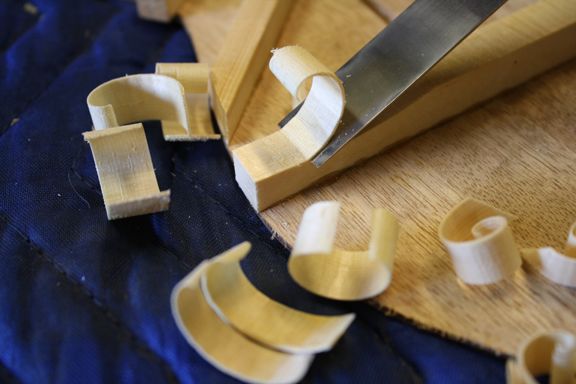
Detail of the lap joint at the center of the x-brace.
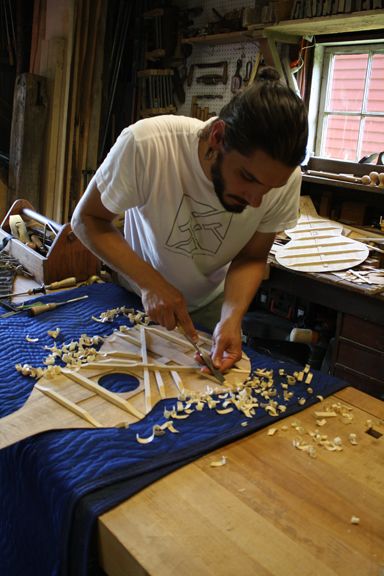
The hawaiian guitar project is coming along. In Part 1, we covered jointing the plates for the top and back, side bending, and inlaying the rosette. This blog covers the carving of the spruce bracing for the top. Probably the most enjoyable step of the guitar building process, for me. Because of the carefully selected straight grain of the spruce, a sharp chisel will go exactly where you will it to go. And it even smells great!
-
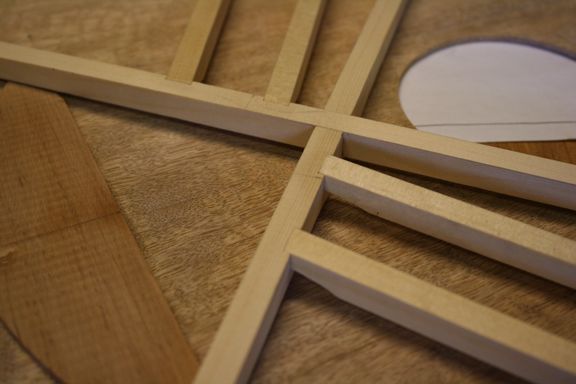
Detail of the lap joint at the center of the x-brace.
-
The underside of the x-brace get a small mortise for the finger braces.
-
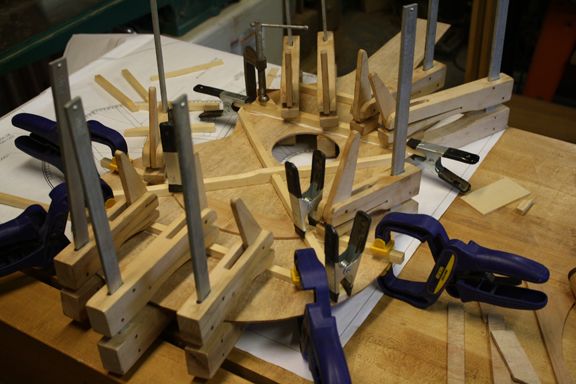
With all the braces cut, the bridge plate and one of the straight braces at the top get glued on first.
-
Then the arched x-brace gets glued on.
-
Then a few more straight braces.
-
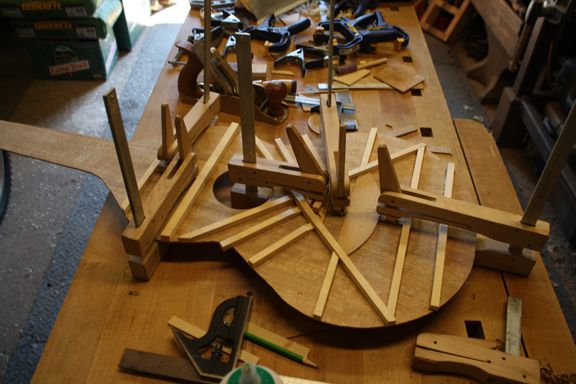
When all the spruce brace braces were attached, I glued on small, cross-grain pieces of Mango to reinforce the center joint.
-
The last glue-ups on the soundboard are two small bars to reinforce the soundhole.
-
Now the fun part. Carving the straight grain spruce braces.
-
Sharp chisels help out here. The ends of the braces get shaped down to about 1/8 inch thick, where they will be mortised into the kerfing.
-
The completed carving on the top braces.
-
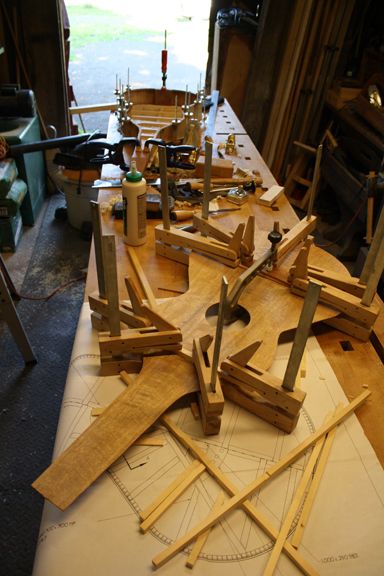
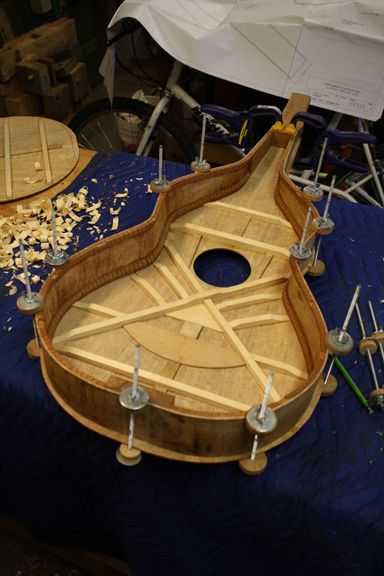
Here is a photo of the top in place after the braces have been notched to fit the kerfed lining.
-
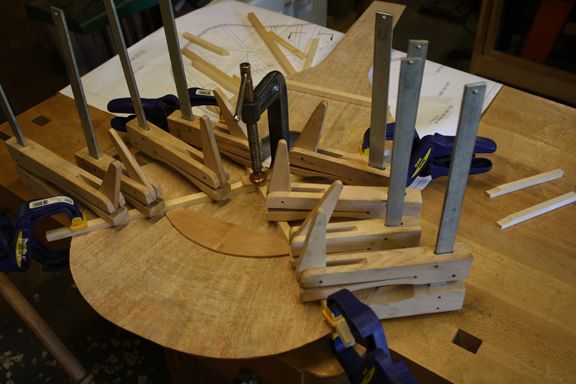
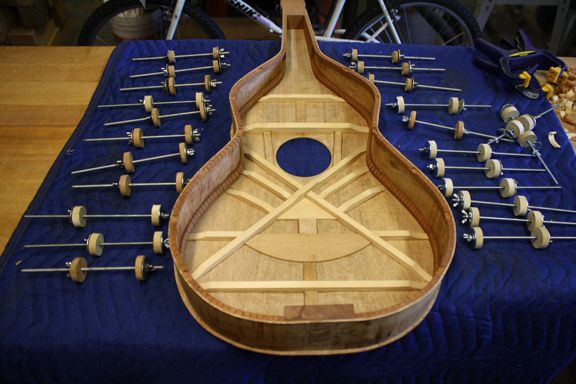
Ready for glue-up.


Comments
John,
You need to put your camera on a tripod, close down the aperture, and increase the exposure time. ;-)
-Steve
Pah! And when would he have time to actually build the darn thing??? Just kidding. Always a pleasure, saschafer:)
Ed
Log in or create an account to post a comment.
Sign up Log in