
Occasionally, I’m faced with creating a cove cut on a Cornice Molding. Sometimes, I will use a table saw to cut out the cove shape and waste. Although there are formula for determining the fence angle, I prefer a table saw set up based on modeling in SketchUp.
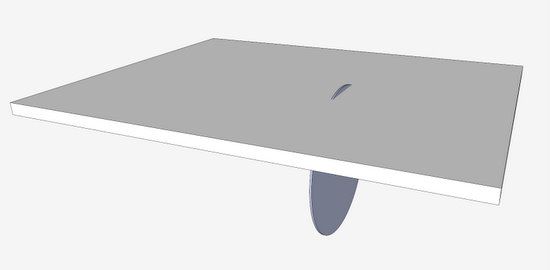
The first step is to model-up your table saw. This can be a very simple model including only the table top and the saw blade. I make the model dimensionally equivalent and locate the blade with respect to the table top. This allows me to use dimensions, rather than angle only to locate the fence. Here is a photo of my simple model.

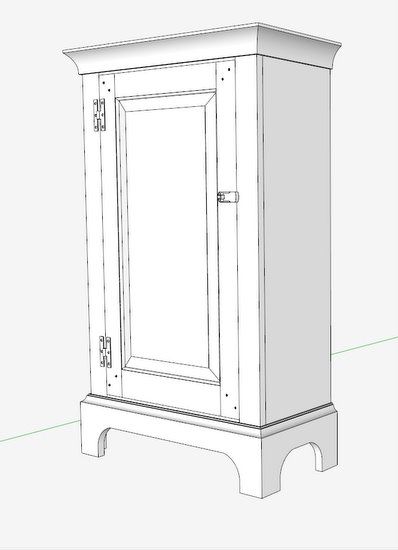
I’ll show you how I determine the table saw set up in the following six-minute video. As an example, I’ll use the Cornice Molding for this Colonial Cupboard.

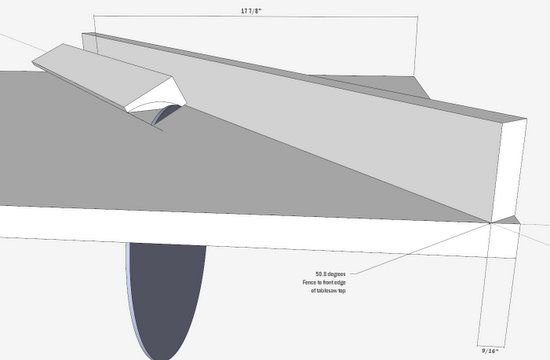
Here is a photo of the Cornice blank against the fence that is located by dimensions off the table top edge.

With settings of Parallel Projection, X-ray, and Front View, here is a view showing how the blade matches up with the cove shape. Note how the cornice blank is up against the fence to the right.

The actual cuts on the table saw are done with multiple passes at incremental adjustments in blade height.


Comments
I was very pleased to see this brief tutorial as I was wondering how to do this just a few weeks ago. The process didn't seem to work until I realized that the saw table and saw blade needed to be grouped for the rotation to produce the desired effect. Once I had that resolved it worked like a charm.
DennettFarm: yes, you're right that the blade and table top must be "grouped". I should have made that clearer in my presentation.
Thanks for the feedback.
Tim
Tom, that is a really slick and simple way to set up the table saw for a cove cut. I don't do this often, and it has always been a fussy operation , but no more. I have used Sketchup for other table saw setups, and will add this to the armamentarium. Thanks for the tutorial.
Log in or create an account to post a comment.
Sign up Log in