Padauk and Maple LED Dining Light
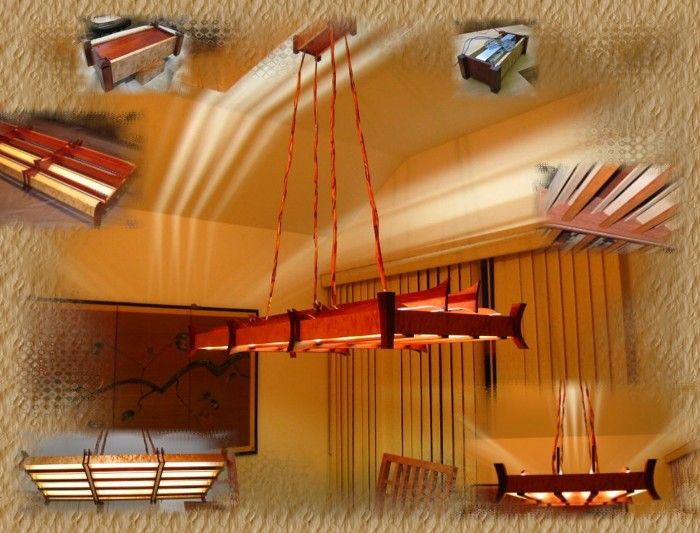
Padauk & Maple Dining Light
This is an Asian inspired dining room light fixture. The lighting is high-density LED, (4) 4′ strips inserted in a dado in each of the padauk strips on the bottom of the fixture.
Directly above the LED strips sits two figured maple reflectors angled at 30 degrees. The reflectors are highly polished to increase reflectivity. As the LED required a transformer, I built a ceiling canopy to house it and had to build a shop-made bracket for it. To hide the supports, I wrapped curled bamboo around the support and electrical cabling. I also made a custom wallplate for the dimmer switch from padauk.
The perimeter is made of quilted maple, the reflectors of high figured maple and the remaining is padauk. Through mortises were used for all assemblies except the corners. The maple perimeter pieces were dovetailed at the corners and inserted into mortises in the curved padauk corner pieces. There is a total of four screws (brass) for the maple inserts in the wiring chambers (between the large padauk pieces.)
Finish is BLO and satin lacquer, except the reflectors. The reflectors were finished with high gloss lacquer and polished with rottenstone to a mirror-like finish.
-
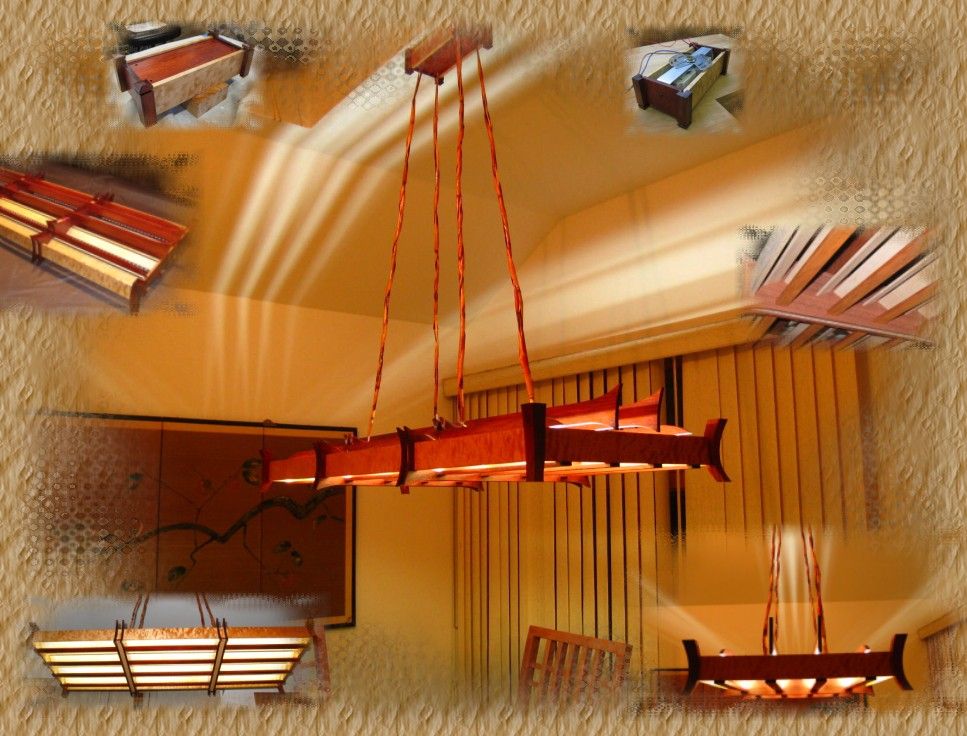
Padauk & Maple Dining Light
-
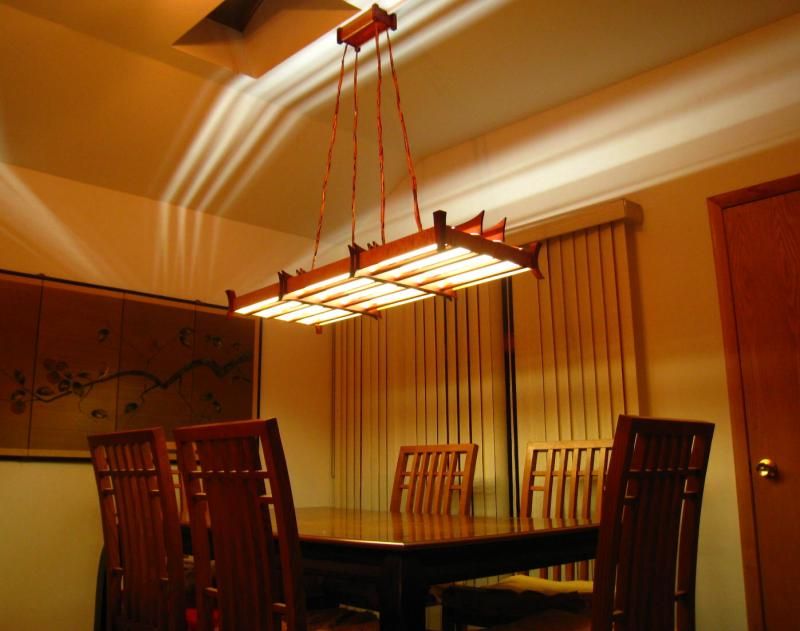
Completed project
-
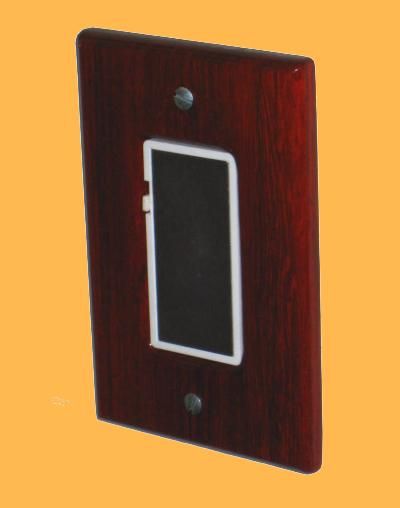
Dimmer coverplate


Comments
I watched as Julie took this commissioned piece from concept to reality. She took the customers rough sketch, quickly drawn on the back of a business card, and designed a work of art.
The customer's home is done in a Japanese style, so Julie designed this fixture to suit the room and home. She designed it first on the computer using an AutoCad program, but tweaked it as she assembled it in the workshop.
The final beautiful fixture that you see here is the result of over a hundred hours of painstaking trial and error, including having to redo the support pieces and refinish the underside in a glossy finish to provide for better illumination.
I'm so proud of Julie for the end result you see here. The customer was ecstatic with the finished product. I can see why!
Log in or create an account to post a comment.
Sign up Log in