
Japanese Chisel Tuneup: Setting the Hoop
In the final part of this three-part series, learn how to set the hoop on the chisel handle.
 Jul 06, 2012
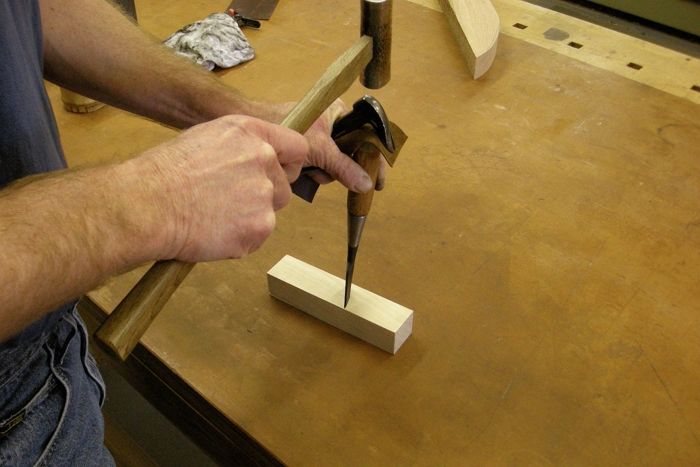
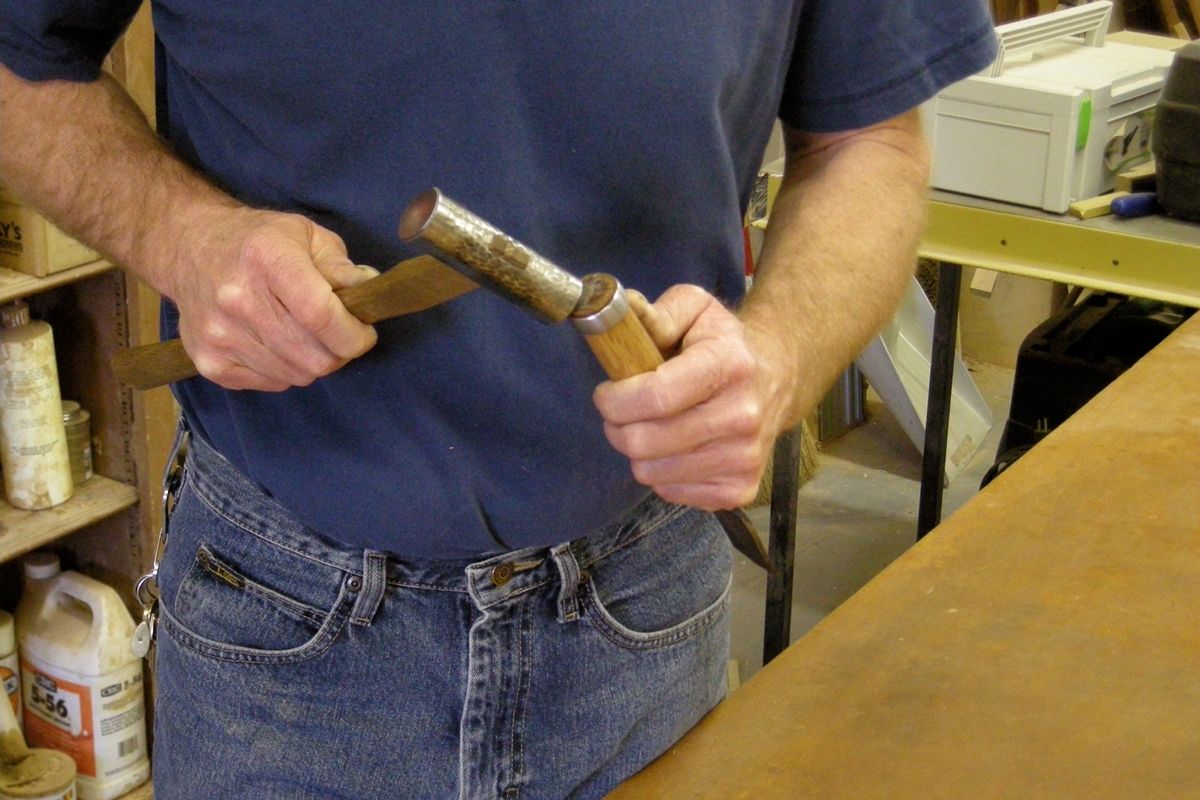
Using a nail puller padded with a piece of leather to drive the hoop onto the handle.
Setting the Hoop
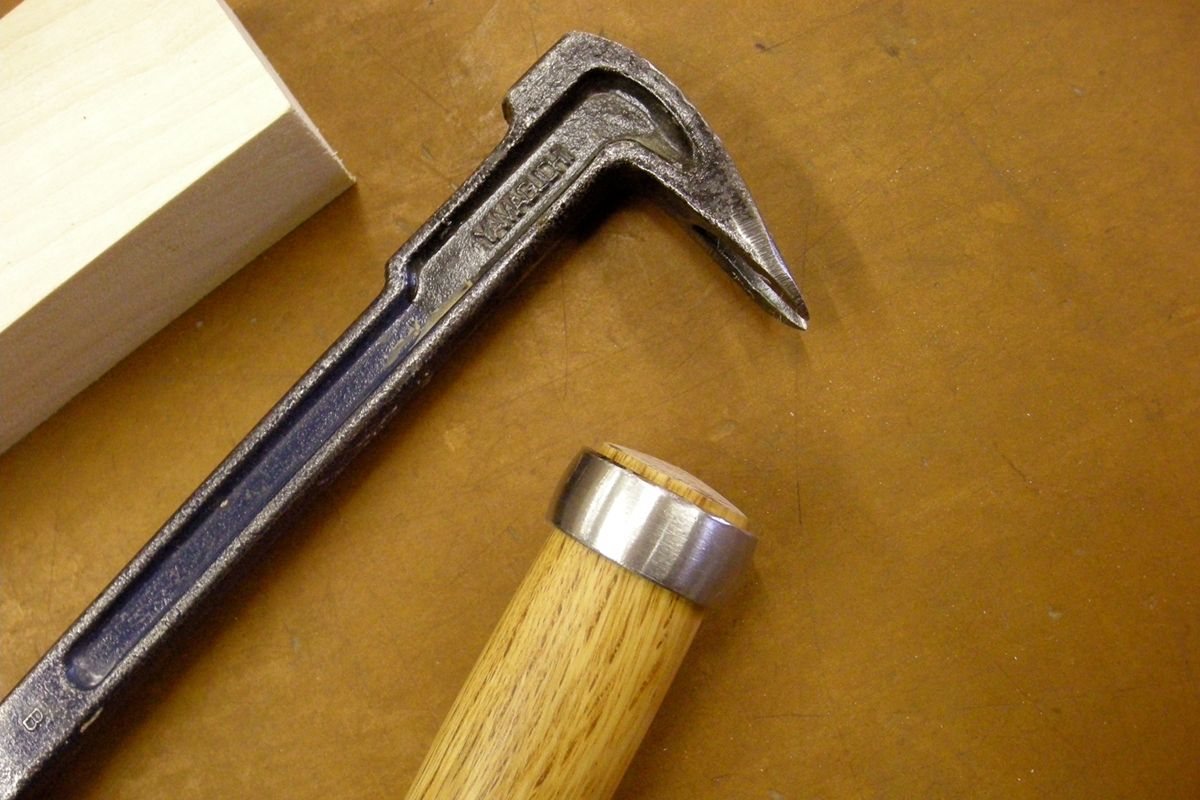
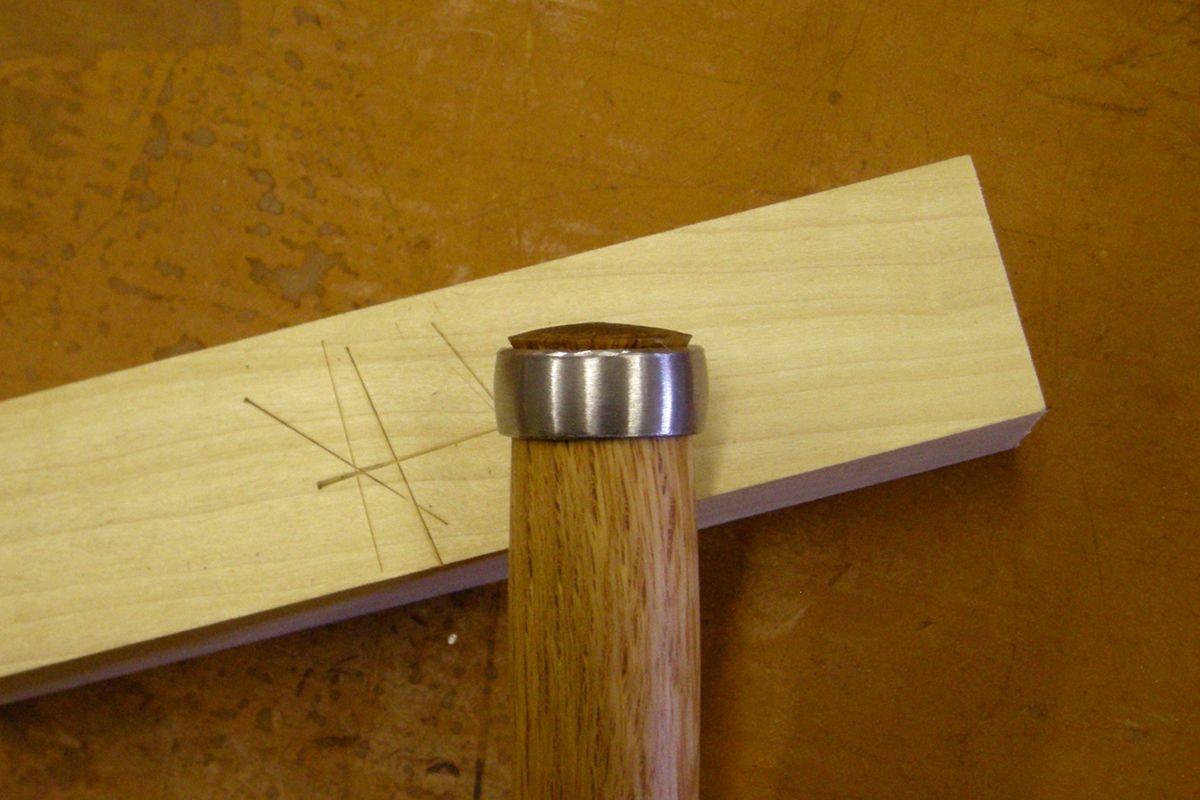
Setting the hoop consists of three main steps: cleaning up the inside of the ring, setting the hoop, and peening over the end of the handle. Start by filing or sanding any ridges or rough spots off the inside of the hoop. Next, if the hoop is made so that one opening is larger, place the larger opening over the end of the handle first. Set the hoop on the handle by tapping around the circumference. Alternatively, you can drive it in place with a nail puller, but you may want to pad the ring to prevent the nail puller from marking up the hoop. I have also seen a conical hoop-setting tool advertised on various tool sites but have never used one.
Peening over the Handle
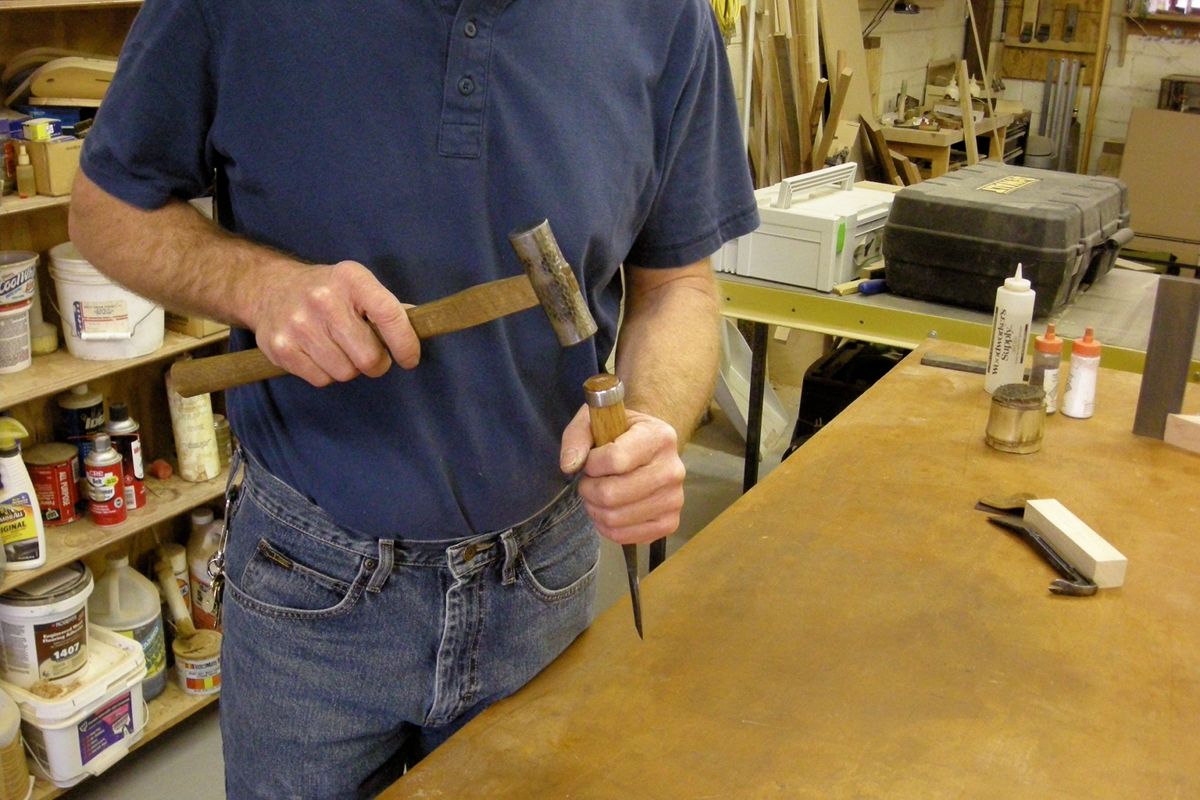
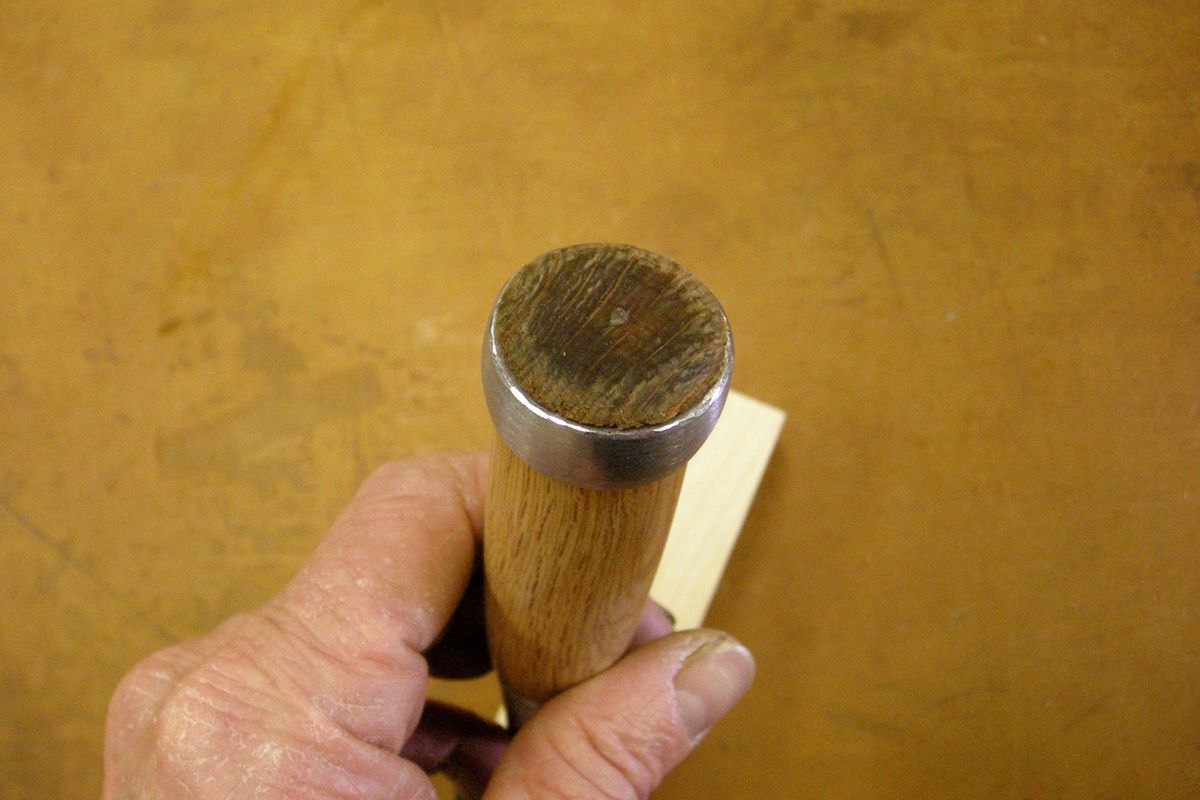
With the hoop set 1/16 in. to 3/32 in. beyond the end of the handle, soak the end of the handle in water for ten to fifteen minutes. With the nomi held in the air, peen over the softened fibers with glancing blows. Work from about a third to halfway in from the edge. Striking firmly, rotate the chisel and work the fibers a little bit at a time. Progressively work to the edge, striking more lightly as you proceed so as not to break or cut the fibers. With a properly set hoop, the mushroomed-over wood will continue to drive the hoop down the length of the handle over the life of the tool.
Summary
The steps need to tune up Japanese bench chisels require a little patience and practice. On the surface, the fact that the chisels don’t come ready to use out of the box seems in conflict with the expected experience of purchasing a new quality hand tool. However, most tools need some setup, and the process offers opportunities for personalizing. How oire nomi are sharpened, have their backs conditioned, and their hoops set can be unique to and revealing of the woodworker and the type of work that he or she does.
The order of steps I describe in this three-part series and the particulars of any individual step may differ from other sources or other craftsmen but should be helpful to the uninitiated and encourage any woodworker to give Japanese chisels a try. The effort is well worth the years of heavy and precise work these tools are capable of. Please let me know if the above information has been useful or feel free to write me with any questions. You can contact me at [email protected].
-
Using a nail puller padded with a piece of leather to drive the hoop onto the handle.
-
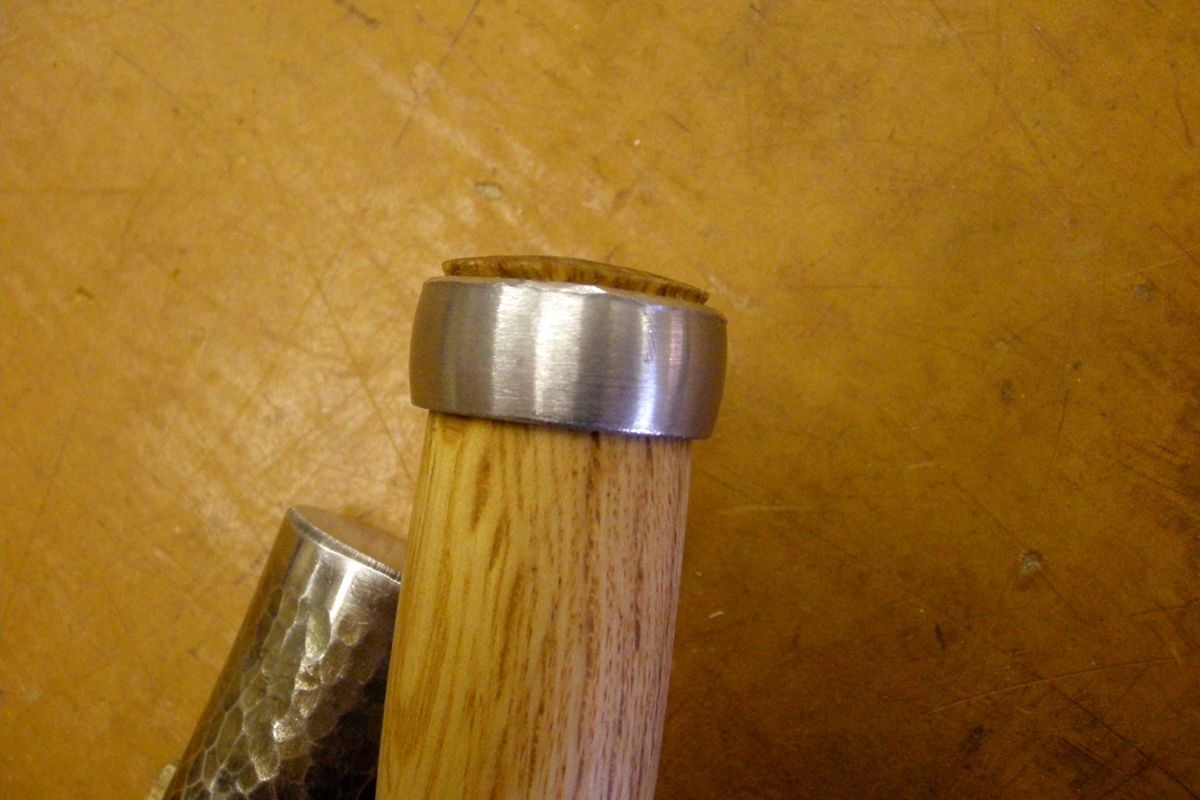
Hoop set 1/16" to 3/32" from the end of handle.
-
Firm glancing blows will gradually spread the wood fibers.
-
After striking from about 1/2 to 1/3 from the edge.
-
Increasingly flared end of handle.
-
Lighter strikes around the handle edge.
-
Handle end smoothly peened over and ready to use.


Comments
I bought a japanese chisel on ebay awhile back and the blade was in great shape but the handle needed to be replaced. It has the socket but no kazura (hoop), so is there anyone out that can tell me where i can buy some replacement hoops and sockets?
Log in or create an account to post a comment.
Sign up Log in