Build a 20-minute tool tray for go-to tools
 Nov 17, 2011

I also used a hot melt glue gun to fill the voids in the sides and beef up the bottom of the rope.
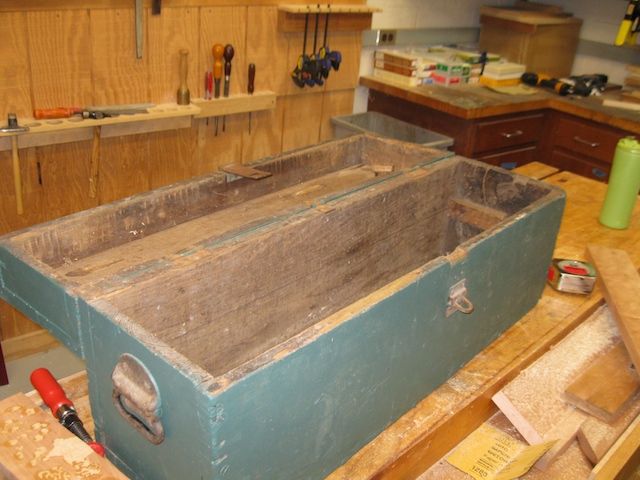
I was given a quite old, wooden tool box a few months back and have been anxious to put it back into service. But I was unsure how. It was big, musty-smelling, painted in an unflattering green color and in need of a tool tray. At first I considered scrapping it, and using the wood to build a new tool box. But on the advice of reclaimed-wood aficionado (and my cubicle neighbor) John Tetreault, I decided to air it out, clean it up and add the tray. In the end, it took only 20 minutes of work–not including the air-out time–to get something that I have been very pleased with. It’s where I keep my shop essentials now.
Airing it out was easy. All I did was leave it open beneath the desk in my climate-controlled office here at FWW. Tetreault has another cool trick to help, too: You can add the dessicant packs from clothing or shipping packages to help with drying. He says he uses them all over his shop to ward away moisture. I left it there and forgot about it for a few weeks. Then I cleaned all of the surfaces with Murphy’s oil soap. It seemed to resolve any residual musty odors.
The tool tray came next. That’s where the 20-minute rule comes in. Like a lot of woodworkers I’ve met, I have a tendency to get carried away when it comes to projects. At this very moment, I have several unfinished projects in various states of completion. Among them: a complicated, frame-and-panel toolbox, that I have been intermittently working on since August. It’s nowhere near ready, but my need for tool storage is immediate. For a change, I decided to build something quick and simple. So I capped the time for this tool tray project to 20 minutes. And in deference to the philosophy of using reclaimed materials, I limited myself to whatever I could find at the office. I considered it a woodworking challenge: A build-off against procrastination.
Time check: 20 minutes. I raided the sizable off-cuts rack here at FWW. Fortunately it’s shared with the Fine Homebuilding staff, so there are always a few longer, house-appropriate sized pieces kicking around. I grabbed two pieces of stock, one vaguely mahogany-ish looking and another that was some species of oak. The mahogany piece was long enough for three sides, and the oak became the fourth. They had been milled previously so I didn’t bother jointing or planing. They were close to the same thickness and that was good enough. The clock ticked steadily.
The bottom? Hmm… tougher. The only piece on the premises that was large enough–about 6 in. wide by 30 in. long–was a piece of 1/2 in. MDF. It was glued to the bottom of some tossed out table saw jig an anoymous woodworker left in pile. I was hoping for plywood or hardwood, but none was around. Oh well: In woodworking, as in life, you build what you can with the stock you have on hand. And there was only 17 minutes to go.
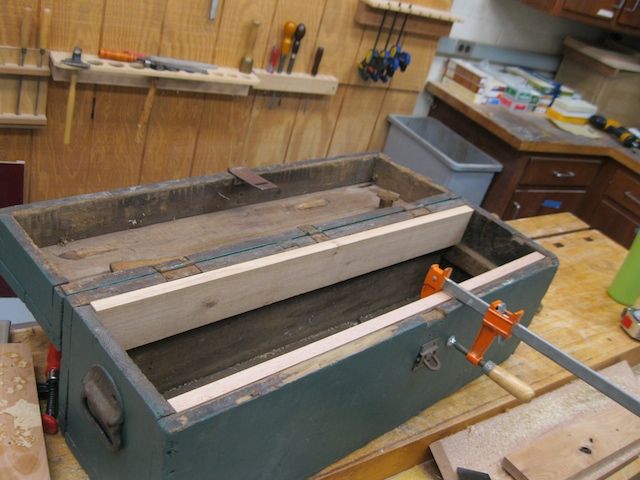
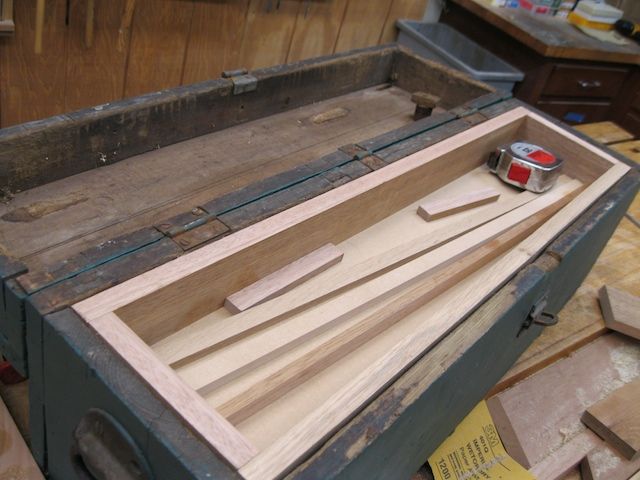
I took some quick measurements by laying the MDF on the box and cut it to size at the table saw. The box already had cleats so I just rested it on them. Then I clamped the side pieces in place around the inside edges of the tool box, and used a pencil to tranfer the dimensions onto the end pieces. I ripped the pieces to equal width and then cut them to length. I saved the offcuts, which I plan to use for dividers.
Eight minutes in and it was time for joinery. No time for anything fancy so I settled on butt joints, reinforced with 18-gauge brads. I nailed the four sides by bracing them against a jointer fence. Then I attached the MDF bottom by tacking it in place with the nailer, and reinforcing it with wood screws that were removed from some other scraps. I left the MDF a little bit short, length-wise, to accomodate for the handles. At T-minus seven minutes, I popped it in the tool box and checked the fit.
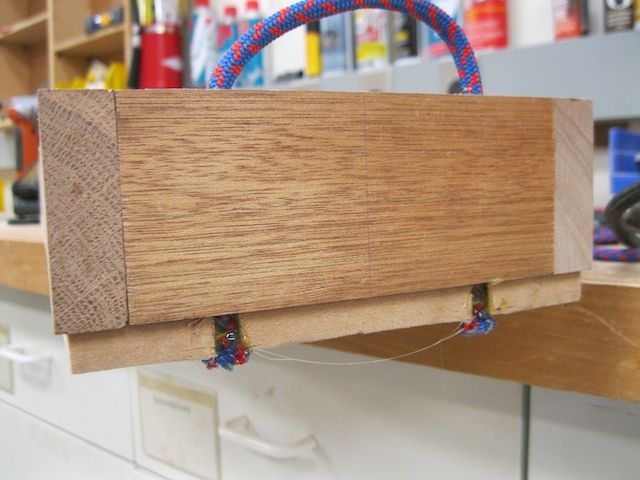
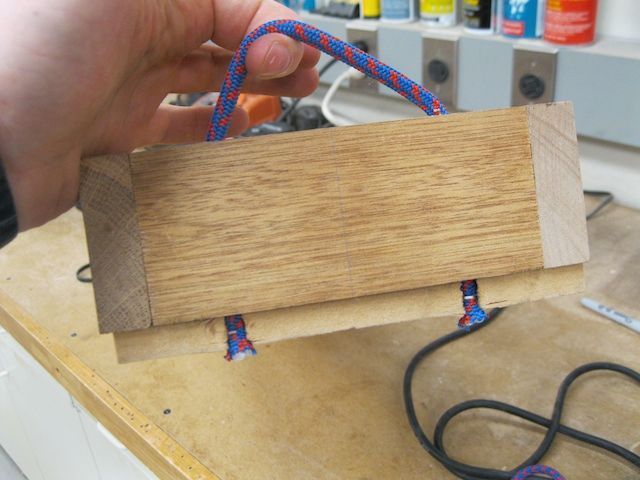
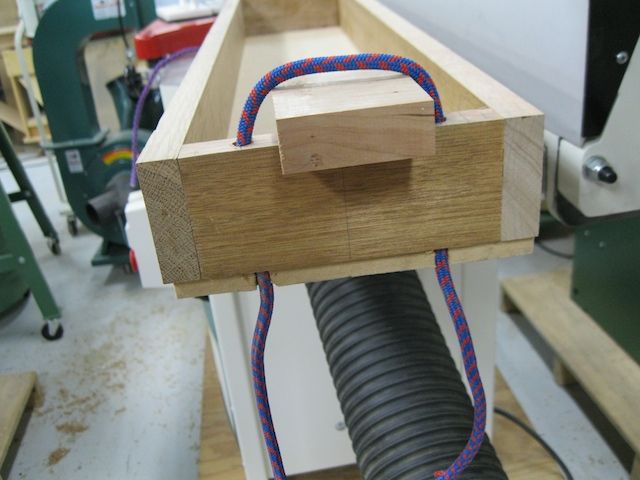
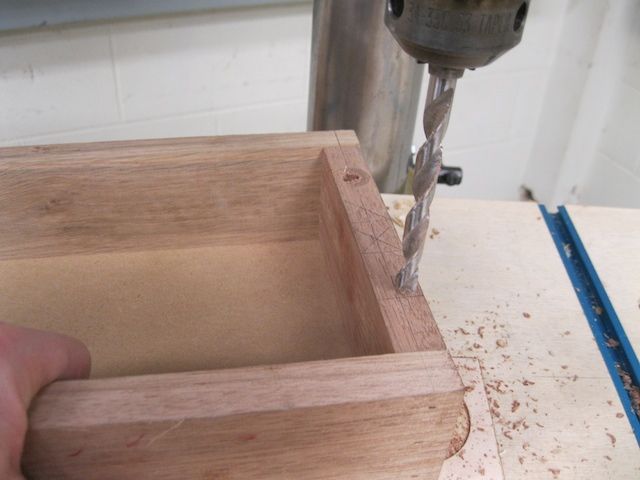
For handles, I grabbed a piece of rope from the back of my car. At the drill press, I made a pair of holes in each of the short sides, just a little bit wider than the diameter of the rope. I strung the rope through the holes, and used a block of wood as a spacer to keep the openings the same. I tacked the ends of the rope to the bottom with a pneumatic stapler. Then I used a hot-melt glue gun and filled the voids at the bottom of the drill holes to beef up the bottoms of the rope handles.
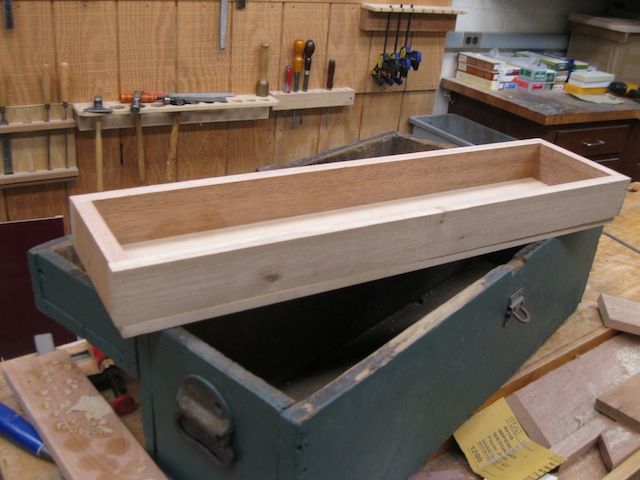
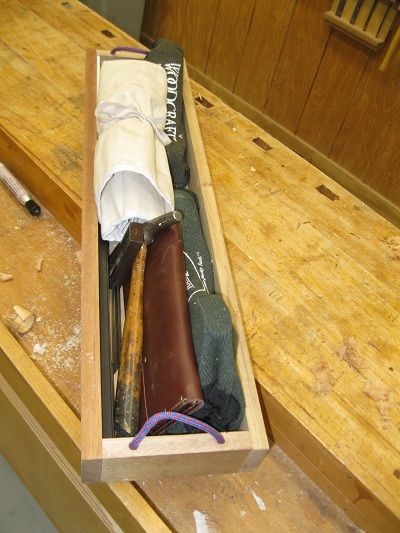
The tray is big and sturdy enough to hold most of the tools I really need when I’m back in the shop at FWW. At the moment, that includes three hand planes, a roll of chisels, a scraper and burnisher, a file, a tack hammer, a marking knife, small combination square and a few other items. It’s been a nice easy way to keep my go-to tools at the ready.
-
I also used a hot melt glue gun to fill the voids in the sides and beef up the bottom of the rope.
-
I tacked the bottom of the rope with a pneumatic stapler.
-
... and then used a piece of rope. Use a wood block as a spacer to keep the handles the same length.
-
For the handles, I drilled a pair of holes in each end...
-
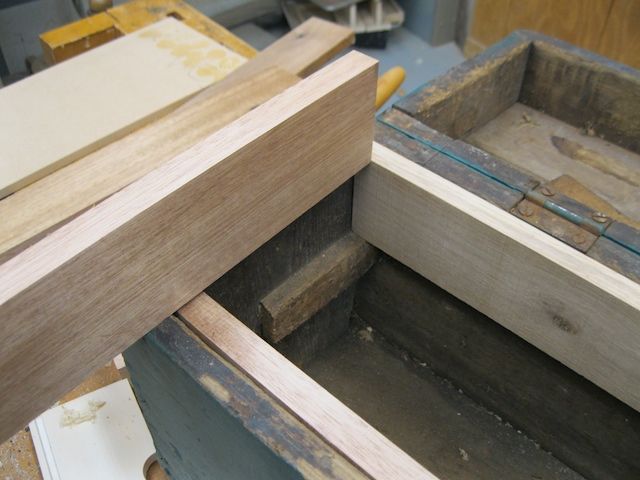
The tray fit well the first time--even though the tool box is nowhere near square.
-
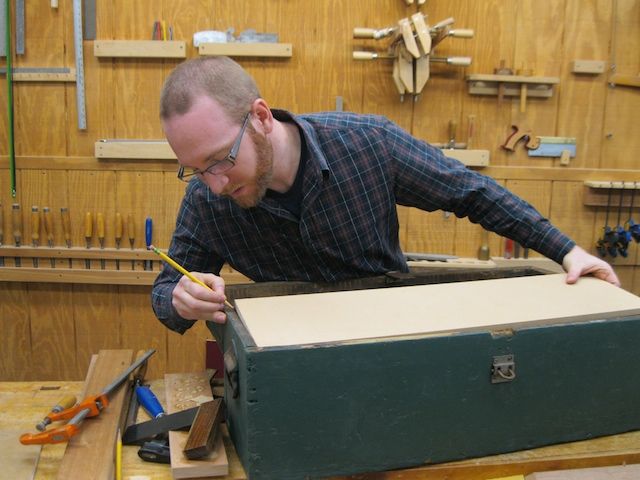
I used a pencil to mark out the MDF bottom, and cut it at the table saw.
-
I marked and cut the smaller sides after clamping the larger ones.
-
I clamped the long sides of the tray to the inside edge of the tool box, and used them to mark the small sides.
-
I after drying out this old tool box, I cleaned it with soap and water to remove the musty odor.
-
I saved the off-cuts from the sides. I may use them later on for dividers.
-
The tool tray holds three planes, a roll of chisels, and a few other hand tools. It's a nice caddy to keep around the shop and store in the tool box.


Comments
perdon por la falta de participacion en comentarios, no hablo ingles. pero les comento lo siguiente; con su informacion en las tecnicas tan avanzadas que tienen en carpinteria , he aprendido a hacer carpinteria de manera mas profecional. gracias.
atte.
adalberto (gringoadal)
Hei,
MDF in a old toolbox...
I know you were limited by time but anyhow!
BR Simo
Nice inspiration for me! I have 2 old trunks that were my father-in-laws. in bad shape, & been raking my brain -what to do with them. 1 of them went with him to basic training in the start of WWII, & the other might have been HIS father's, from when he came over as an Eng. orphan around 1900. It seems a shame to toss them! They are old, wooden, -the adventures they went through. So maybe,clean & varnish the outside, & pad the bottom for a coffee table in the living room, or bedroom box? OR put shelves in them & hang them on my garage wall, as a storage box with a door (to keep out dirt & sawdust), or lock on it to keep "my" Kool tools in it! (calipers, fav. tape measure, Eastwing, leather handle 12 oz. hobby hammer, etc.)
Being a quintessential pack-rat myself- NEVER throwing anything away I think this is a perfect adaptation where art follows form and necessity.
Nice work, Ken
I envy you; if only I could be as defiant to my procrastination as you are...that would have taken me 2 days; not 20 minutes...should I do it this way? nah that would look better...but how would it work if that was like this?
you catch my drift.
I thought that the title of the magazine was FINE Woodworking. As my screen name indicates, I have done my share of slapped together projects and jigs that were made up of scraps and mismatched wood. I have never been compelled to take pictures of them and write a how to article about them. I think that the woodworkers that read shoptalk can probably make a box of this caliber without any directions.
Yes - this is relatively simple, but remember... to learn one must do. Not everyone is a "FINE" woodworker the first time they try woodworking. Small wins builds confidence and a passion to try something more difficult.
OK, it only took 20 minutes. But it's clunky, and its something you have to look at every day. Worse, I didn't learn anything new--I'm already pretty good at "unfine" woodworking.
I freely admit to enjoying the quick and dirty as much as the slow and Fine. For me a lot of the fun is to make something useful using materials otherwise headed for the scrap bin or woodstove. It challenges my ingenuity to figure out how to make the best use of the materials at hand, and the finished product is the more fun to use as a result.
Log in or create an account to post a comment.
Sign up Log in