
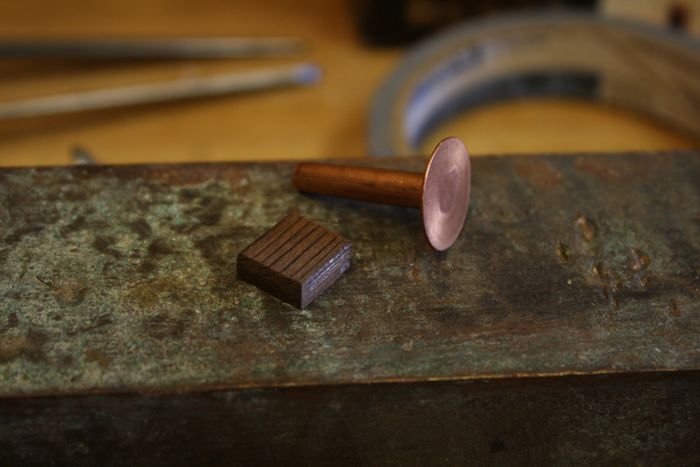
Here are all the parts you need: a copper rivet and a tiny piece of wood. I used a 1/2 in. square of redwood to contrast the birdseye maple cabinet door. The redwood was a scrap from the ship-lapped back of the cabinet.
I thought I’d share this idea for a door pull I made recently. It’s no more than a copper rivet hand-hammered around a square of wood, and epoxied into a tapered hole.
Here’s how I did it
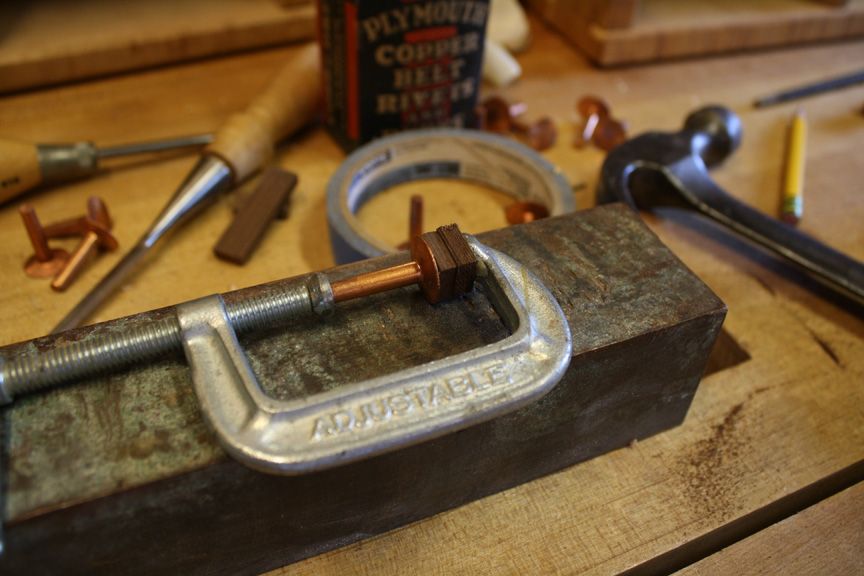
With the wood clamped to the copper rivet using a c-clamp, I hammered down all four sides of the rivet’s head, where it protruded past the small wooden block. This serves to pinch the wood into place. Now with the pull clamped to your bench, you can add a small chamfer around all four edges of the wooden block and install. It’s that simple! See my photos for more detail.
-
Here are all the parts you need: a copper rivet and a tiny piece of wood. I used a 1/2 in. square of redwood to contrast the birdseye maple cabinet door. The redwood was a scrap from the ship-lapped back of the cabinet.
-
Clamp the wood to the rivet and use a second square of wood as a little caul.
-
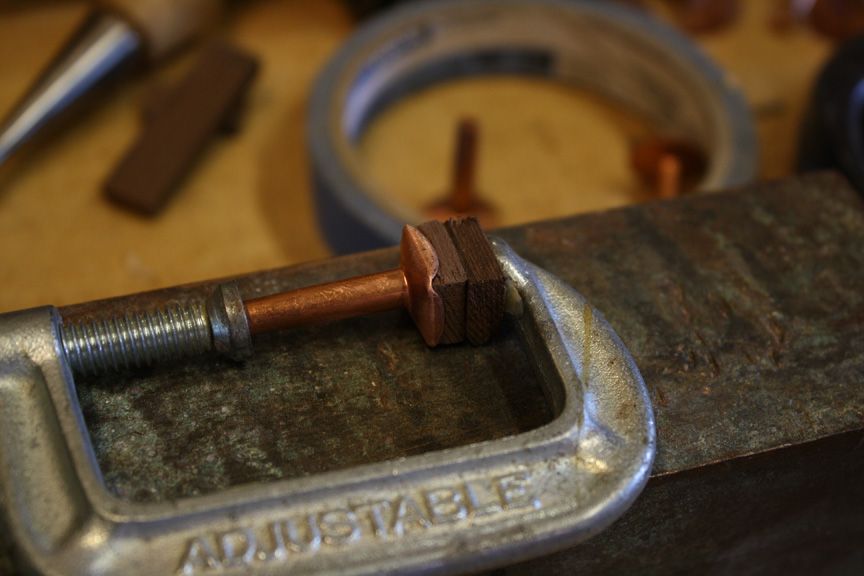
Hammer all four sides to pinch the piece of wood in place.
-
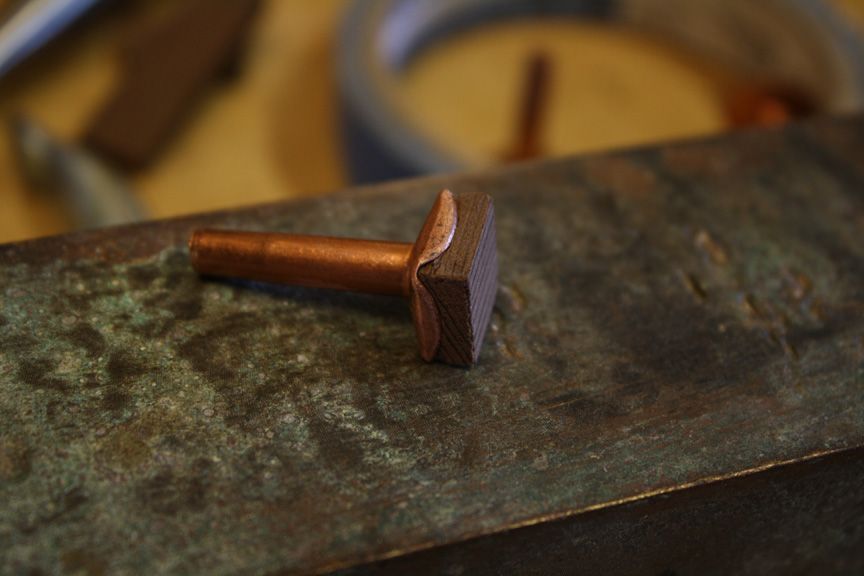
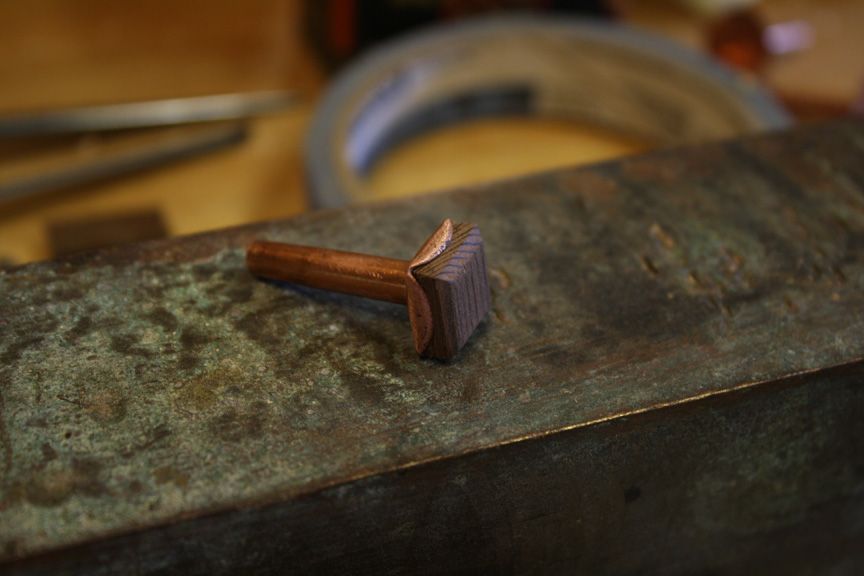
Here's a photo of the rivet out of the clamp, holding the little block of wood.
-
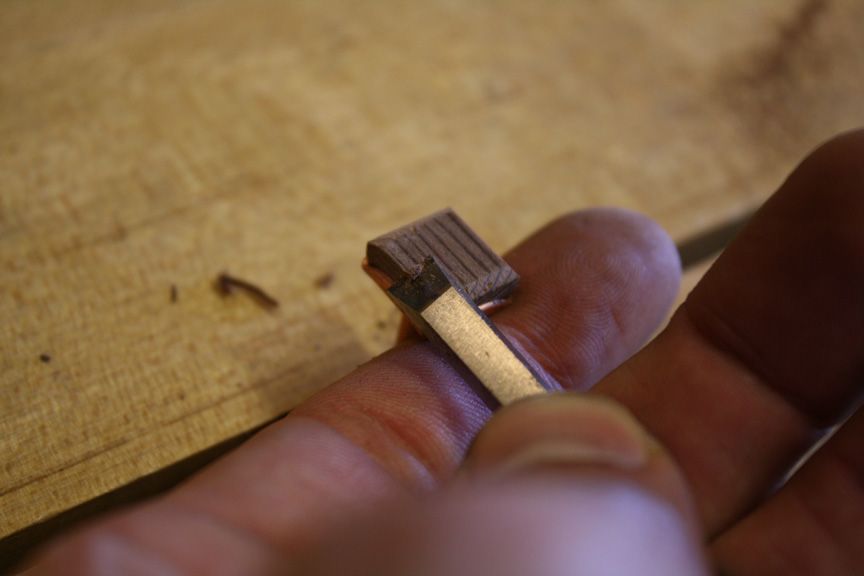
Put the rivet in a vise and add a tiny chamfer detail.
-
Drill a hole in the door the diameter of the bottom of the rivet. (In this case, 3/16" diameter and 1/2 in. deep.) Use a tapered round file (In this case, a chainsaw file) to get the rivet to seat at the depth you like.
-
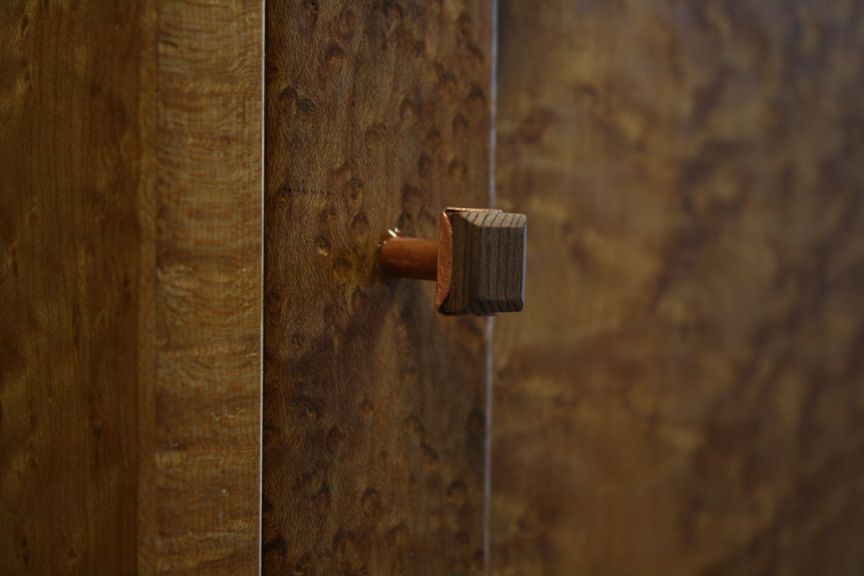
Add a bit of epoxy and push the pull into place. An adjustable wrench helps align the square with the door style.
-
The finished pull.
-
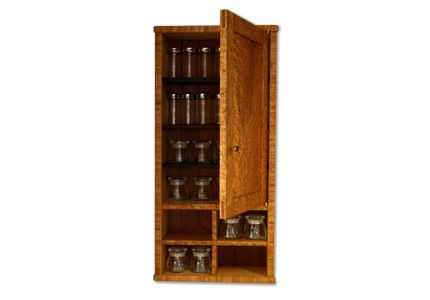
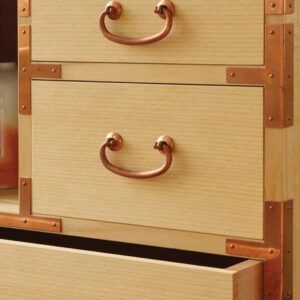
The completed cabinet with its new door pull. We're getting ready to pack it full of spices.


Comments
That's pretty cool. Thanks for the idea!
Jonathan
===========================
Thanks for posting John. Do you have pictures of the finished cabinet too? When your ready we'd love to see them.
-Gina
Thanks! I was looking for a way to use small crystals and gemstones as knobs on small boxes. Epoxy the stone to the rivet and attach to the box. Should work well.
Where would I find the copper rivits like that and with is the dia of the head
Where would I find the copper rivits like that and with is the dia of the head
Nice and simple and beautiful. Thanks for sharing.
Hi APO,
The rivets I have are old belt rivets. From the box, (background in photo 2) they look to be from the 40's. The dimensions are 3/16 in. dia. at the point, 11/16 in. dia. at the head, by 1 in. long. I did a quick search online and you can get any size you want to try. (www.rivetsonline.com had a whole bunch of sizes, sold in one pound increments, for a reasonable price.)
John
Tandy Leather Factory (http://www.tandyleatherfactory.com/) also sells copper rivets, in slightly smaller quantities.
-Steve
Great, I have just received some rivits from a friend who went out of the leather business and I am building a Wooten desk, so I will need many pulls what a great idea, I willsee if this will work for me
Surprisingly nice pulls. Thanks for sharing
Great idea...I'll try it for my next project.
Now that's thinking outside of
the (rivet)box.Super idea John.
Clever idea. You might also try your local Tandy leather store as a source for small quantities of rivets.
Len
The door pull is really neat, and I also really like the cabinet.
Will the plans for the cabinet be in a future issue of FWW?
How did you attach the top and bottom to the sides?
Thanks for posting the pull instructions.
Really terrific idea and relatively simple to do. I see all kinds of variations.
I have a minor complaint to the web master - I'm tired of "click here to enlarge photo" only to get the same size picture. If you could do something about that. I would appreciate it.
Very good looking pull.
I like the pull idea alot; simple yet elegant!
However, the attachment method seems quite hokey.... to me epoxy (glue) is about as elegant a solution as duct tape. Couldn't you instead have tapped the inside of the rivet then attached using a [copper] screw. In that case you could still use the tapered hole method to seat at the desired depth OR you could also take advantage of the fact that copper is so easy to solder and solder a copper washer to the shank/shaft of the rivet as a depth stop + escutcheon around the hole when seated.
DC
BTW: If we're complaining to the webmaster today, I would like to request that comments post from top to bottom in chronological order. It is so annoying following comments from bottom to top - who's dumb idea was that?
DC
I second that. Top to bottom would be much preferred.
The adhesion of epoxy to copper (or brass) can be improved substantially by abrading the surface with a CLEAN file or non- stearated sandpaper, then apply the epoxy within an hour or two. Once the surface is prepared try not to transfer skin oil to it. This may seem like overkill but it will be helpful keeping the destructive forces of seasonal expansion from loosening the bond over time. It's worth the effort if you want to avoid the embarrassment of having things come apart from your beautiful project.
You are the artist. We are the students.
Martino23,
Thanks for the kind words.
I'm not sure if the cabinet will be in a future FW issue - the sides are dovetailed to the top and bottom. The shelves and dividers sit in stopped dados, and the door is made with bridle joints with pegs. I'm making drawers for the dividers, one of which will be a removable salt box with a sliding lid. Thanks again,
John
Amazing, great job on joining the two materials. Aesthetically, beautiful.
I Love the look. Folding the rivet's edge is what I appreciate the most. Ignore Dreamcatcher. This is your work and it Looks Super!
Log in or create an account to post a comment.
Sign up Log in