
Have you ever tried to edge glue really thin boards, less than about 1/4 in. thick? I have. It can be an exercise in frustration. For thicker boards, it’s no problem to use bar or pipe clamps to apply pressure as the glue dries. However, thin boards tend to buckle under the pressure they apply, often rising so high at the joint that they fold in on one another. But I’ve gotten a bit smarter since I started working at Fine Woodworking, or at least smart enough to ask for help when I need it!
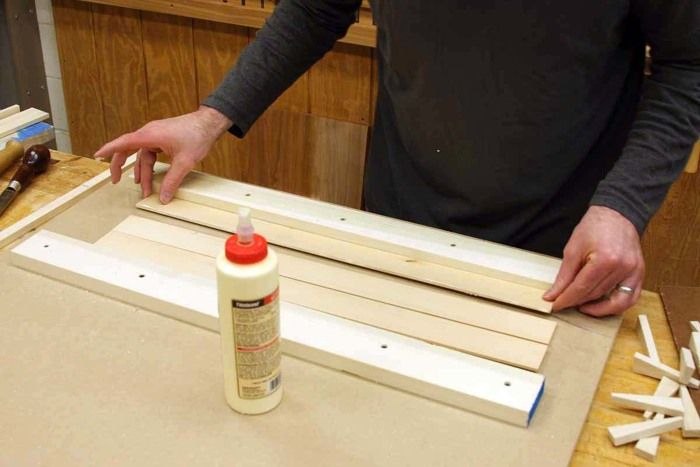
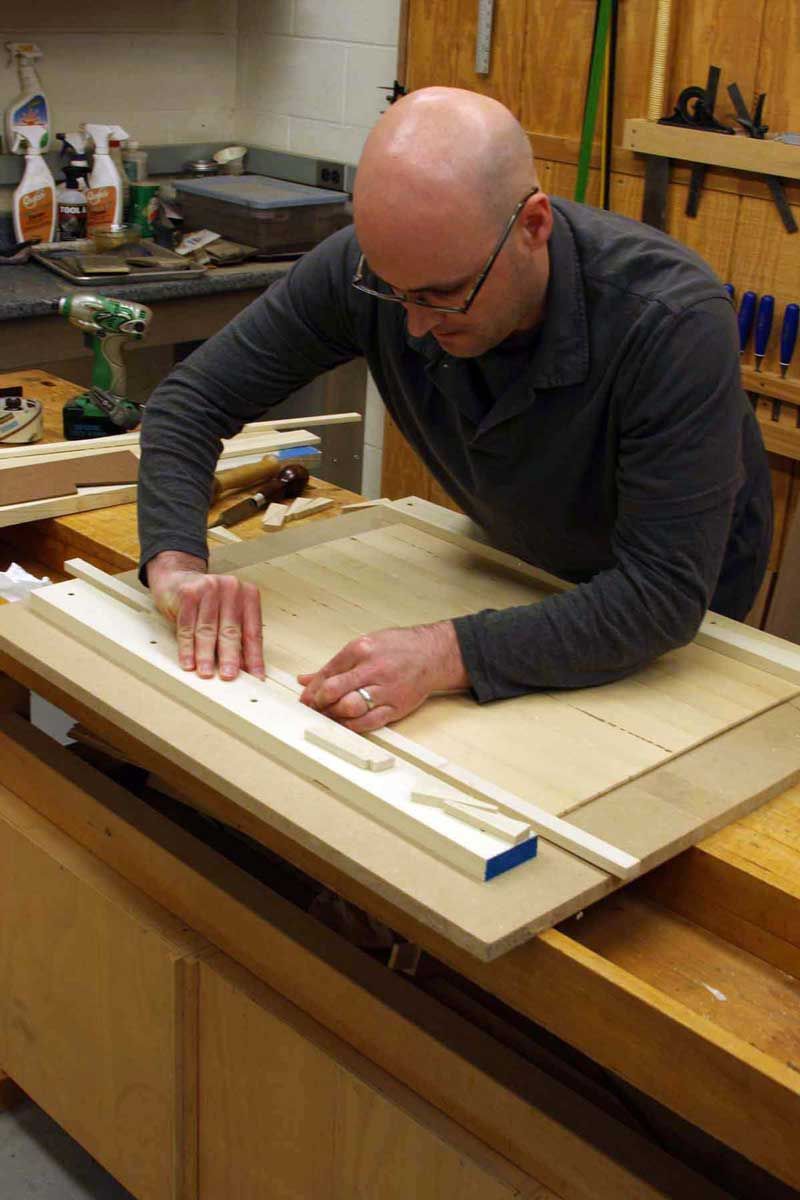
So, when I recently needed to glue up nine thin and narrow re-sawn boards (3/16 in. thick by 2 1/4 in. wide) to make a larger “panel” of shopmade veneer, I walked right over to Anissa Kapasales’s desk and asked her how to do it. She went to the College of the Redwoods and I knew that students in the program learn how to make their own veneers. She told me that the solution is to use wedges to apply the pressure. After a brief explanation of the technique, I was out in the shop making a “jig.” Basically, it’s a large MDF base with a fence screwed down to one side, and another one opposite it. The boards are placed between them and then wedges are pushed between the boards and one of the fences. That’s enough pressure to get a good glue joint. Check out the photographs below for more details.
|
|
Step 1 Start small. I knew that gluing up all nine pieces at once was a bad idea. The wedges probably wouldn’t be able to spread pressure across all of the joints and the thin boards would want to buckle up. So, I set my two fences just far enough apart to do three boards at once. I’d then glue together the three panels (three boards in each panel). |
|
|
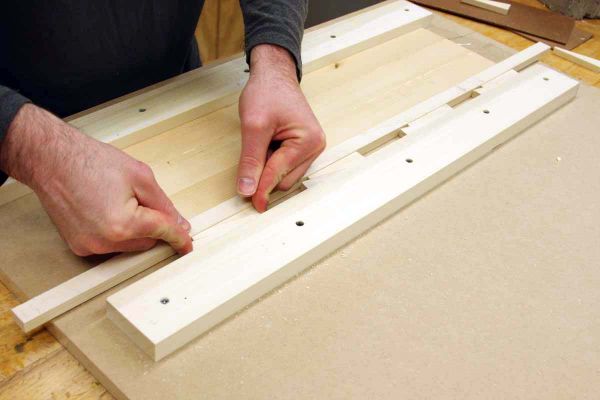
Step 2 Use a caul to spread the pressure. After spreading glue on the joints and pushing the boards together, I set a long caul in place. The wedges will apply pressure to it and it will in turn spread their pressure over a greater area, making for a stronger joint. |
|
|
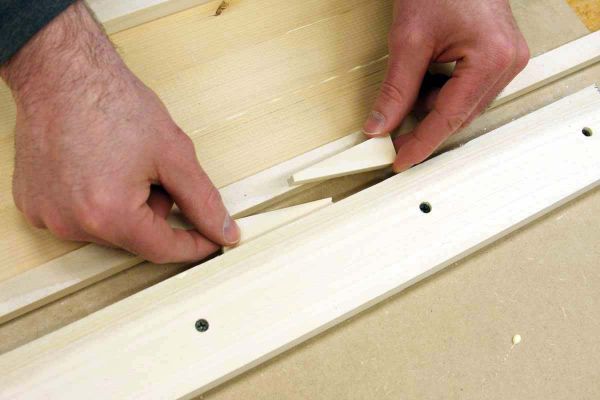
Step 3 It takes two wedges. They fit between the caul and the fence. As you push them together, the put pressure on both. That pushes the caul against the boards and that pushes the joints together. |
|
|
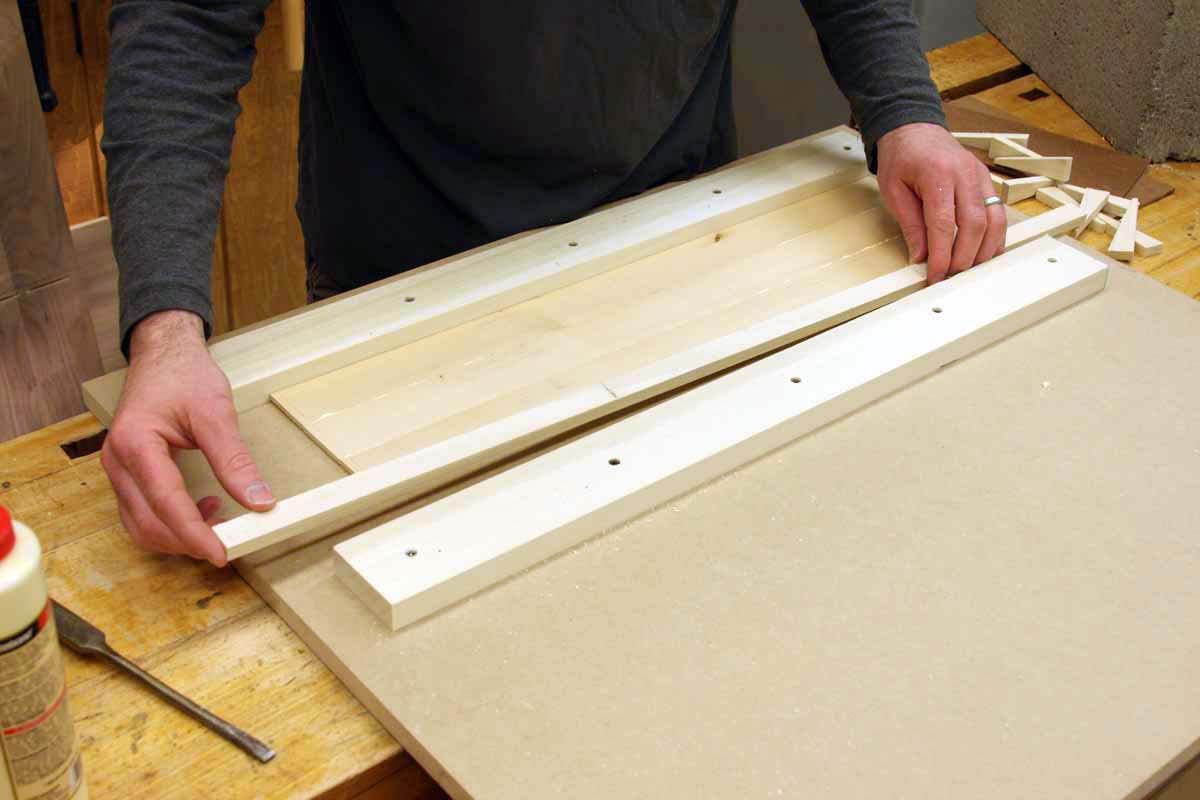
Step 4 Like clamps, you can’t have too many wedges. The fundamentals for clamping with wedges are no different than those for bar and pipe clamps. The four pairs of wedges I used here were as many as I could get in and still leave space for my fingers to push them together and to loosen them after the glue dried. |
|
|
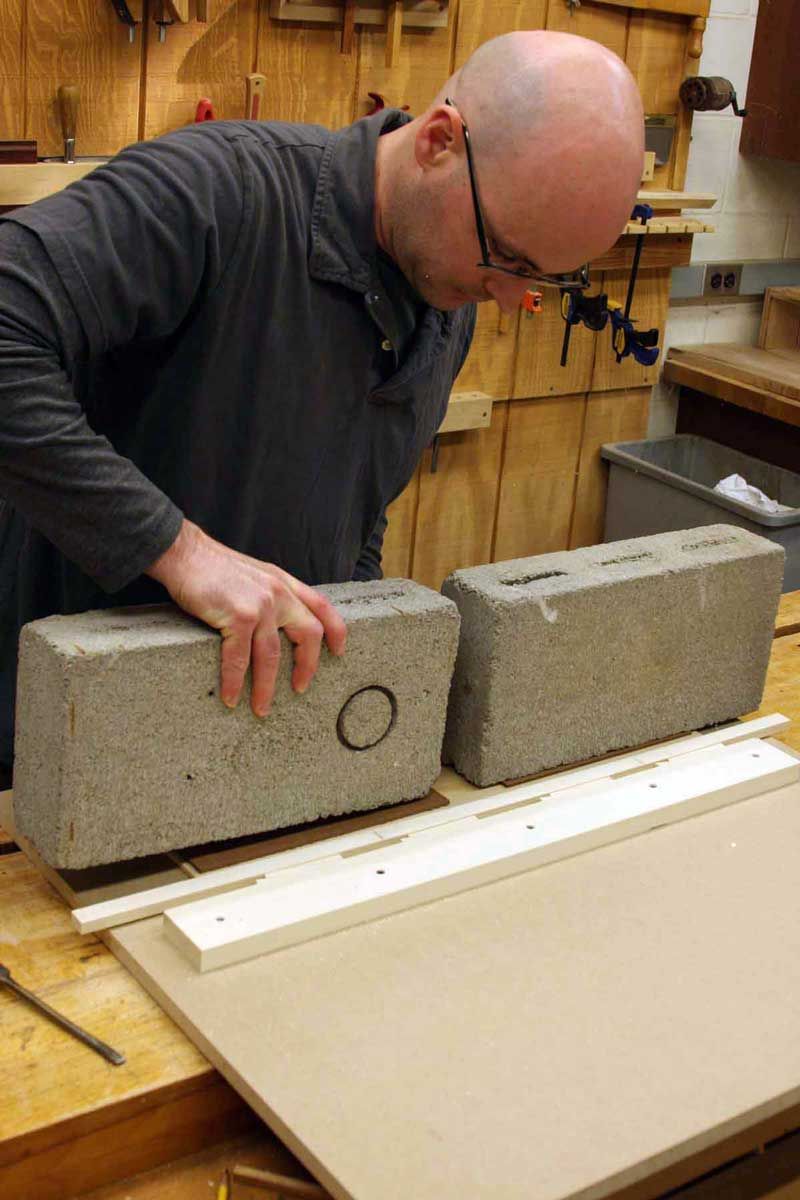
Step 5 Use weight to keep the boards flat. Even though they don’t buckle as badly as they would with clamps, the boards will still bow upwards. Just find something heavy to put on top and keep them flat as the glue dries. Admittedly, I went a bit overboard with the two giant cement blocks. But my panels came out dead flat. |
|
|
Step 6 The big squeeze. After gluing up three smaller panels, I glued them together to get one larger panel. You might ask what I needed the panel for. Here’s the crazy part: I ripped it apart to veneer a bank of bowed drawer fronts! (Yes, I went through this enitre thing because the individual boards were too narrow for the drawer fronts. But precious wood is just that, so I’ll do what it takes to get the look I want.) |


Comments
I've had good luck using simple wood clamping cauls also.
There's another method that looks effective although I've never used it (wasn't feeling confident so went with 1/4" ply for my project). Look in the middle of this page. there's a system of boards with ropes & wedge boards. i think with this system you could glue all 9 boards at once. It does look like the ropes will damage the edges of the glue up panel so you'd have to give extra width so you could trim off any damage.
http://routenguitars.wordpress.com/page/2/
Seth Janofsky (another College of the Redwoods alumnus) uses a similar technique. It was featured in an FWW article a few years ago about making veneered boxes. He uses wedges, sure, but he also lays newspaper over the glued-up pieces and places exercise weights atop them to ensure that they stay flat. Afterward, he scrapes off the dried glue and newsprint bits.
And if you really want to get technical, you could make the case that woodworkers lifted the wedge technique from the printing industry. Practically from Gutenberg's time, printers used wedges, called quoins, to hold the metal type pieces in place in a metal frame called a chase. I'm sure the original quoins were tapped in place with a mallet but probably sometime in the 19th century they were made of metal, with a series of teeth on one side. The teeth on the opposing wedges formed a rack gear; a tool similar to a chuck wrench was turned in the space between the quoins, moving them in opposite directions to tighten them against the type.
History aside, using wedges is a very elegant, cool technique. Thanks to Matt (and Anissa) for highlighting it again.
dh
I've used the method suggested by Dimtick and it works quite well. I used nylon twine that had a little stretch to it and glued up 1/8" bookmatched panels for some stationery box lids.
I use this technique to glue up the two halves of my bookmatched harp backs. Yes, the weight on the joint is needed to keep the two thin boards from buckling.
Just a question...how did the squeeze out not stick to the MDF?
Jollyrodger,
Good question. I didn't use MDF. That's hardboard and I covered the side touching the boards (and glue) with packing tape, so it doesn't stick to the squeeze out.
Matt
Thanks Matthew for a great article. I want to make a copy of a walnut chest of drawers I got from my mom. Your article solves one of the pieces of the puzzle. The drawer fronts have a 1/4" walnut veneer that has been glued to another species of solid wood. I always thought glueing veneer to solid wood was a no, no. Are there things I should do if I try this? Obviously it can be done as this piece has been around for many years.
Bill
BigGeorgeAll,
Just make sure you glue the walnut veneers down to a piece of walnut. If all of the grain runs in the same direction, then you won't have any problems.
Matt
Where are the pictures???
Click the Launch Galley button. The individual links didn't work for me either.
Log in or create an account to post a comment.
Sign up Log in