Mission/Arts&Craft Style Desk
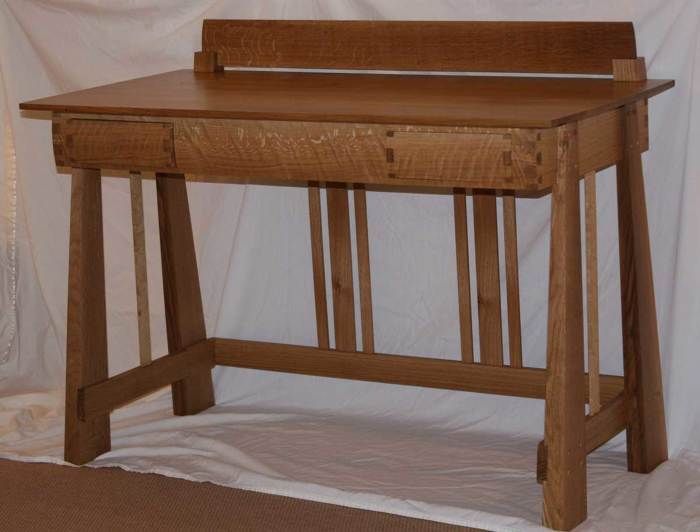
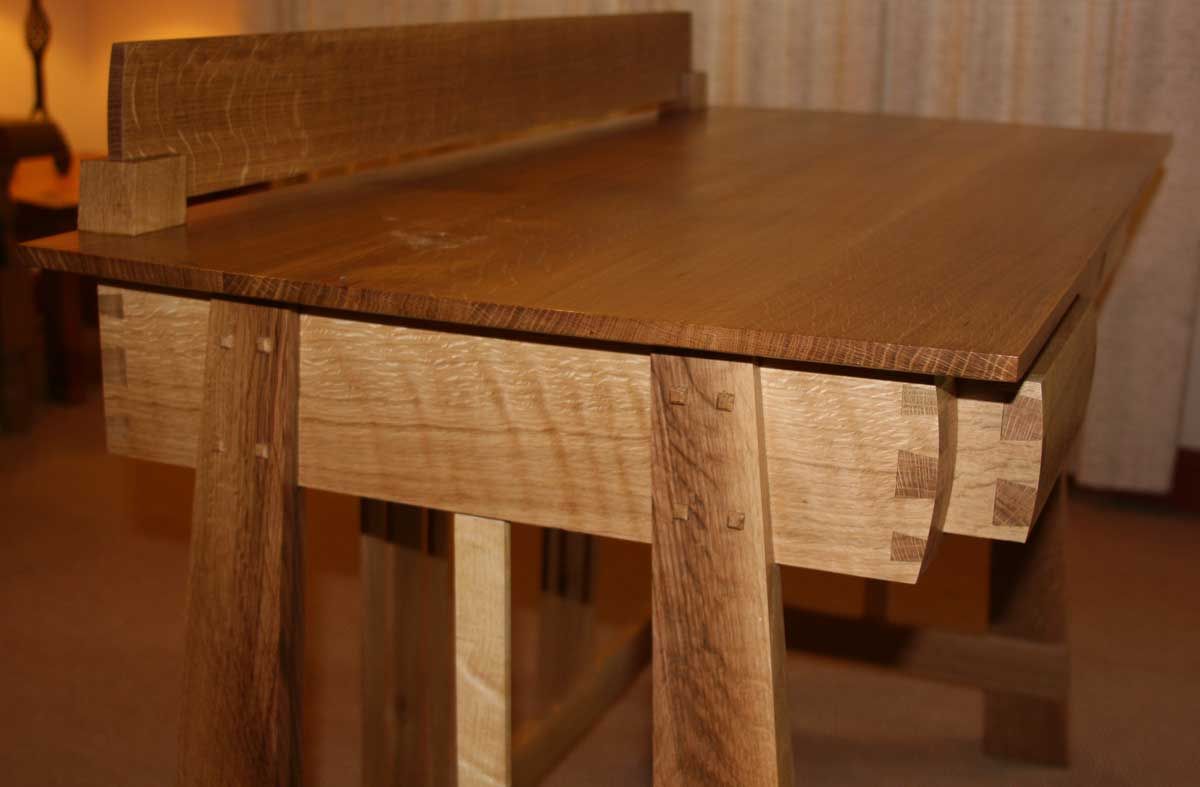
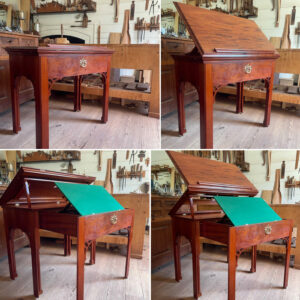
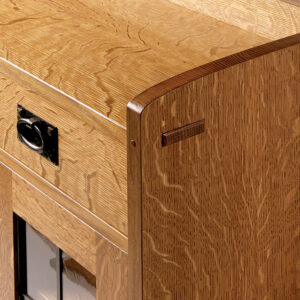
This was the first piece of fine furniture I’ve made in 15 or 20 years. I recently recovered my garage from my son and his motorcycles and I wanted a project that would test all my rusty tools and skills. But my wife wanted a simple mission style desk, more a writing table than a desk. So I added small things to the simple desk: I angled the legs and joined them to the table skirt via a sliding dovetail. I added two small drawers into the rounded apron and added slight curves to the table top and backstop. Also, I hand cut the dovetails.
I joined four boards for the top and hand planed them. I had to sharpening the smoothing planes, cabinet scrapers and chisels for the first time in years.
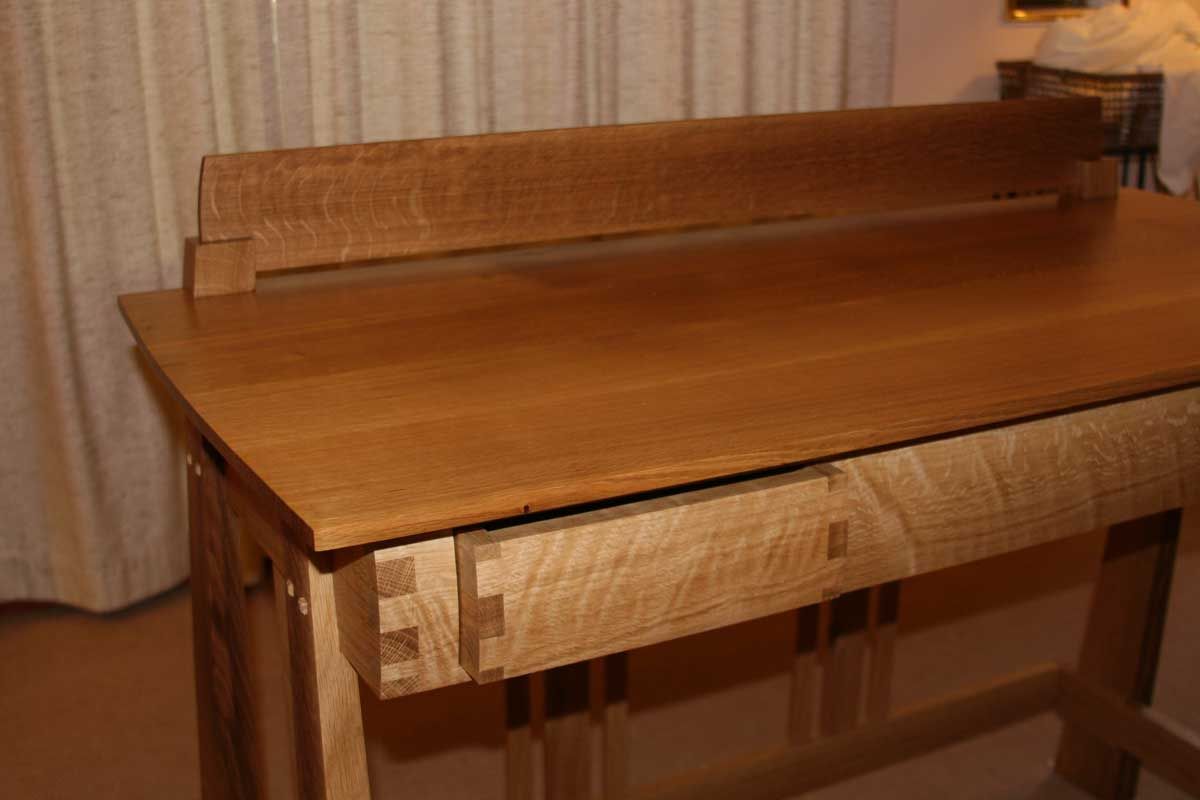
This desk would be used for my wife’s notebook computer so I added a removable backstop. It rested about 3/8” off the desk to kept the cords from sliding down behind the desk. I also added a hidden shelf to hold the power transformer and cords
I used quarter sawn and figured white oak. I was planning to finish it with a mission style stain but we liked the natural oak so left it that way. It seems the Mission style morphed into an Arts & Craft style. What do you think?
There was one error. I cut the drawer fronts from either end of the front apron so they would closely match the grain around the drawers. I then build the drawers up-side-down. The result is the wavy pattern’s angle is reversed on the drawers.
-
-
Side view (with dust on top)
-
-
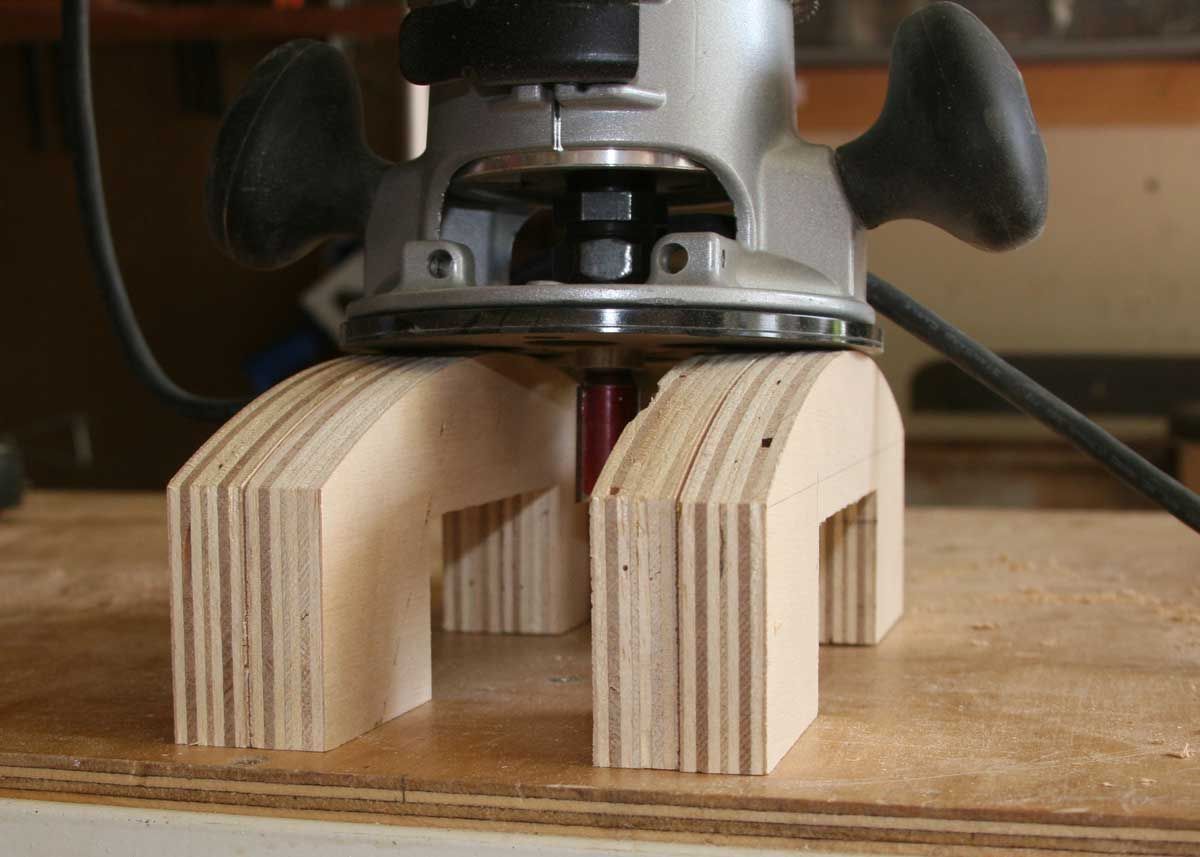
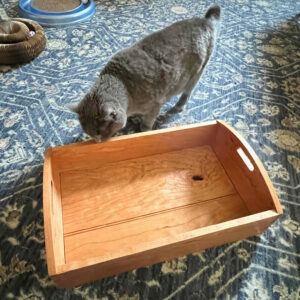
this is the jig I user for routing the front apron.


Comments
I like the how you set the reverse tapered legs inside from the edge of the apron. Did you use a router/shaper to cut the curve of the front apron?
CherrySquirrel, I used a router with a simple jig pictured above. I cut the curve after I glued up the apron and drawers. I then used a belt sander and cabinet scrapper to clean it up.
I spent hours thinking about how I was going to cut the curve. But once I decided on the router and jig it took about 20 min to make the jig and about 10 min to cut the curve with a 1" router bit.
Log in or create an account to post a comment.
Sign up Log in