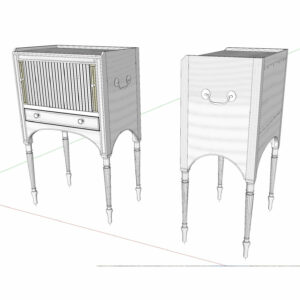
Matching Cherry Bedside Cabinets based on T. Rousseau’s Plans

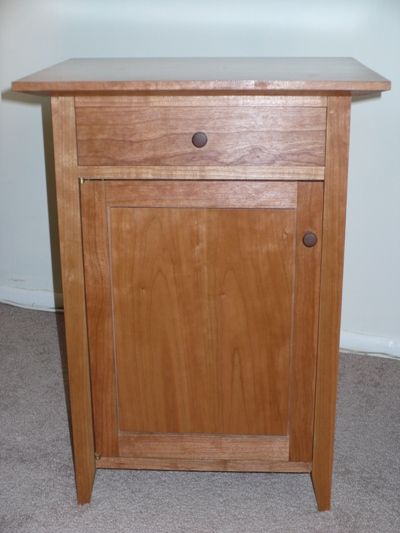
Matching bedside tables based on Timothy Rousseau's plans. (Sorry for the poor quality photos. I'm a better woodworker than I am a photographer.)
As a beginning woodworking with limited skill, budget, and tools I took on this project as a 5th Anniversary (wooden anv) present. Spent hours digging through the cherry shorts pile at my wood supplier cause I didn’t have much to spend. Secondary wood is poplar and the knobs are walnut. The finish is Watco Cherry Oil and Shellac (interior is shellac only). It was definitely challenging but very satisfying. A special thanks to Mr. Rousseau for his excellent plans and the video series that helped me copiously as I stumbled through this project.
-
Matching bedside tables based on Timothy Rousseau's plans. (Sorry for the poor quality photos. I'm a better woodworker than I am a photographer.)
-
My wife's cabinet. Since I could only afford shorts I did my best to match grain and color as I glued up panels.
-
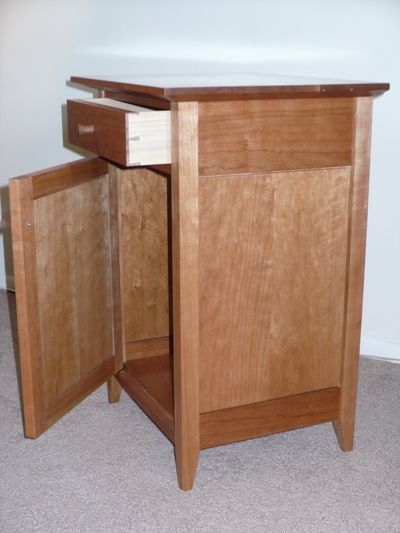
As an extra chellenge (and because I didn't have bandsaw or a precise tablesaw) most of the joinery was done by hand.
-
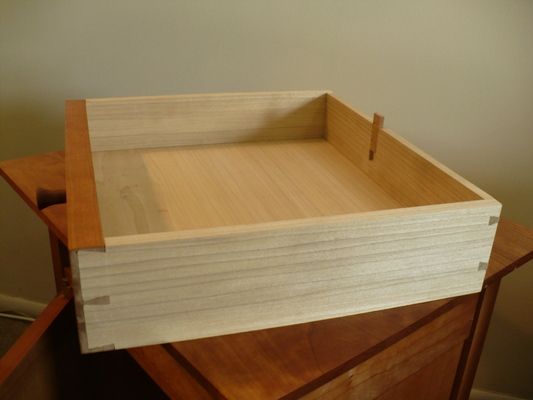
I added a sliding dovetail key in the back of the drawer to keep it from falling out. Again hand cut and fitted. I also chamfered the drawer bottom vice rabbeting it.
-
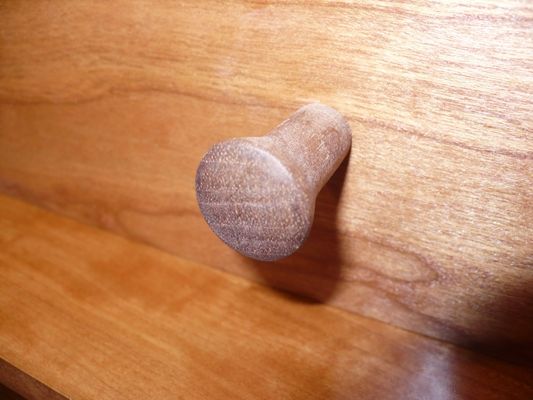
I don't have a laithe, so I wittled the knobs. I used a pocket knife, a set of open ended wrenches as guages, and sandpaper to shape them.


Comments
Nice job very clean look I bet you enjoyed building them!
Kev!
Thanks very much Kev. I enjoyed it very much. Cheers.
Only just found this and I must say I think that far from 'stumbling' you've done a really great job.
To NikonD80: Thank you very much. I appreciate the kind words, they're encouraging.
Wow, what a great job! I started this project this summer using some tiger maple and got stuck about a quarter of the way through. Haven't picked it up since August!
A question - how did you bevel the undersides of top? In the vid, Rousseau states how he will show us a safe method of cutting the bevels on a bandsaw but then never gives any further description or explanation of the setup, jigs used, etc, only a brief clip of him making the cuts.
Congratulations on your outstanding accomplishment. You've inspired me to get back into the workshop!
Mike
To dag200: I'm so sorry I haven't responded before now. I only saw your post today (almost a full year after you posted). Thank you very much for you kind words, I'm glad it may have inspired you and I hope my lack of response didn't counter that inspiration.
Regarding beveling the top, I used the table saw. I have a tall (6 inch, though higher would be better) auxiliary fence that I built to attach to my table saw fence. I tilted the balde to the appropriate angle, stood the top on its end and using push sticks rand it through. There was some clean up to be done with a block plane, but otherwise it worked very well. I hope this helps. If you have other questions or need clarity, please let me know.
Regards!
Log in or create an account to post a comment.
Sign up Log in