
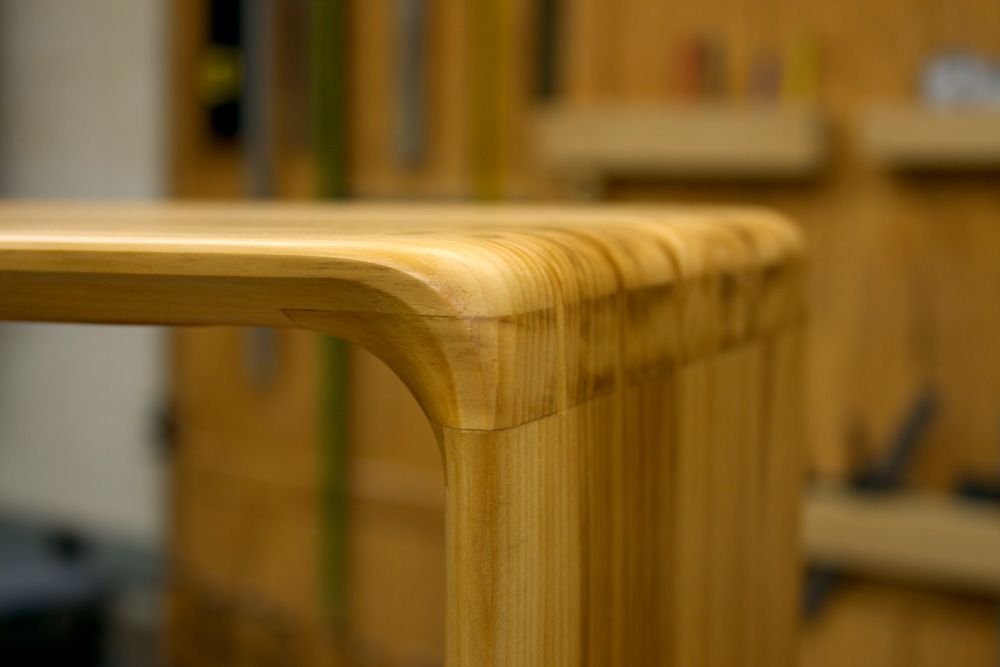
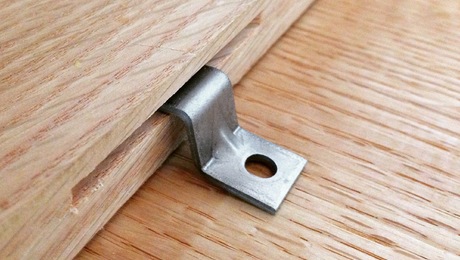
To achieve the look of a thicker, "bent" dovetail, I employed a quick and simple trick.
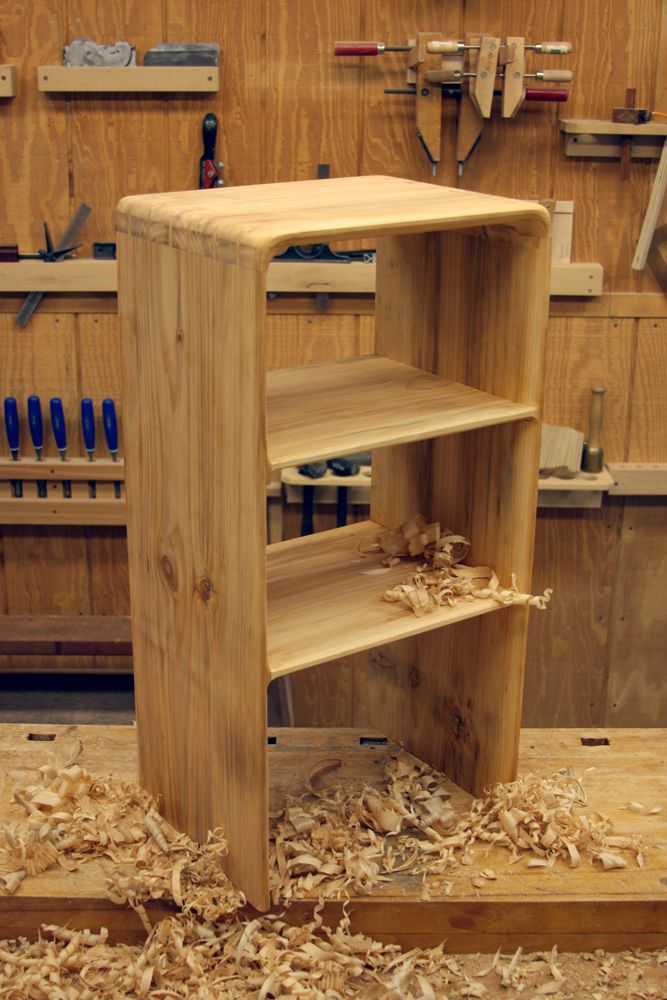
I had an idea for a curved dovetail technique, so I decided to try it out on a small nightstand. It’s a great way to use thinner stock and create the look of a thicker corner joint for “bending” dovetails. And if you’re looking for some resources on how to sharpen your dovetail skills before trying “bend” your joinery, be sure to have a look at some of our archived articles and videos on the subject.
| More Dovetail Tips, Tricks, and Techniques
• Easy Dovetail Layout • How to Cut Dovetail Joinery • Half-Blind Dovetails • Cutting with a Dovetail Saw |
Bending Dovetails: Step-by-Step
Click any image for a larger version.
 |
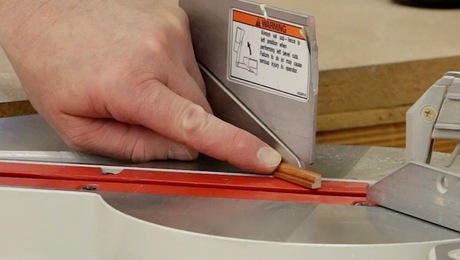
1A.) Begin by laying out the nightstand on a single 7/8″ thick board, adding 2″ to the length on either side of each dovetail joint. 1B.) Cut two inches off each end of the joint and label each cut-off. (This will be important later when matching end grain). 1C.) Cut a 1/4″ deep by 2″ long rabbet on the inside of each board end, and then cut the dadoes for the shelves. Then glue (in the same grain orientation) the corresponding 2″ long piece that was cut off of that board. |
 |
2.) Now mark and cut your dovetails as if you were joining two 1 3/4″ thick boards together. |
 |
3.) Dry fit the dovetails and draw a curve to your liking. |
 |
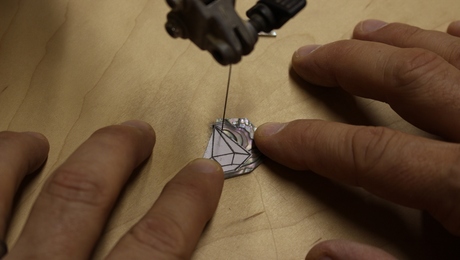
4.) Disassemble the joint and use a gouge to start removing the waste. |
 |
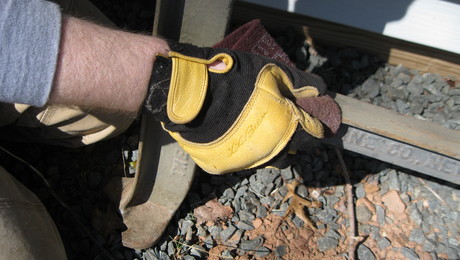
5.) Reassemble the joint and use a rasp and sandpaper to fair the curve further. Don’t worry about the cross-grain scratches at this point because you’ll be sanding with the grain after glue-up. (click to enlarge image) |
 |
6.) Glue and clamp as usual. Here’s a quick tip: After you cut out the pins, use the waste pieces to construct simple cauls that will apply direct pressure to the tails. |
 |
7.) Remove the clamps and draw guidelines on the front edge where you want to remove material. |
 |
8.) Use a chisel and rasp to remove most of the material and then sand by hand to finish. |
After the glue up and shaping of this particular board, the end grain was a pretty close match. A straight and close grained board (walnut or mahogany maybe) would make it difficult to even see the glue joint using this technique. The straighter and closer the grain of the board you choose, the better it will “bend”, but I like being able to see how the joint is constructed either way.
-
To achieve the look of a thicker, "bent" dovetail, I employed a quick and simple trick.
-
This simple technique allows me to add a nice, natural, organic-looking curve to an otherwise straight-forward case piece. It's pleasing to the eye and soft to the touch.


Comments
Very nicely done...
Great technique. I will have to try this on my next piece.
Well done, looks good.
Very interesting, however I wonder why you avoid the use of power tools like a router to round out the curves. It seems that using hand tools is a matter more of prestige than finished product.
I never seen something done like that.
Really innovative. If I ever get the opportunity to build something where the technique could be incorporated I will definitely try this! I would use a router for the roundover AND the dovetails, but my skills are terrible with hand tools!
So the rabbits for the added blocks are to try to hide the glue lines at the line to curve transitions on the outside?
It also seems to add visual weight to the top similar to the effect you would get if the top was really very thick to begin with and then you hogged out the underside to lighten it up. There is not much weight added to the sides due to the flat pin bottoms. I suppose games could be played with the grain directions of the added blocks for different effects.
I would guess you could do something similar to the shelves to side transitions with say a built up sliding dovetail to give the shelf to side transition more weight.
I am sure many will find your technique useful!
Great piece and great technique, John!
teamwinner is wondering why hand tools. I see this project not only as casework but also as sculpture. I can see both hand work and machine work as valid approaches, with neither for the prestige and either for the pleasure of creating and then enjoying the finished product. Good job!
Always nice to see real innovation. Quite clever, and playful. My hat's off to you.
what is the point ,that is old news.
Three months later and still no author comments on some valid (seems to me) questions about the project.
Very nice I can see this technique being used on a few projects.
Very nice good job! welldon
Uh oh gang, looks like the picture links are broken.
Log in or create an account to post a comment.
Sign up Log in