
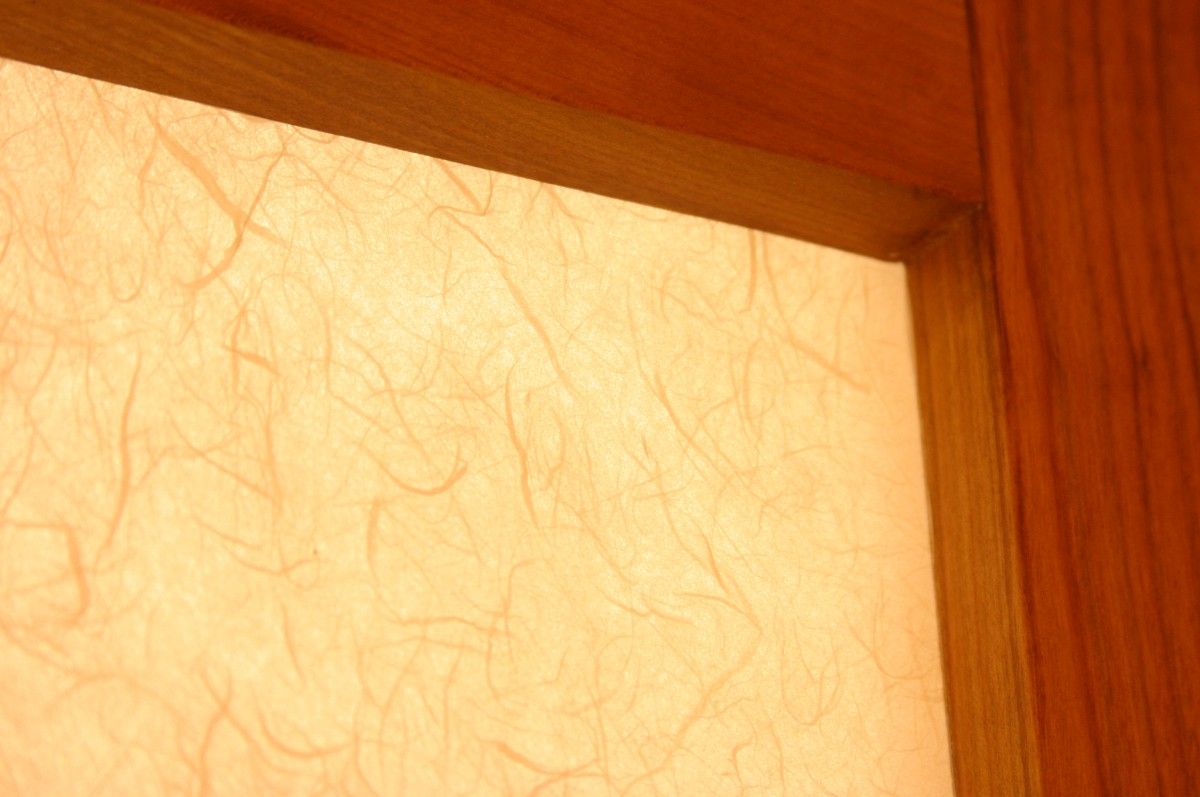
Inspired by a recent article in FWW, I found a way to use Japanese paper in my house, in a pair of sliding doors for our bedroom closet. But first, a word about this amazing material, called washi. In its thickness and strength, it is more like cloth than paper, and is has beautiful, visible fiber patterns in it. And you can get it with a thin plastic overlay, for easy cleaning, or with a similar layer in the middle, for increased strength. I just used the most common type of plain paper, and we are hoping our cats don’t notice it. So far, so good.
But the really amazing thing is how easy this paper is to apply. After finding this out, it dawned on me that average Japanese people (not just craftsman) have been using washi for eons to make walls and panels in their homes, and changing it out when it gets old and dirty I would guess. So it must be straightforward to DIY (paper walls also say something about parenting skills, but I’ll leave that one alone for now).
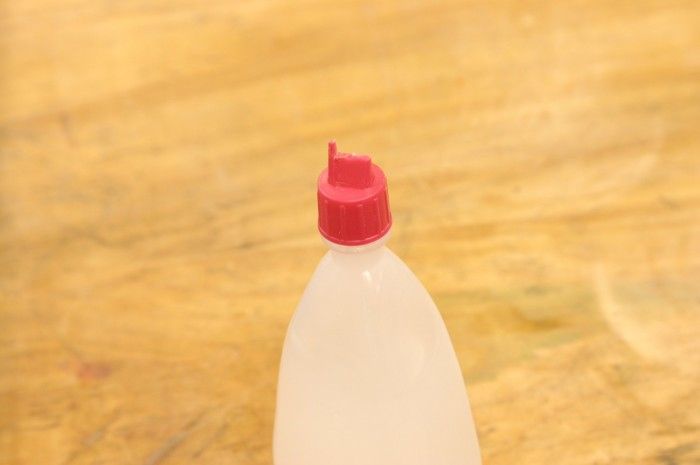
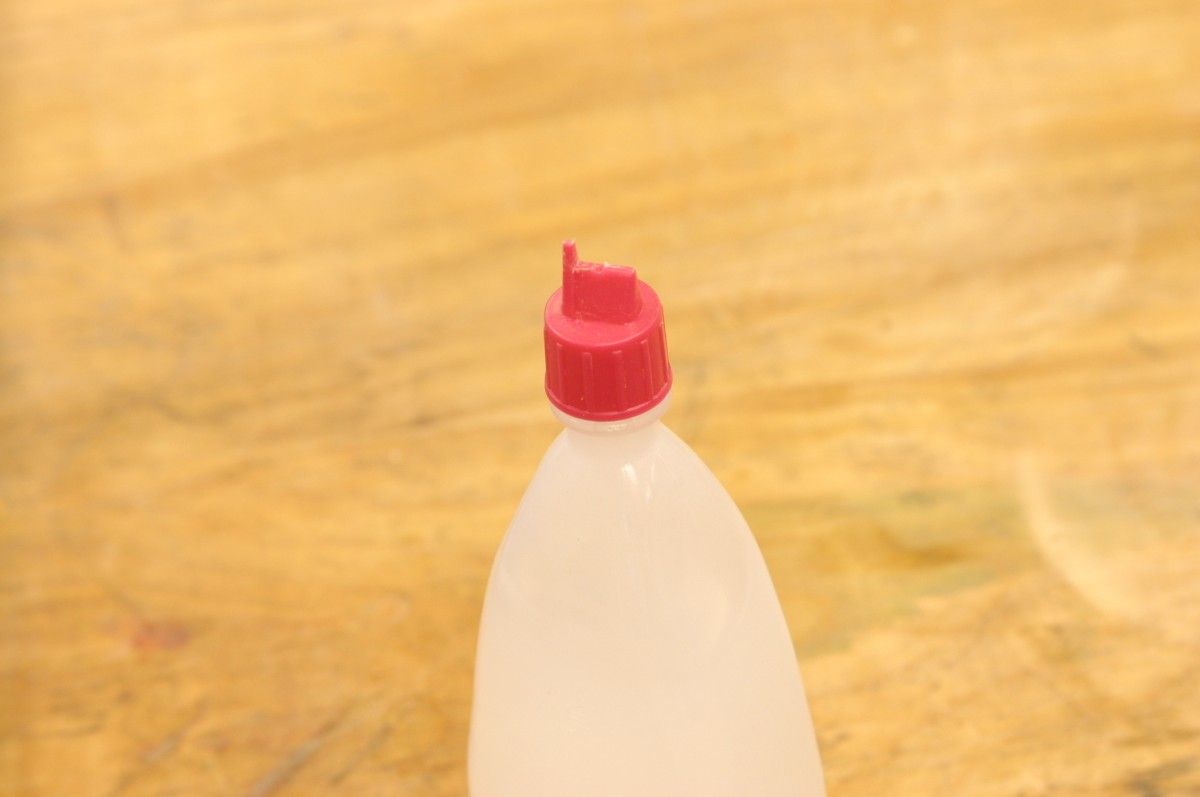
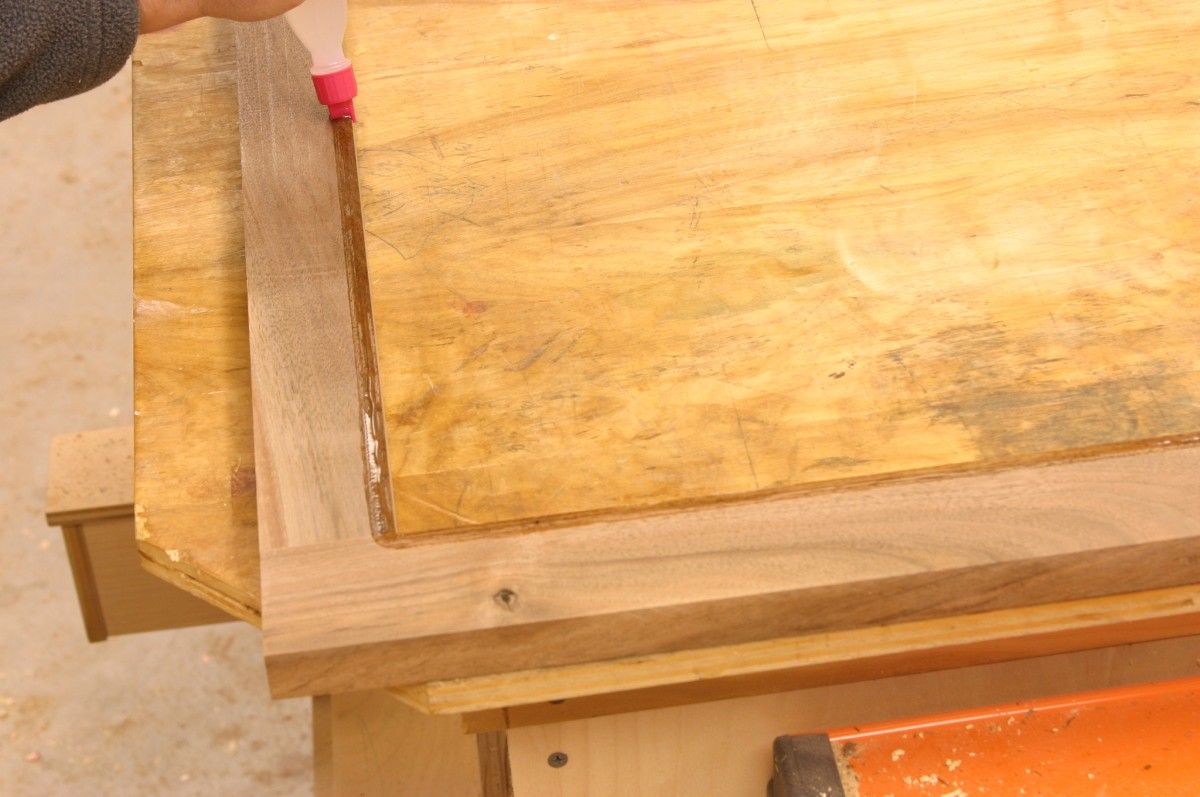
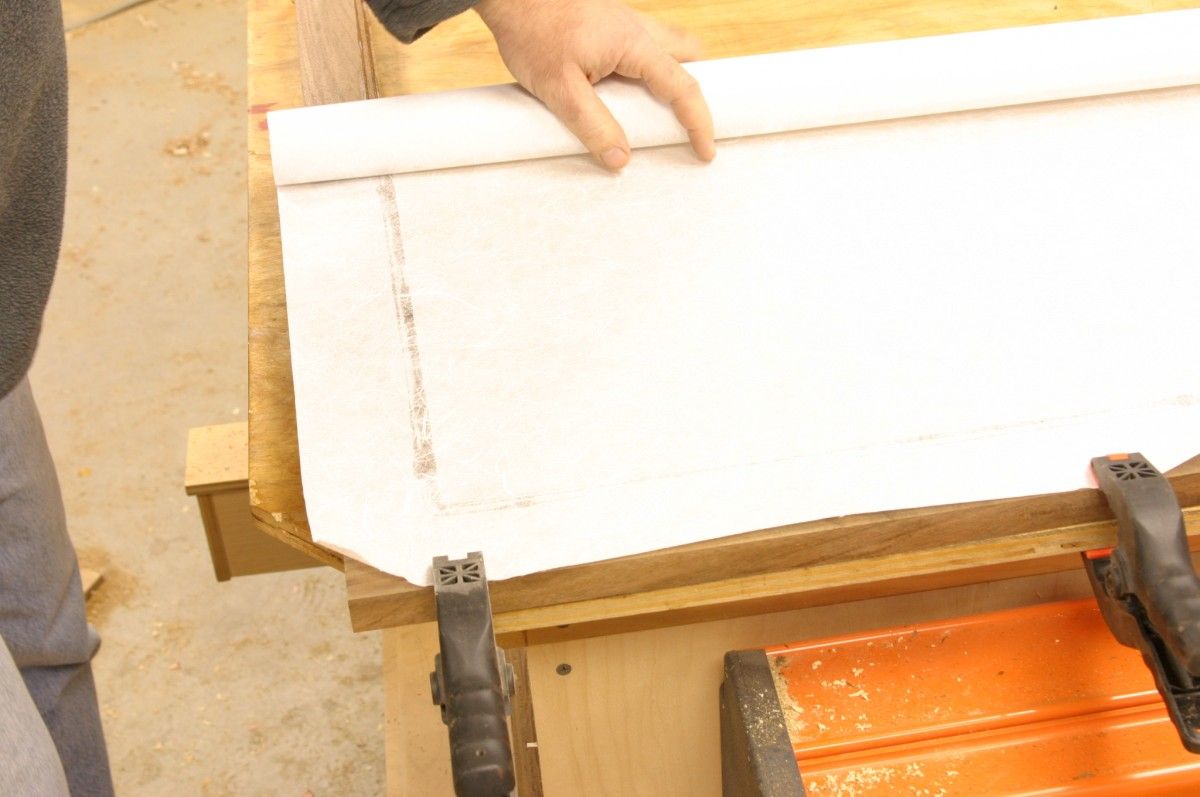
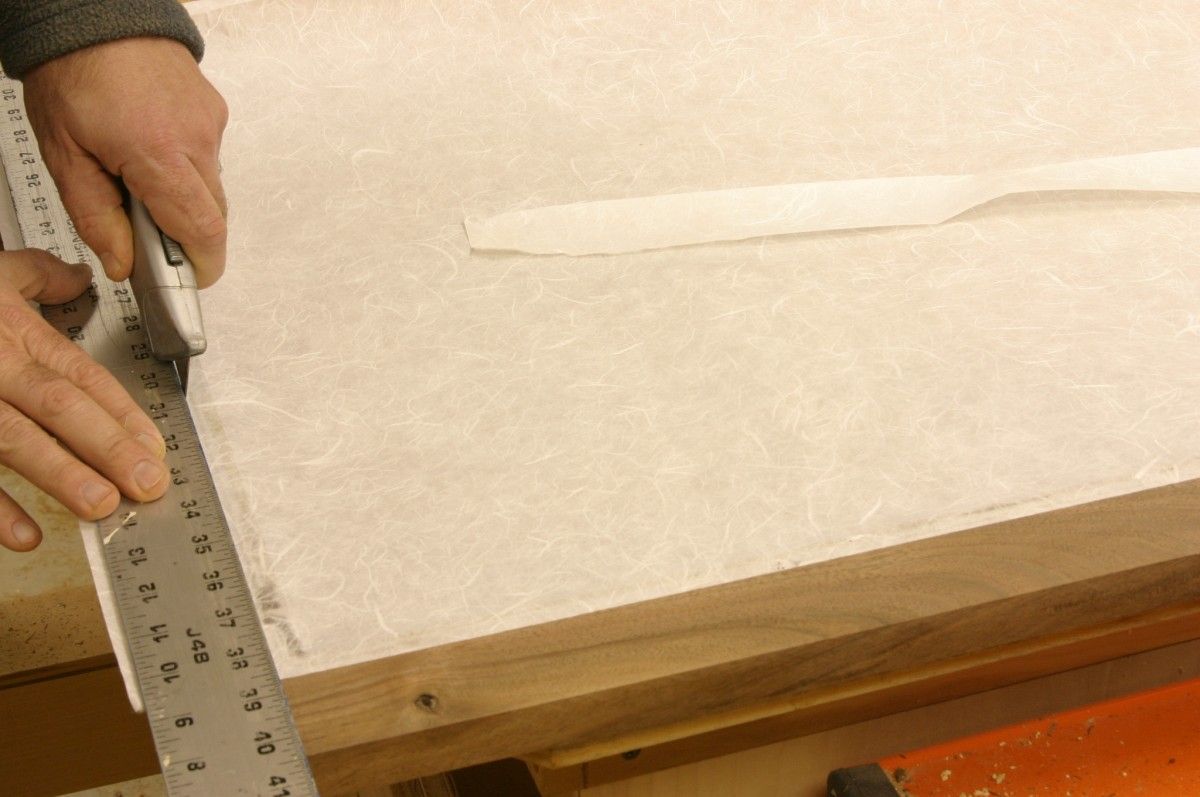
The process is simple. The same importers (plentiful on the Web) that sell the paper also sell bottles of rice glue, with a tip that puts glue exactly where you want it. You just spread a thin, flat bead on the back of the frame members. You want any dividers to be flush with the back, since the paper should adhere to those too. After the glue is on, you just clamp the beginning of the paper roll to one end of the frame and roll it down the length of the door, clipping it at the other end. The paper can overlap around all sides. Then just run a finger along the glue lines and let it dry. Afterward, I just used a utility knife to trim off the excess along the glue line.
Now here’s the presto moment. You mist the front of the panels lightly with water–then start stressing out because the paper sags and wrinkles–but you wait patiently for it to dry, trusting that the experts are right. When you come back after an hour, every panel is as tight as a drum! (You can’t help but thump them a few times, though lightly).
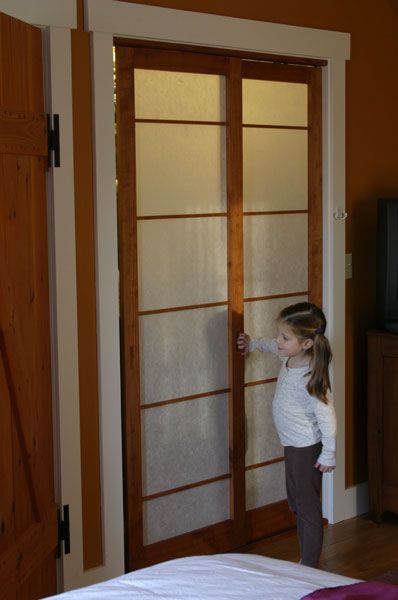
My closet doors are just 3/4-in.-thick cherry frames, with dividers that I routed into the back side. The rolling hardware is easy to install and works great. It just press-fits into 35mm holes near the bottom and top of the frame, and comes with simple plastic tracks that press into grooves that you rout in shopmade wood tracks, one above the doors and one below.
I made the finger pulls by clamping the stiles to the tablesaw and raising a dado set into them. The girl in the photo of the finished doors is our youngest, Jane, who is being very careful to keep her mitts off the pretty paper.
Down the road, I plan to make some lamps in order to use this fantastic material again.


Comments
Nice screens, Asa. It was very tough for me to spray water onto my first few projects, too.
One of the things I like most about Japanese paper is all the different colours and textures that area available. The light of a lantern makes some of the papers really come to life!
Rob Brown
Asa,
Thanks for this intro to Japanese paper. Please do a full article in the magazine or an online video about how to do this. I'd really like to learn more about this beautiful technique!
Hi W3KJ, Did you see Rob Brown's article on the topic? http://www.taunton.com/finewoodworking/Materials/MaterialsPDF.aspx?id=28537
It was published in FWW #191. Your suggestion about doing a video on the technique is a good one.
Thanks, Gina FineWoodworking.com
Where can one buy Japanese paper?
The best place (maybe in the world) to get Hand-Made Japanese Paper is called The Japanese Paper Place - http://www.japanesepaperplace.com - but there are other places all over North America. Check on their website to see if there is a place they supply near you.
They will ship anywhere but there are minimums. A word of advice...get as many different pieces as you can so you can have a good selection to work with. I know it can be expensive, but once you get into using this paper it's so beautiful that it's hard to stop. It really adds a lot to a project.
Rob
The technique also works with brown kraft paper, butcher paper, and table covering paper, in case you want to experiment a bit first -- but the brown kraft paper is strong enough to also use for tambourine drumheads!
The use of brown wrapping paper, wetted has been used by picture frammers for many years.
But it isn't as pretty as the Japanese paper.... good job, Asa
Thanks for the kind words, Rob. It was your article that inspired me to try Japanese paper. It was just as easy as you said it would be, in fact easier, for two reasons:
1. The glue bottle (sold by the paper supplier) had a cool applicator tip that worked better than a small brush for me.
2. The plastic wrapper on the paper roll had some instructions on it. They were in Japanese of course, but there were little pictograms that made it all pretty clear. I followed their suggestion and just applied the glue, clamped down one end of the roll, and just rolled it across the whole screen. Done. No cutting needed until afterward,when everything was dry, when it was very easy to trim with a razor and straightedge.
Next time, I'll try the cool marquetry technique you showed!
Thanks.
--Asa
I first started using shoji paper 30 years ago after getting several rolls from a friend I knew while visiting Japan. I made shoji screens for the whole bottom floor of our house, they are still in use today. The paper has been changed several times, the paper will go a light brown and get much thinner over time and easily damaged. I use regular white glue like in childrens class room projects in the plastic container where you can adjust the bead size. In the summer if the humidity is high its not necessary to spray with water, after a few days they are tight.
If you want to speed up the drying process try a hairdryer on a low speed.
Wonderful, I love to see old techniques revived or, in this case, repromoted. Where would the aero-modelers be without it, making their the balsa framed, tissue paper covered, elastic band powered, flying creations. I still use a mouthspray to whet the paper when usng the same technique to make lampshades.
Wonderful, I love to see old techniques revived or, in this case, repromoted. Where would the aero-modelers be without it, making their the balsa framed, tissue paper covered, elastic band powered, flying creations. I still use a mouthspray to whet the paper when usng the same technique to make lampshades.
very nice screen. I recently used japanese paper on a shoji style tv cabinet. The methods from Rob Brown's article were very helpful but I found an even easier application online at eshoji.com. They carry traditional washi paper as well as some really cool and durable laminated paper that looks just like the other stuff but it's lasts forever. They also make a very thin double sided tape that is about 3/16 wide. You just attach the tape, stick the paper and you're done.
Log in or create an account to post a comment.
Sign up Log in