
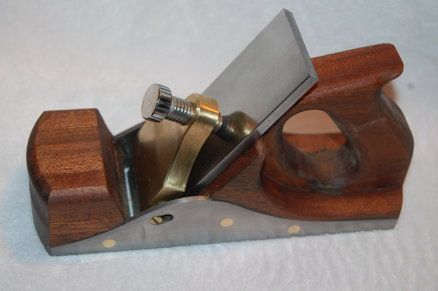
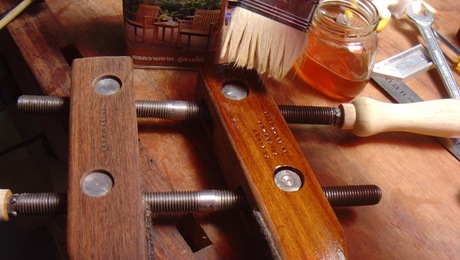
I wanted a Infill but could not afford one and metal is really not my specialty. The answer was to take a $2.50 knock off Stanley # 4 and grind out the guts and stuff it with Mahogany. I bought a cheep tapp and die set and a small amount of 1/2” thick brass for $5 and made the lever cap with a stationary belt sander. The Brass is fairly soft and was easy to shape with only sand paper and a 1/2 round file. I tapped a 1/2” hole thought he top center for the cap screw, which is a stainless steel bolt with the top ground round. I tapped two holes into the sides of the cap and tapped it with 1/8” tapp and took 1/4” brass rod chucked it in the drill press and filed one end down so that it could be threaded. I used a hacksaw to cut a slot in the lever cap screws for easy removal.
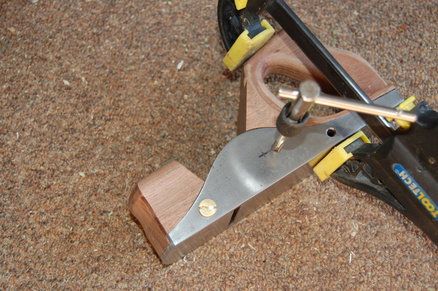
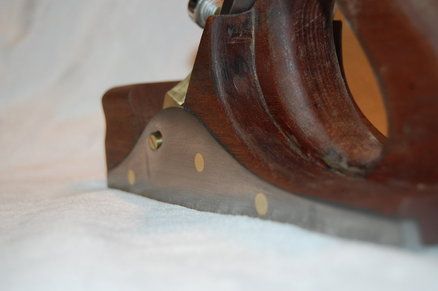
I shaped the infill and clamped it in plane and then drilled and tapped it through the sides and attached it with 1/4” brass screws. I tapered the tops of the holes to allow the heads of the Screws to seat right in but I left them proud so that I could sand/file them flush with the sides and remove the screw head. They were pretty tight but I epoxy them in anyway so they would not come loose.
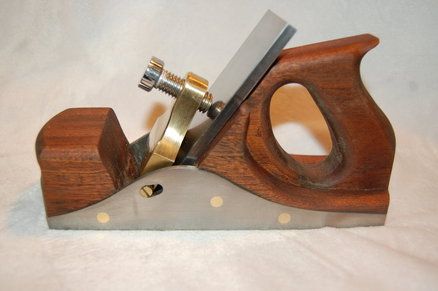
The blade is O1 tool steel I got from a friend that works at a machine shop. it is 3/16” thick and ground at 30 degrees and bedded at 55 degrees for tough grain and overall smoothing.
The hardest part was the bed for the blade and getting it perfect along with the holes in the sides for the Lever cap, which you can see I screw up by the elongated holes. Oh well next time it will be better.
It is very heavy compared to what I started with, but the heft helps with the momentum of the plane and it cut very nicely. I chose not to use an adjustor as it is intended to take very light shavings and once it is set up it most likely not be changed.
-
-
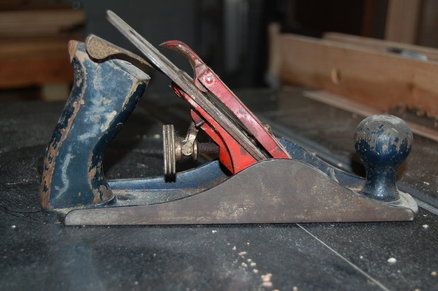
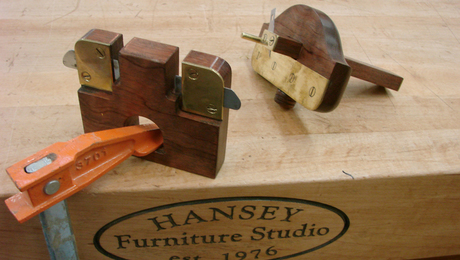
This is what I started with
-
I tapped the sides and used slotted brass screws to hold the infill in place and sanded the heads of the screws flush with the sides.
-
-


Comments
akwood2,
Very cool. How long did it take to grind out the guts of the original plane? And how did you do that?
I used a 4" angle grinder to quickly remove the bulk of the metal adn then followed up with files to smooth and flatten the inside. In total it took about 3 hours.
Very nice job. Really has a great look about it. Heavy is good. Show it working.
Log in or create an account to post a comment.
Sign up Log in