Tea Tray

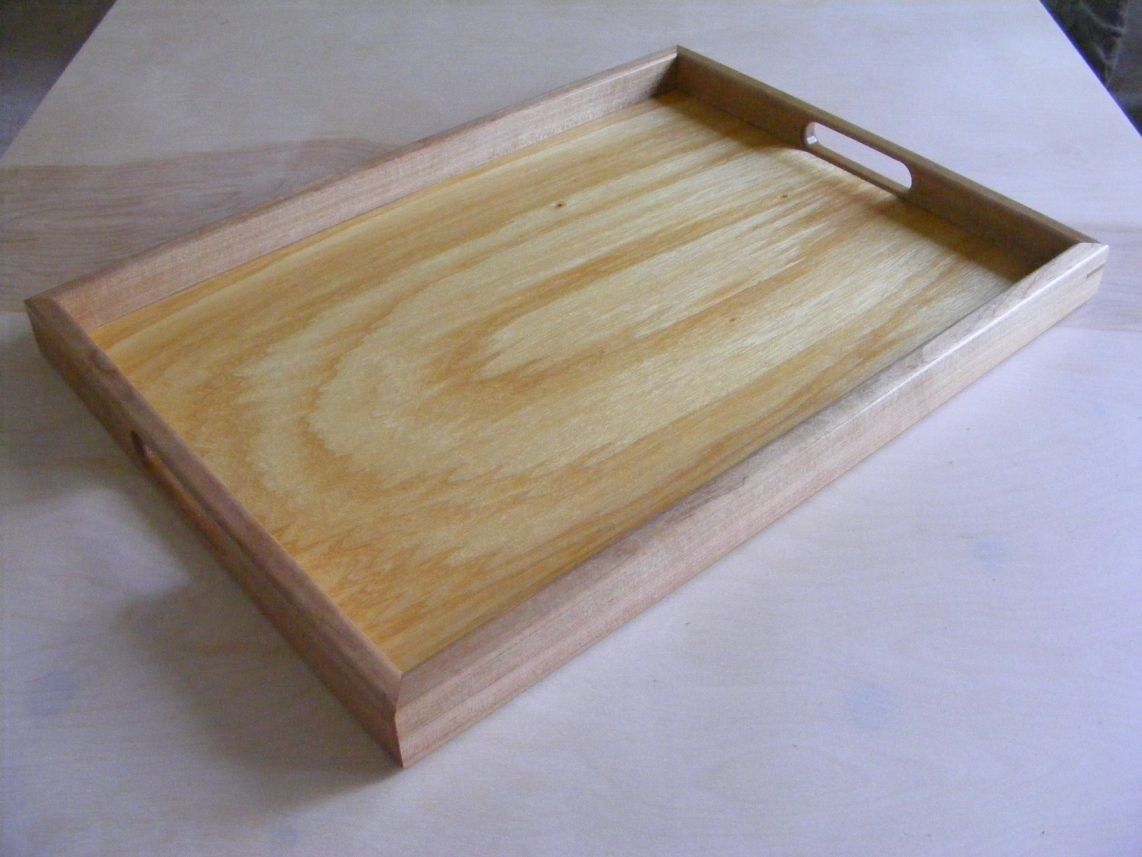
Finished Tray
One item I like to make are trays. I find most bought trays are very small especially when trying to take breakfast to your wife. I often make them as presents because you can never have too many trays.
I used to use cabinet handles for my trays but for this one I decided to route out the handles. I had some left over cherry so that is why I chose cherry. The plywood is oak and the keys are ash.
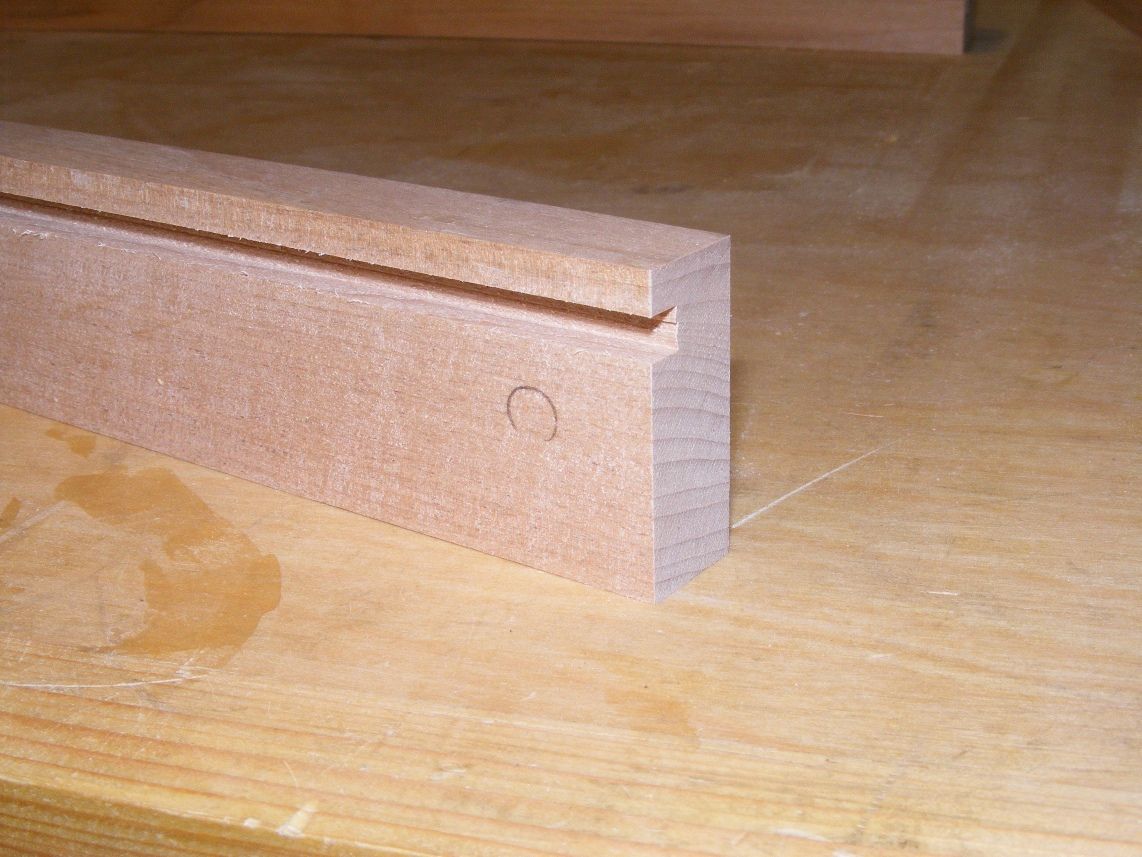
After getting the wood foursquare I cut the grove for the plywood. This was done with two passes of the saw. The 5.2mm is just less than 1/4in so you cannot use a dado blade. Try and get a good fit because you will still need to sand the ply.
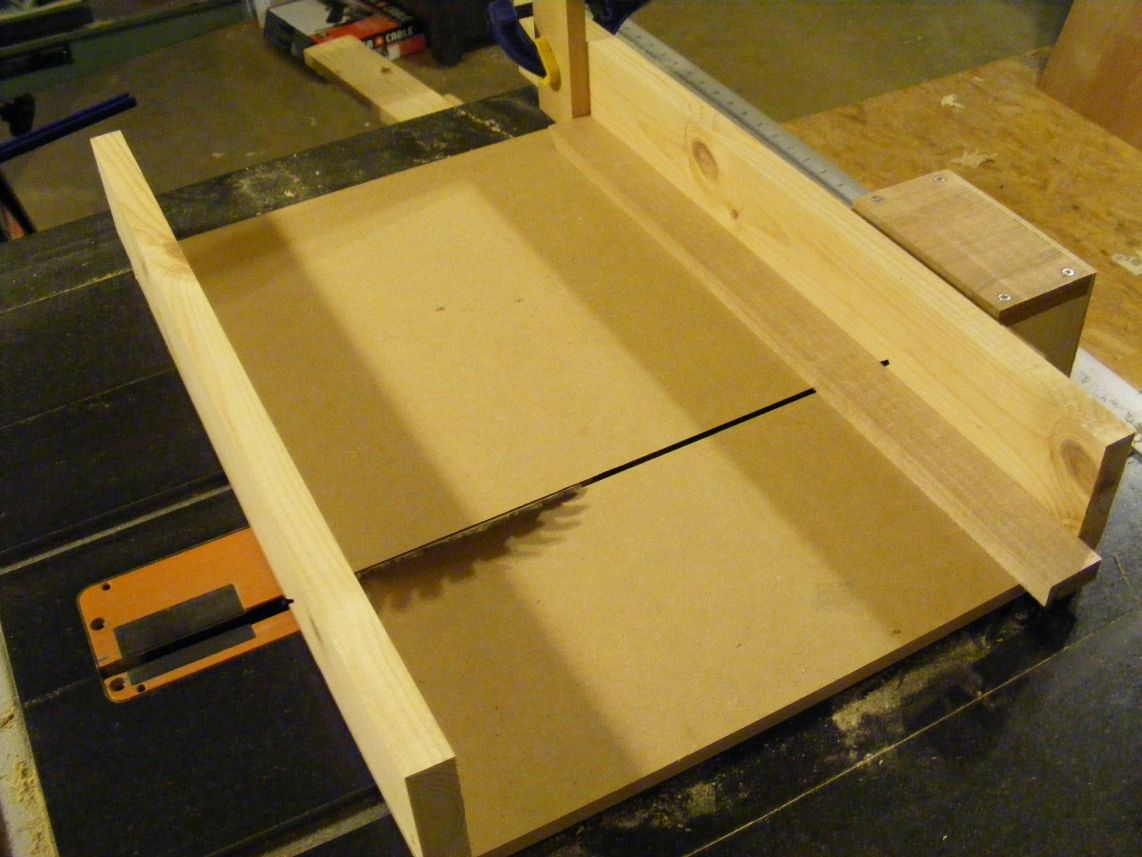
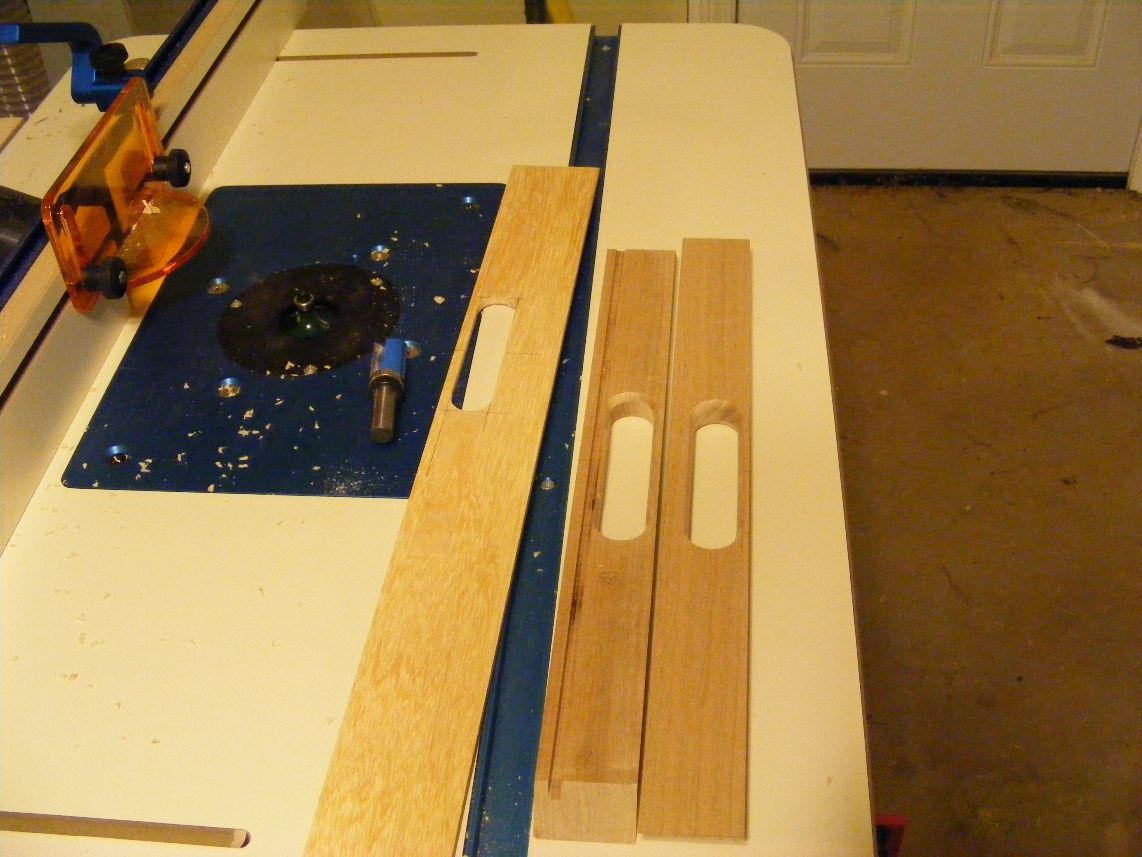
Then I lay out the pieces to get the best grain orientation. If I am using one piece then I try and wrap the grain around the tray. Because I was using offcuts I could not do that this time. Note the miter sled I built which I copied this from FWW #201. Then I made a template for the handles. After much thought they are 7/8″ which takes ones hand nicely. They landed up been a bit wider than that but that size was the plan. Then I drilled out most of the wood using a Forster bit. Then using a flush trim bit to trim them to the template. I tried to use a 3/4 pattern bit in a 3/4 hole which did not work too well. Then I used a round over bit to shape the handle and had to go very carefully as not to crack the wood.
From there I laid out and measured the size of the plywood. I always do it that way round it means that if you make a mistake on the miter you can always trim a fraction off. Having done that I then glued it all together using a strap clamp.
After the glue had dried it was time to plane everything flush before cutting the keys which I cut on the table saw with a jig. I found some ash and trimmed it to the correct size using a hand plane and in went the keys. I cut them flush and planed them smooth.
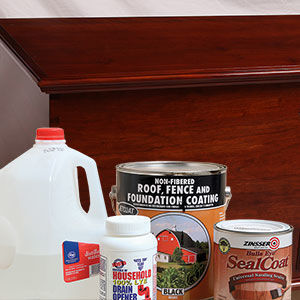
I finished it with lacquer which I did not like so next time it will be back to wipe-on-poly. Then I brought it upstairs to be used in the house.
-
Finished Tray
-
The grove for the plywood. I used 5.2mm ply so that involved two passes through the table saw. I did the grove then sanded the playwood and landed up with a little play. So make it tight at this stage.
-
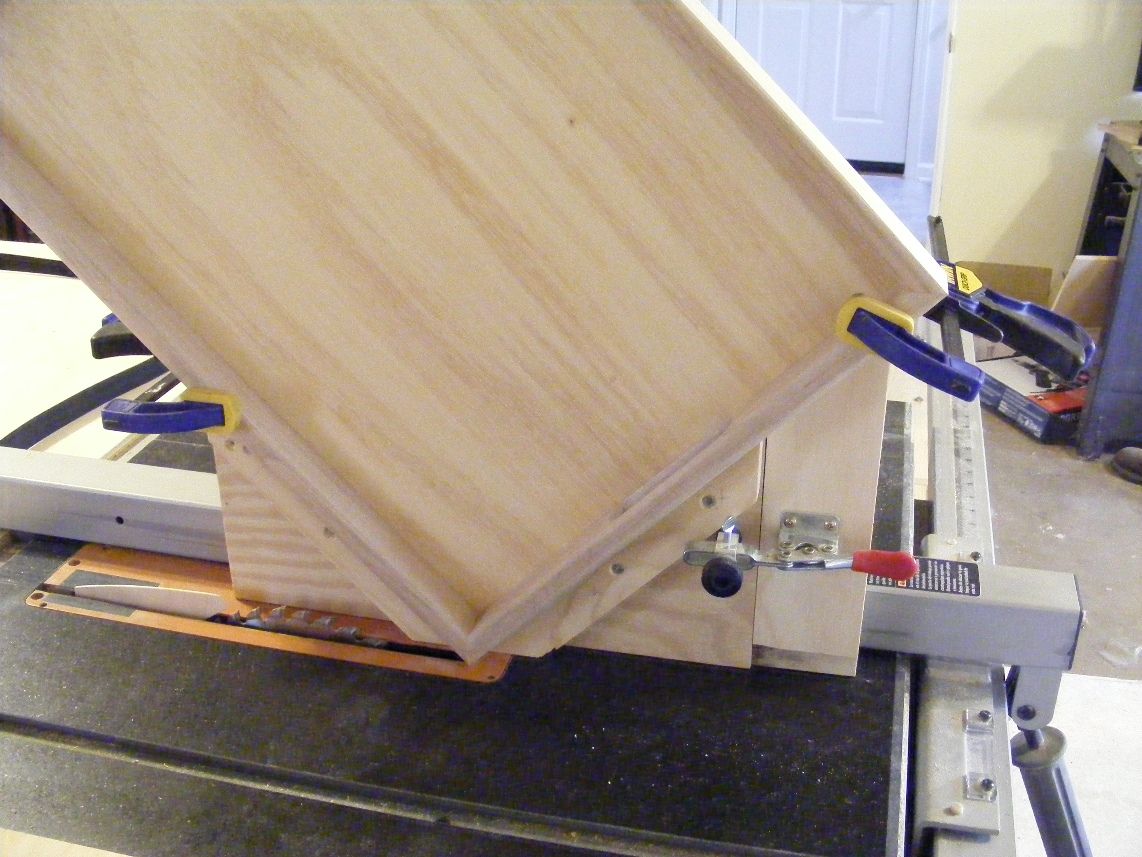
Cutting the miter and using a stop block to ensure the correct size.
-
Cutting out the handles using a plywood template.
-
Cutting the slots for the keys.


Log in or create an account to post a comment.
Sign up Log in