
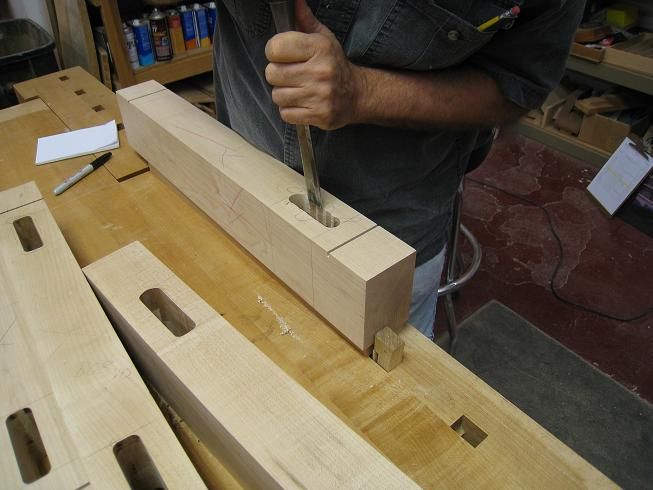
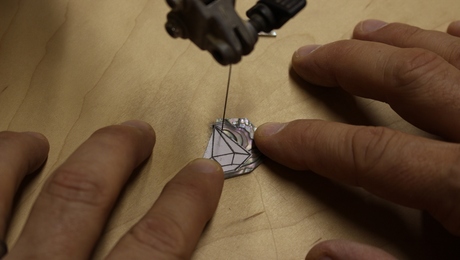
We made two passes with a one quarter inch mortise chisel to achieve a wide mortise.
Bill Peck is blogging his way through building a workbench at the Connecticut Valley School of Woodworking.
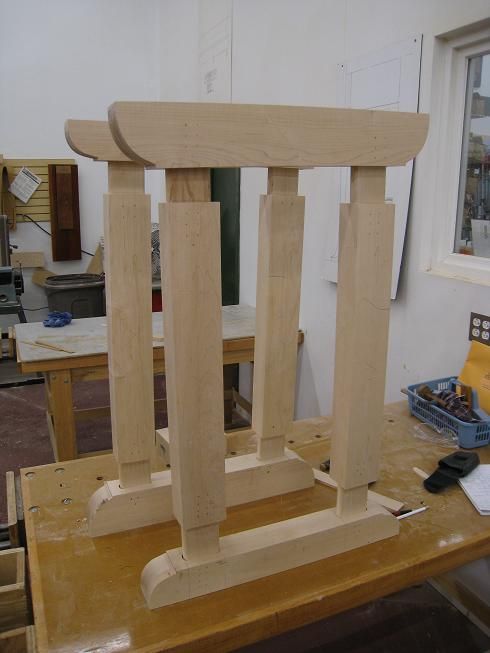
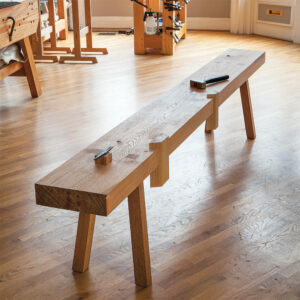
The massive workbench requires a strong, sturdy base to support it. Our workbench uses traditional mortise and wedged tenon joinery on solid maple parts to provide the necessary rigidity. Each base assembly weighs almost 25 pounds.
After getting the workbenches sanded yesterday, we turned our attention to the bases on this the next to last day of our 7 day class. We have been working hard and long hours to keep on schedule; usually working 9 to 10 hours. This day was no exception and there will be no rest on the seventh day either.
We started with a series of demonstrations by Bob Van Dyke on how to lay out the mortises and tenons on the legs , feet and top braces. Then it was off to make our parts using the machnes that Bob and his assistant Tim had set up in advance. Even so, the cutting and hand fitting to get finished bases took considerable time.
The details are in the pictures!
-
We made two passes with a one quarter inch mortise chisel to achieve a wide mortise.
-
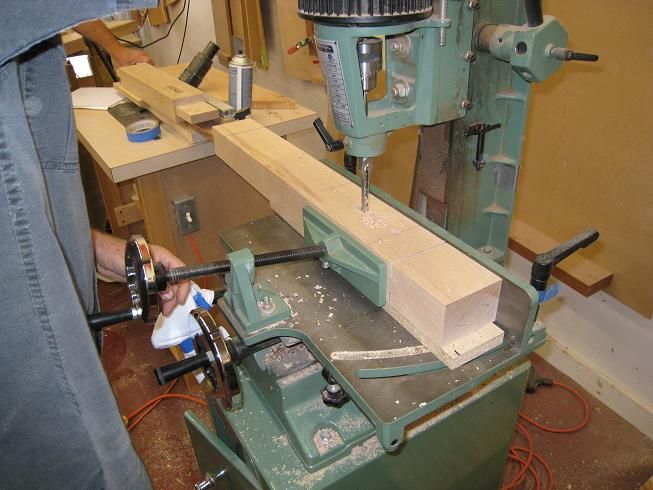
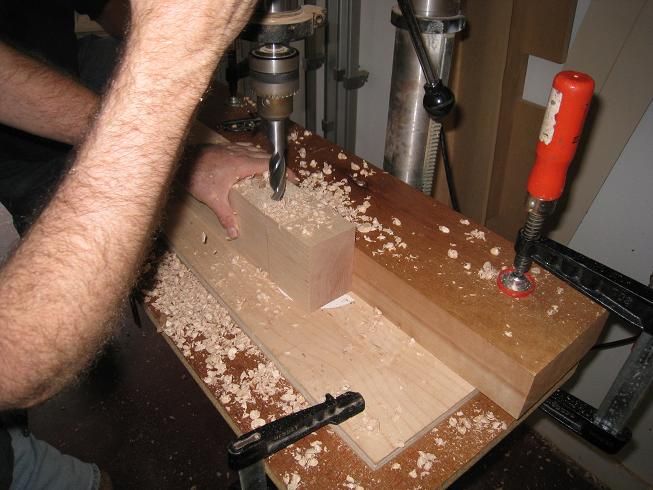
The through mortises on the foot and the top brace were started by removingmaterial using the drill press.
-
Then the nibs were removed with a chisel.
-
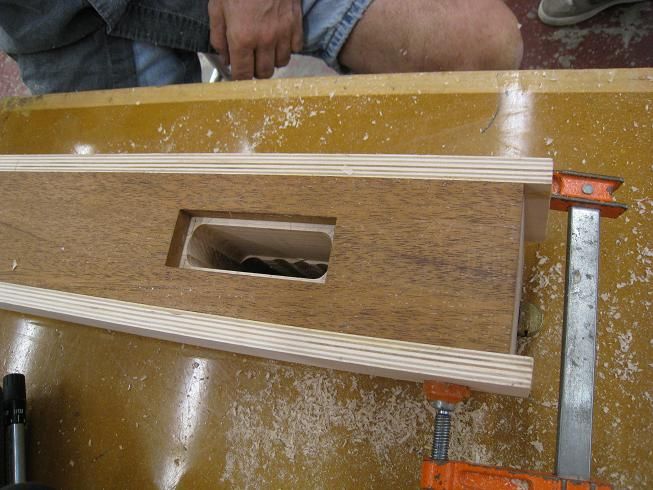
The final step for the through mortises was to cleanup the mortise with a bushing guided router bit from the top and then from the bottom using a bearing guided pattern bit.
-
The top leg tenons were cut on the tablesaw.
-
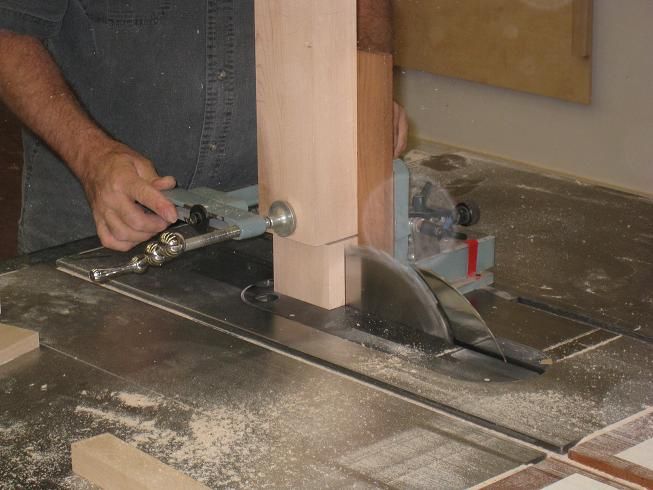
The bottom leg tenons were first cut on the tablesaw. The maximum blade height on the table saw was not enough to cut the fill length of the tenon.
-
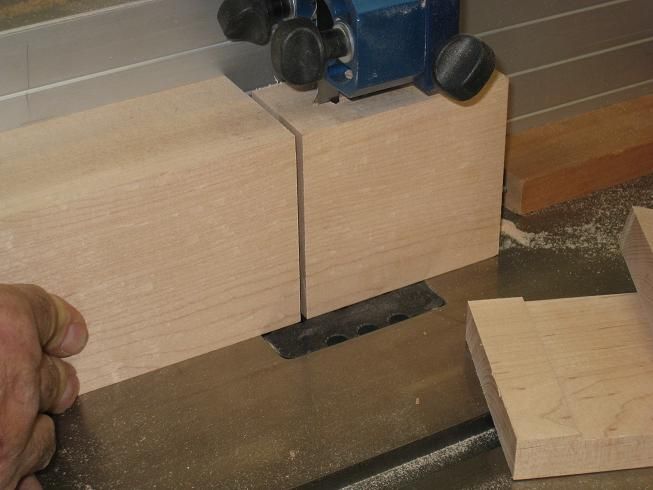
The bottom leg tenons were finished on the bandsaw.
-
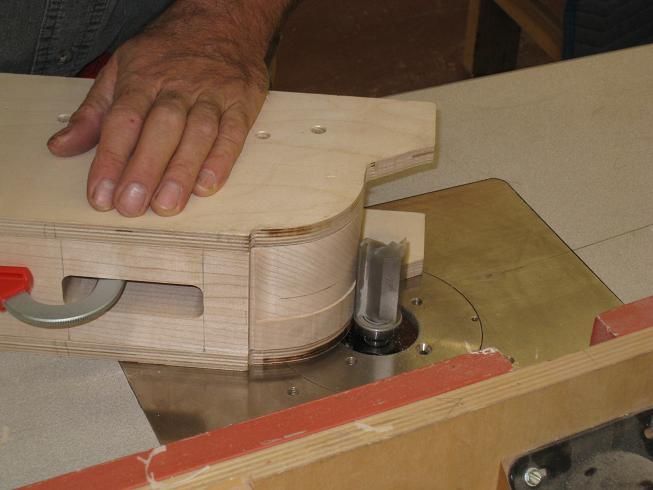
The curves on the ends of the feet were cut oversize on the bandsaw and then shaped to final size using a bearing guided pattern bit on the router table.
-
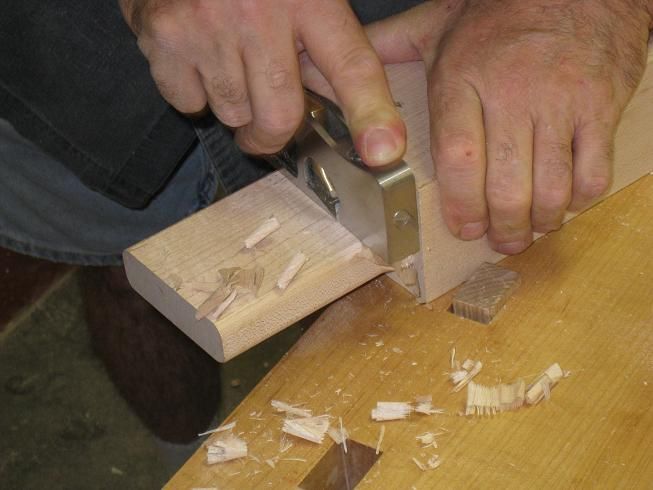
A shoulder plane was used for the final fitting of the tenons to the mortise.
-
Here the two base assemblies are prior to the final fitting. A system of dots marked on each piece was used to keep track of mating parts


Log in or create an account to post a comment.
Sign up Log in