Gallery
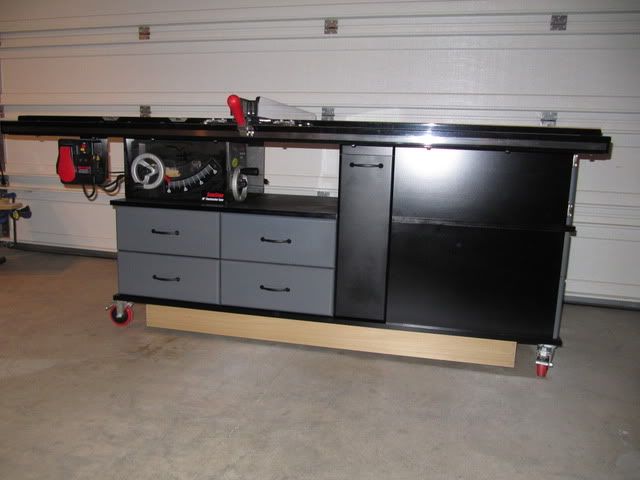
My Sawstop and Router mobile cabinet.
Mar 11, 2010
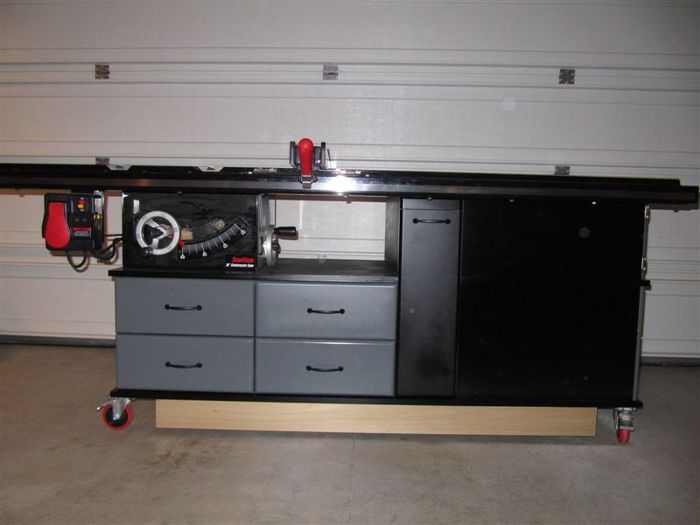
I have limited space in my garage/shop so I combined my SawStop and router table into one and added casters. I started with a purchased design but the plans lacked the storage that i was looking for so I built the base in the plans and then I was on my own. The storage and dust management was critical to me. Thanks!
This site is protected by reCAPTCHA and the Google
Privacy Policy and
Terms of Service apply.


Comments
Very innovative
I am interested in your router table. Did you attach the router onto the underside of the table? If so, how do you adjust the height of the bit and how do you change bits?
I am about to do this same thing on a new saw but without the cabinetry. You did a beautiful job.
b
Thanks guys,,
BronkoB,
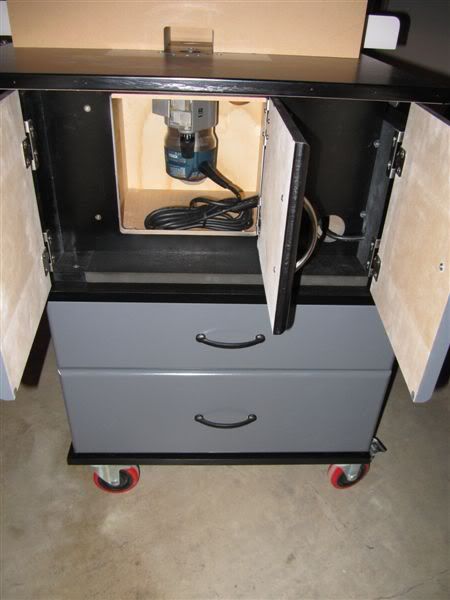
I posted some updated pictures of the router portion of the table. The router is attached to the plate and I'm able to adjust the height of the bit with a hex wrench from the top of the table. I still need to get to the router and unlock the latch but it beats pulling the router out above the table to change the bit. I intend to purchase one of those expensive riser plates in the future because they have a quick release feature that will save my wrist from all the turning.
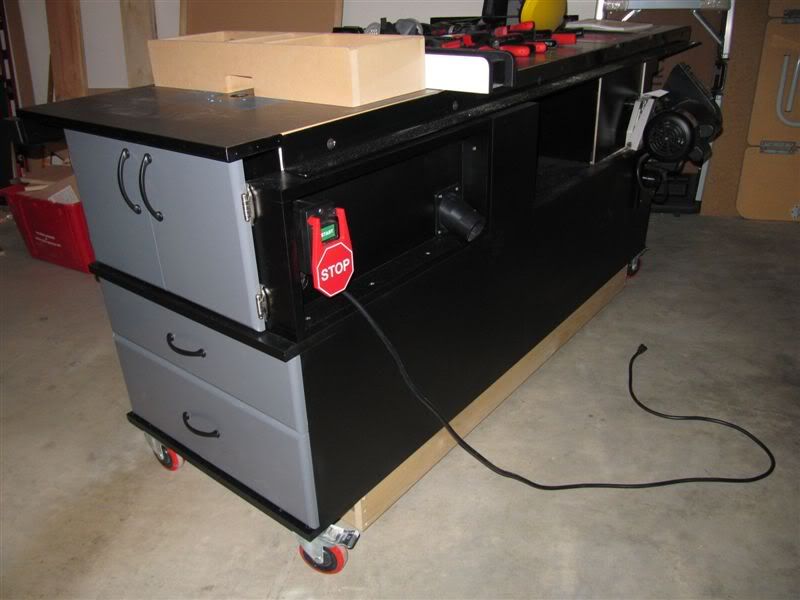
With my router fence I'm able to pull the dust down through the table via that hole you see in the picture. My router fence tunnels the dust to that hole and out a port in the back of the saw. I've always hated that hose sticking out the back of the fence so I thought of a way to do away with it. for a better detailed description on my idea go to this link. There are pictures of my dust collection scheme posted.
http://lumberjocks.com/tedth66/blog/13875
Nice work...love the compact-ness of the unit.
Thanks for the link. Beautiful job and inspiring enough to get me rolling on similar project.
This is just what the doctor order for my garage/shop. Space is limited for me, and after reading your post this is what I need. I have seen the picutres of the router side of the station, but I have not seen any pictures for the tablesaw. Can you provide some detailed pictures on the table saw side of the station?
Hello dlwoodworking,
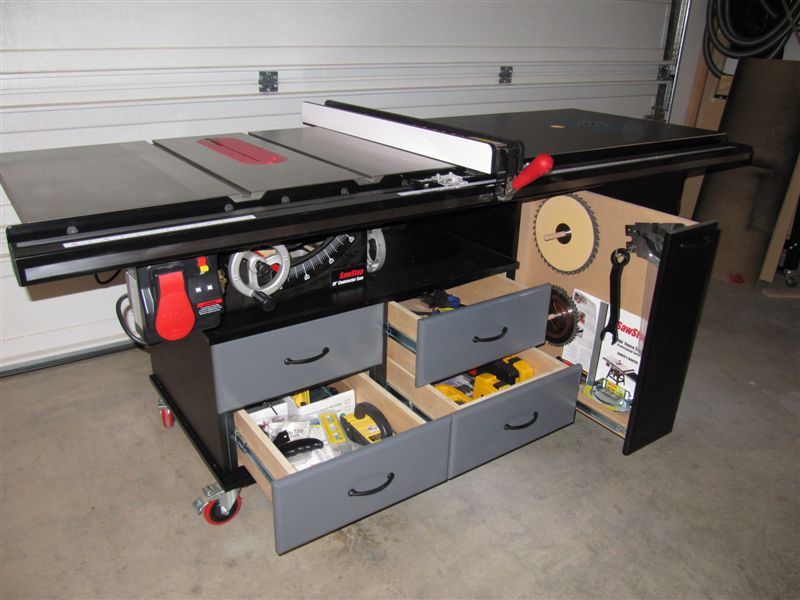
What specific pictures would you like to see? What looks like a drawer directly under the saw is actually a dust chamber. I put a false front on for looks. There's a dust port under the motor on the back and I've also made a plate out of hardboard to cover the openings around the motor to improve the dust collection. Let me know what specific pictures you'd like to see and I'll be happy to post them. I'm on a trial membership for (finewoodworking.com) so if you don't hear from me you can also find my saw on lumberjocks.com. I can update pictures on lumberjocks at any time. Thanks.
http://lumberjocks.com/projects/27579
Ted
That is a really nice set up and well planned out.I bet you like that you can wheel her around when needed.
Good stuff :)
What are your impressions of the saw?
The SawStop contractor saw is outstanding. I've since added a fold-down outfeed table to my cabinet and love not having to use a 12" roller stand.
Log in or create an account to post a comment.
Sign up Log in