

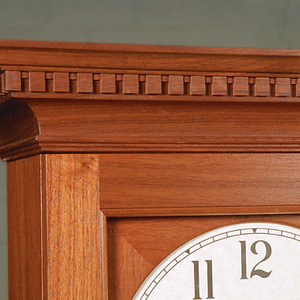
Sometimes you might draw in a molding or trim componnet using Follow Me. Later, if you want to include that molding in a cutlist, the component won’t be reported correctly because its bounding box is much larger than the molding itself. You could redraw the molding as separate parts but that can be rather tedious. There is an easier way to break up the molding into its parts. This video is intended to illustrate that.
This site is protected by reCAPTCHA and the Google
Privacy Policy and
Terms of Service apply.


Comments
Thanks for answering the question. Your videos are most helpful.
David,
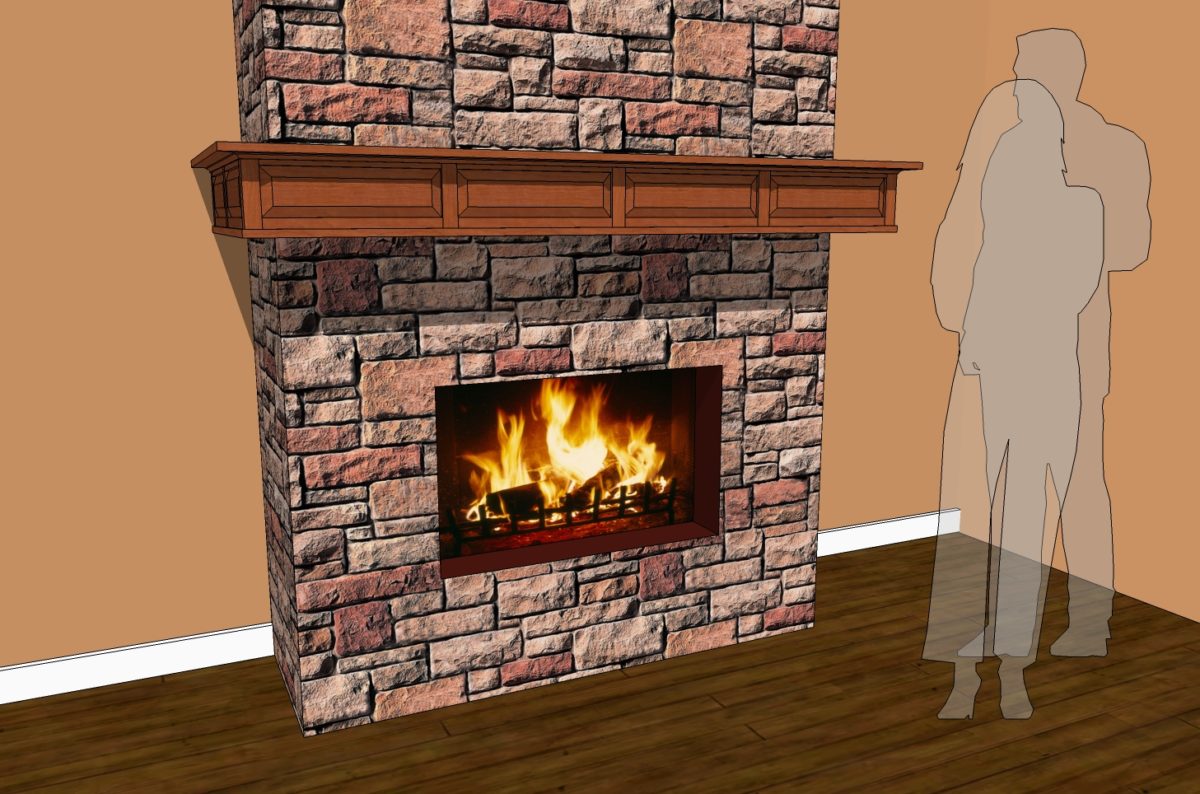
Thanks for the tutorial. I have a related question regarding mouldings. I am also designing a fireplace mantel. With respect to the front cove moulding, since push/pull will not work on the mitered face, is there any way to easily change the length of that moulding, and if so, is there a way to have the other part of the corner moulding automatically follow?
Regards,
Phil
Hi Phil,
You wouldn't be able to move the side moulding component and adjust the length of the front one at the same time but it isn't difficult to make the modification. To change the length of the front moulding piece, open that component for editing and drag a left to right selection box around the end that needs to be longer. Make sure you get the entire end of the moulding included in the selection. You could also double click on the face of the miter but the selection box is quick when you can't see that face. Next get the Move tool and move the selection in the direction needed and type the distance followed by the enter key. Close the moulding component by selecting the side component or clicking out in space with the Select tool.
With the side moulding component selected, get the Move tool and move the component the same distance that you moved the end of the front.
It takes longer to read this than to do it. Unfortunately the same thing doesn't work on real wood.
Cheers,
Dave
Log in or create an account to post a comment.
Sign up Log in