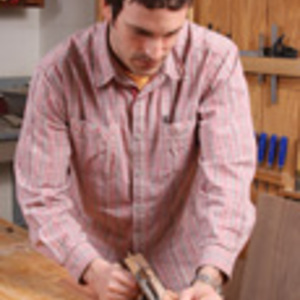
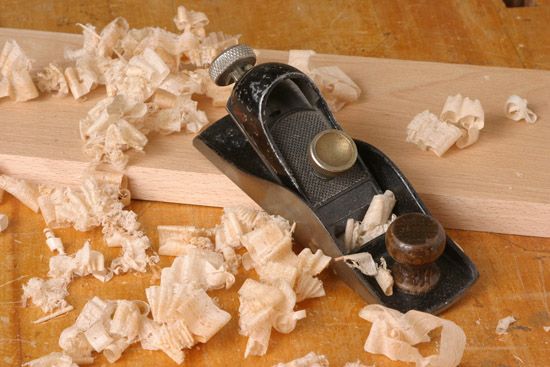
The end of the job leaves me with ribbon-like shavings.
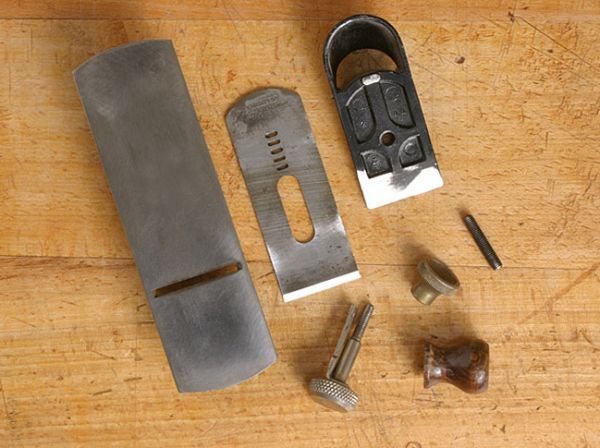
This afternoon I headed back into the shop for Part II of my humble block plane’s rehab. As you’ll recall, yesterday was spent flattening the sole and sides of the plane, all of which were caked with old paint and years of accumulated oxidation. Today’s task involved sharpening the plane iron and removing oxidation from the tool’s various knobs and screws.
3 – The Hollow Grind
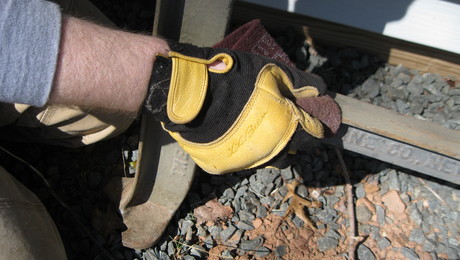
 At this point, I turned my attention to putting a hollow grind on the bevel of my plane iron. Using a ten-inch grinding wheel and water bath, I set the iron into the wheel’s sharpening jig at the proper angle (mine being 25-degrees) and got down to business. Keeping the iron moving from side to side as the wheel did it’s work, I acheived the desired result within only a few minutes.
For more information on the proper way to put a hollow grind on your chisels and planes, have a look at these resources:
Sharpening Doctor: Grind the Bevel
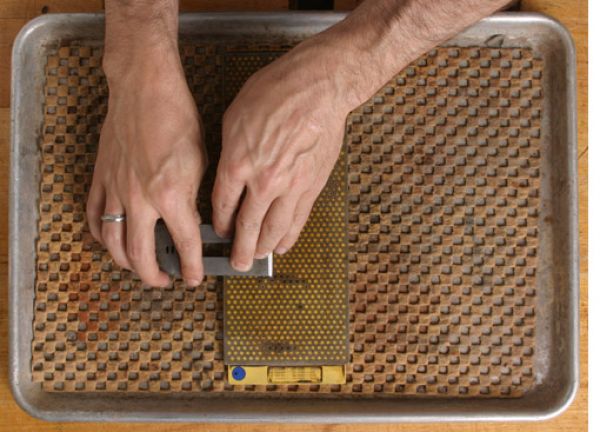
4 – Final Honing
My hollow grind taken care of, I went to work on putting the final edge on my iron. The first step was to flatten the back of my iron. Using a 1000-grit water stone, I worked the back until the half of the iron nearest to the cutting edge was perfectly flat.
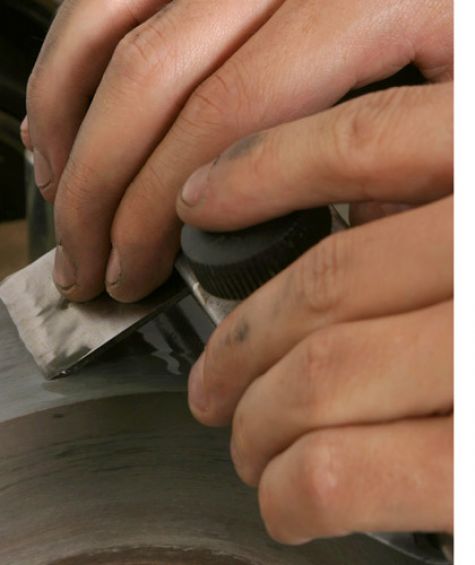
 With the back flattened, I moved on to the bevel. No doubt there will be some folks out there who swear by the use of a honing guide when using a water or diamond stone. While guides do a top-notch job, I’ve never gone wrong using my own two hands to guide my chisels and irons along a stone.
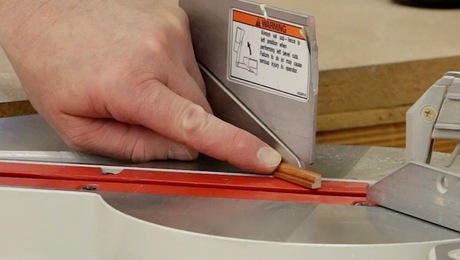
Setting the iron on the stone, bevel-side down, I use my index finger to gently lift the iron into position, until the bevel makes full contact with the stone. At that point, it’s simply a matter of using a couple of fingers from my other hand to bear down a bit on the cutting side of the iron and using even back-and-forth strokes to put an edge on the blade. Once you feel a burr developing on the back side of the iron, flip it over and rub out the flat side until the burr disappears. I typically go through 2-3 grits before moving on to a final finishing water stone.
My last procedure on a fine water stone was no different than what I went through above. Working the bevel first, I then flipped the iron over to get rid of my burr. At this point it was simply a matter of reassembly, application of a bit of paste wax on my sole, and giving it a test run. The results seen in the photo at the top of the page speak for themselves.


Comments
I have gone to two sets of planes now. I want to see how a double bevel, and hollow grind edge hold up against one another. I have to say the double bevel works better for the hard hard woods that have a nasty habit of blunting tools, and also curly and figured woods also cut nicer with a sharp double bevel. It is harder to perfect, and maintain, but I try to keep that type of work to a minimum.
I'm glad to see an article like this. So many think we have to spend $150 or more to get a plane that performs well. But with a bit of knowledge, equipment and effort, one can take a $5 plane and produce quality results.
Log in or create an account to post a comment.
Sign up Log in