
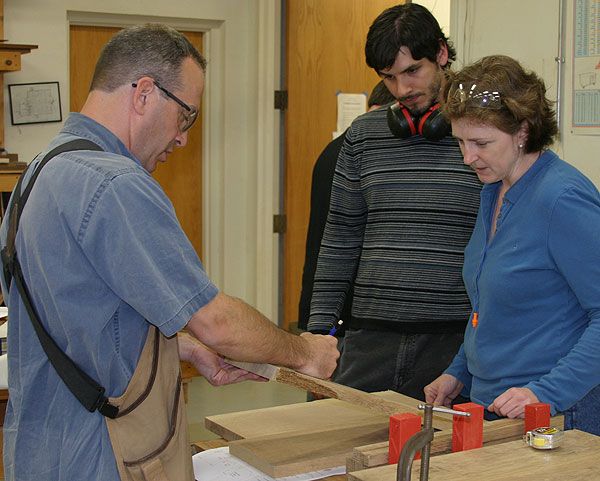
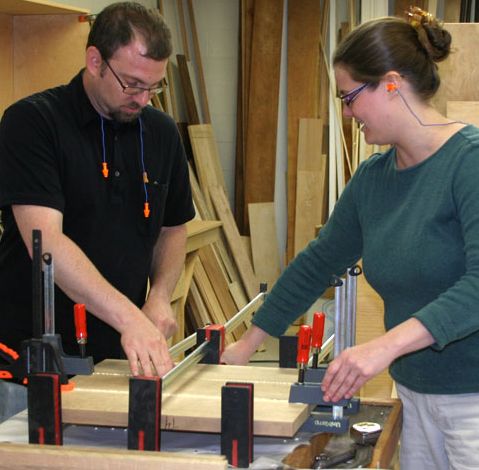
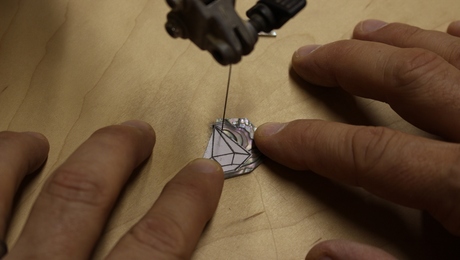
A lesson on grain. Our fearless leaders Kelly Dunton and John Tetreault gave us tips on orienting grain.
By the time May rolls around, most woodworkers are wrapping up their furniture projects, swapping flannel for sun block, and heading outdoors.
But here at Fine Woodworking, a small group of enthusiastic newbies from our parent company, the Taunton Press, headed into the shop last week for a month-long table making course with two art department staffers Kelly Dunton and John Tetreault.
Every Tuesday and Thursday evening we’ll gather to build Dunton’s Arts and Crafts Side Table published in FWW #186.
First we glued-up our table tops.

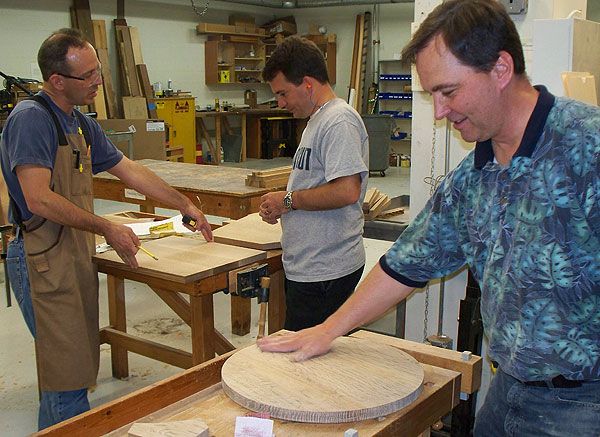
A lesson on grain. Dunton gives tips on orienting grain to take best advantage of the white oak’s ray fleck patterns. Sarah Jeffrey and Tetreault look on. In her day job, Jeffrey cooks us delicious lunches in the Taunton “T-Room.”

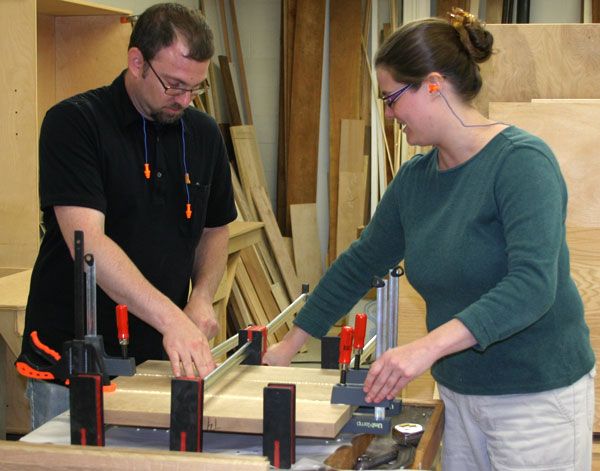
Panel glue ups. Web developer Erika Foreman and Taunton online store guru, Michael Stoltz, tag-team a tabletop glue up.

Squaring parts. Tetreault gives a primer on using the jointer as Kimberly Parrilla from ad sales looks on.

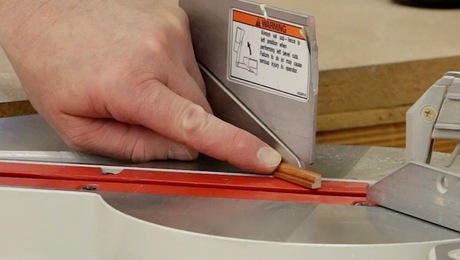
Cutting to size. Here I’m crosscutting the legs.

Make a round top. Dunton and Fine Woodworking’s advertising sales director Peter Badeau consider how to cut out the tabletop while Larry Rice, from accounting, has his already trimmed to size.

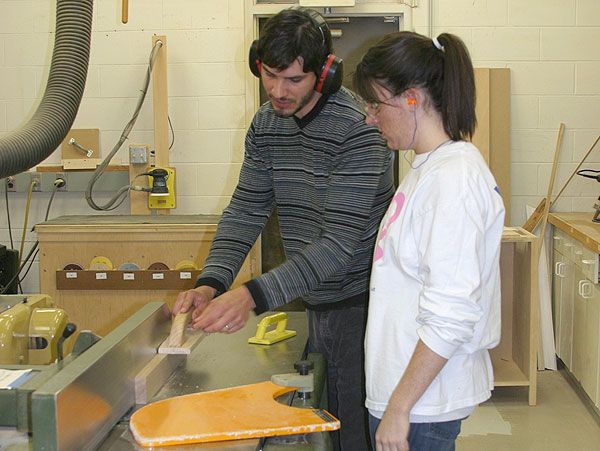
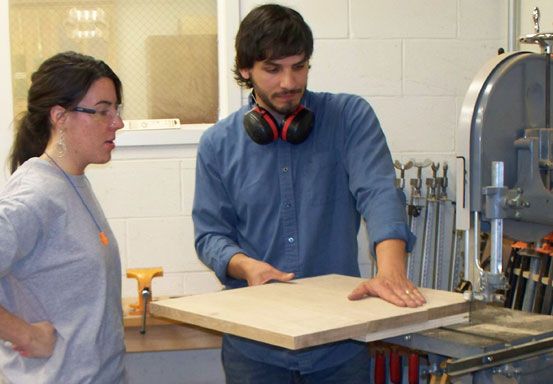
Circle-cutting at the bandsaw. Tetreault talks Parrilla through the process as she prepares to cut her tabletop using a jig at the bandsaw.

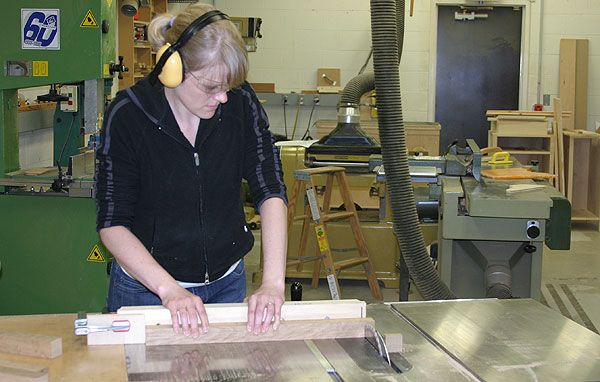
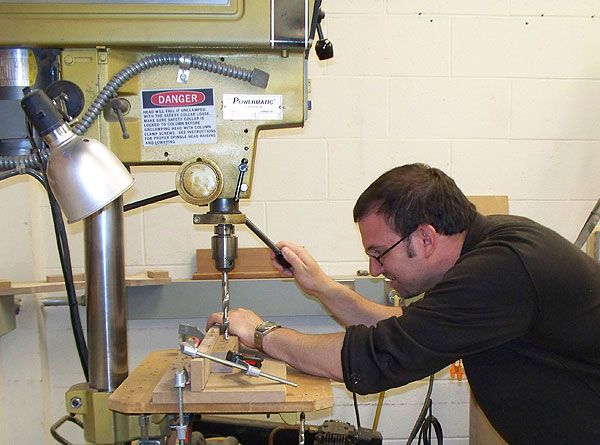
The joinery begins. Stoltz roughs out some leg mortises at the drill press. Next, he’ll clean them up with chisels.
By the end of the week, most of us had cut our tops to size and started in on the mortises. We’ll see how far we get this week.
Anyone out there in cyberland built this table or one like it before? It’s a great beginner’s project and a classic design that’s been adapted over and over again (check out our video workshop where Gary Rogowski builds a similar design).
We’ll see what happens when we get to the finishing stage. I’m not sure if I’m up for breaking out the ammonia!
-Photos by Dunton, Tetreault, and class participants
-
A lesson on grain. Our fearless leaders Kelly Dunton and John Tetreault gave us tips on orienting grain.
-
Panel glue ups. We started out by gluing up our tabletops.
-
-
-
-
-
-
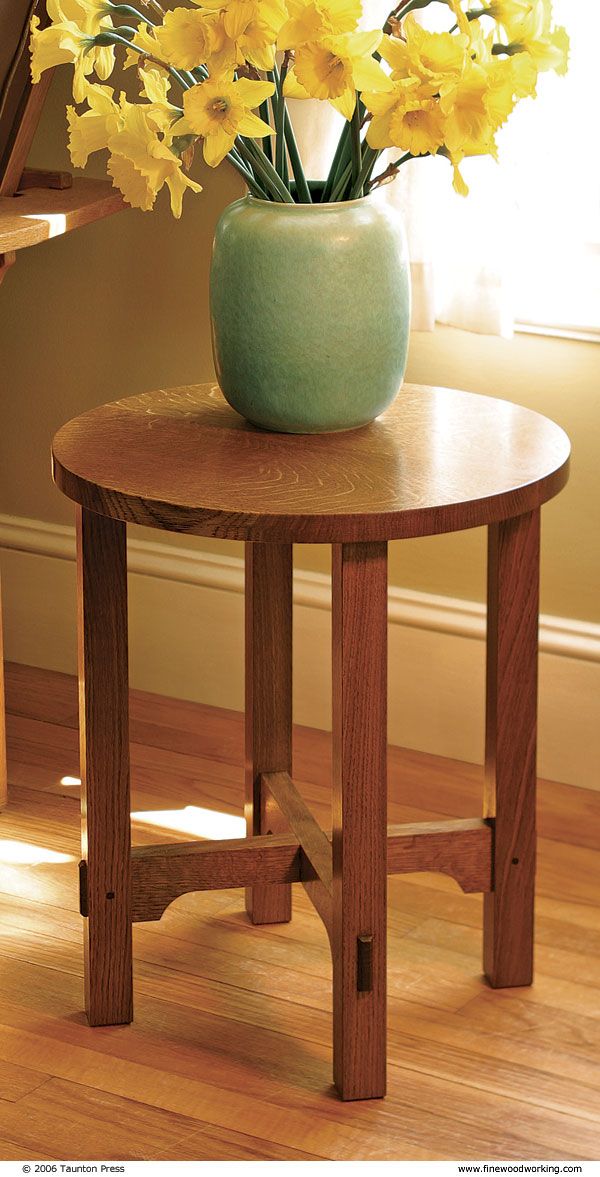
The goal. We're building this Arts and Crafts side table in white oak. The design is published in FWW #186. You can also buy the full-size plans in our online store.
-
Panel glue ups. We started out by gluing up our tabletops.


Comments
The table is an excellent teaching/learning project, with lots of fundamental joinery techniques.
I've built about nine of these over the past couple years after I first saw the table on Tree Frog's website - http://treefrogfurniture.blogspot.com/
One thing someone might try is keeping the pins proud of the surface for a little different look to the legs. I prefer them about 3/16ths proud.
http://www.flickr.com/photos/saltybeagle/2378330427/
Let us know how they turn out!
Nice to put some faces to names in the masthead. Thanks, everyone.
Log in or create an account to post a comment.
Sign up Log in