The Four Year Project
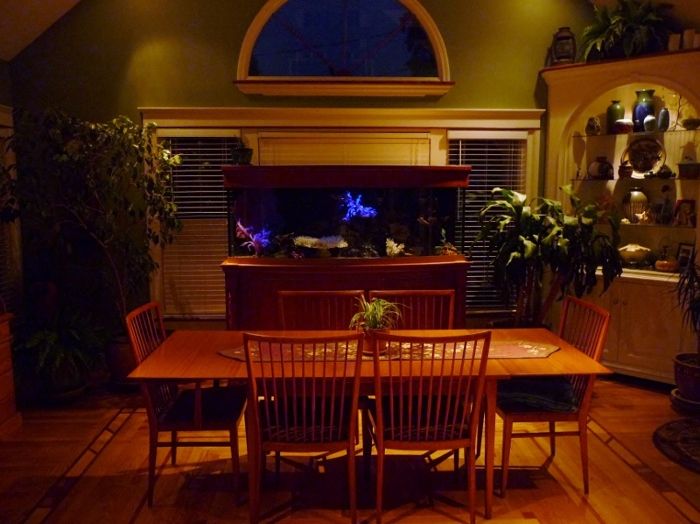
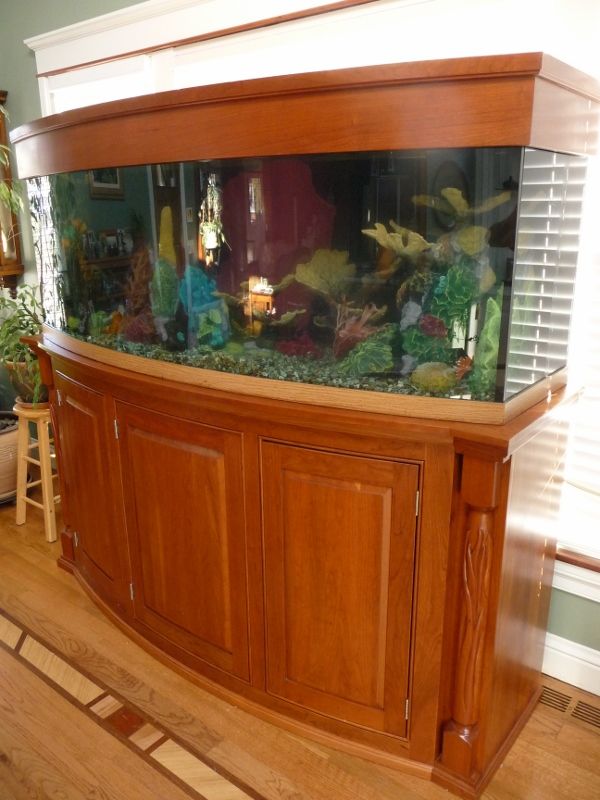
155 gal. bow front salt water aquarium stand
This project took forever to build.
It all started when a neighbor asked me to install a bay window for them. He had his own aquarium business, like that show Tanked, so it was a good opportunity to make a trade for a new salt water tank.
Of course, the bay window turned out to be a much bigger project. There was a 1″ electrical conduit and a gas line in the wall which had to be relocated. But, After completing the work and several other honey do projects, I took delivery of the 6 ft. long tank.
Now, I’ve built a lot of cabinets but, never a bow front with arched, raised paneled doors. This was going to be a fun project.
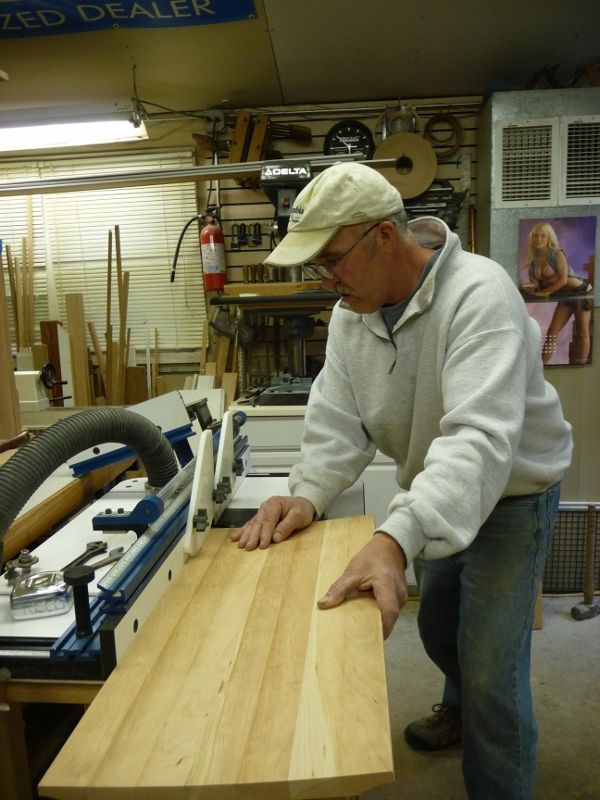
I had to build the stand before he could install the filter system so, I bought 3/4″ maple plywood for the casework and solid cherry for the doors and trim and got started right away.
The problem was once the aquarium was full of water it wasn’t going anywhere. First things first.
The floor framing had to be doubled and reinforced and I had to run electrical and water supply and drain lines under the floor.
Then, the reclaimed 100+ yr. old oak patterned floors had to be installed and finished.
The 1942 refurbished corner hutches had to be rebuilt and installed.
The walls and windows, trim, cabinets and ceiling had to be painted.
So, the empty aquarium sat on the half completed stand while I slowly finished the other projects.
BTW – We love Halloween so one time, we had a party and filled the empty tank with skeleton fish made of baltic plywood and lit up with a black light! Man, that was cool!
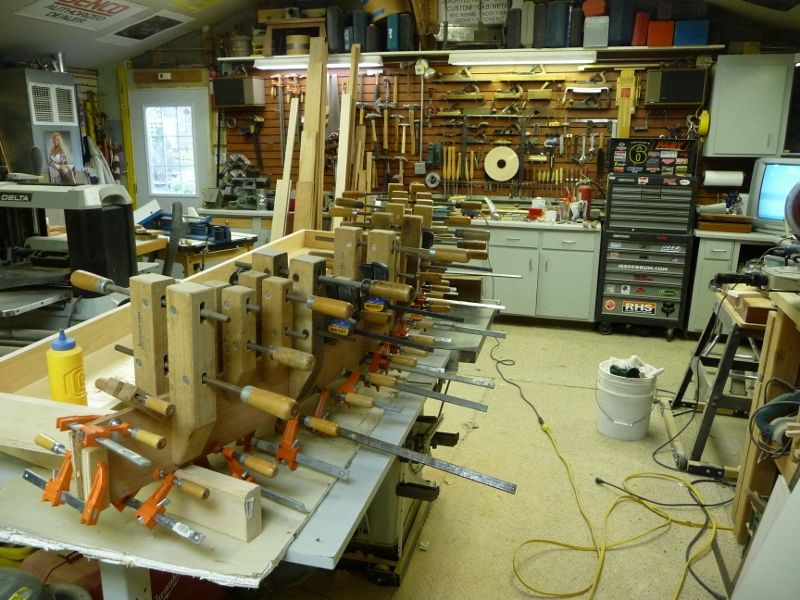
The cabinet and angled trim would be easy to build but the arched doors were going to be a challenge. Lots of clamping jigs!
I also discovered it was better to glue up four thinner veneers rather than only three.
I had two 1/2 posts left over from a kitchen remodel we did. I wanted to put them on either side of the stand but they seemed a little plain so I carved them to look like sea weed.
To make the doors panels, I ripped and glued 1 1/2″ pcs. of cherry with a 1 degree angle. Then, sanded them with an angled sanding block to get it round and smooth.
Stain and finish – I used a wood conditioner to prevent the cherry from blotching, Zar – Teak natural oil stain and 2 coats of oil base varnish.
The aquarium guy came right away once it was finished and installed the filter system, filled it with salt water and 6 beautiful salt water fish.
Now you know why it took four years!


Log in or create an account to post a comment.
Sign up Log in