Gallery
Hawk’s Foot
Oct 24, 2012
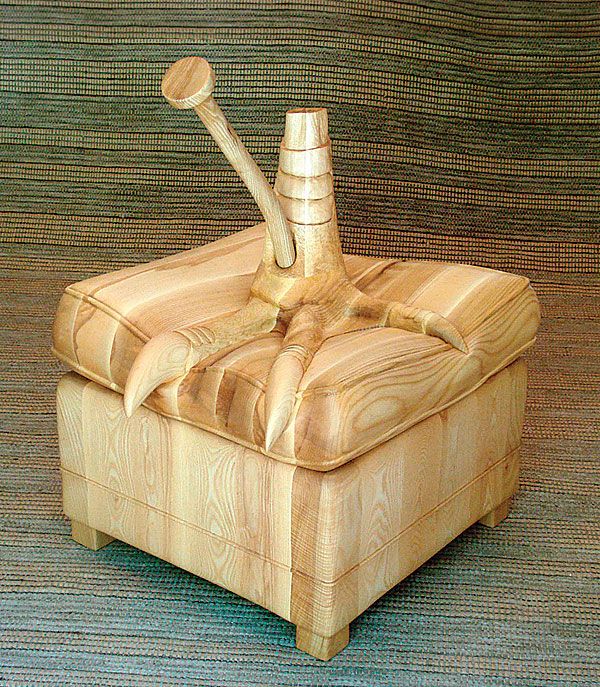
Woodworker: Jere WilliamsYears ago, a student of Williams did a mixed-media piece based on a hawk’s foot she found nailed to the wall of her grandfather’s barn. Recalling that piece recently, Williams was inspired to build this all-wood sculpture in ash (23 in. deep by 28 in. wide by 34 in. tall). To shape the four pieces (ottoman base, pillow and lower part of foot, upper part of foot, and nail) after assembly, Williams roughed out the shape with an angle grinder and a chainsaw-blade attachment, and then moved to chisels, gouges, a drill, a sander, scrapers, and hand sanding. The finish is polyurethane. (For more on his technique, see Master Class: “Use an angle grinder to sculpt flowing joinery,” FWW #185). From Fine Woodworking #204
This site is protected by reCAPTCHA and the Google
Privacy Policy and
Terms of Service apply.


Log in or create an account to post a comment.
Sign up Log in