

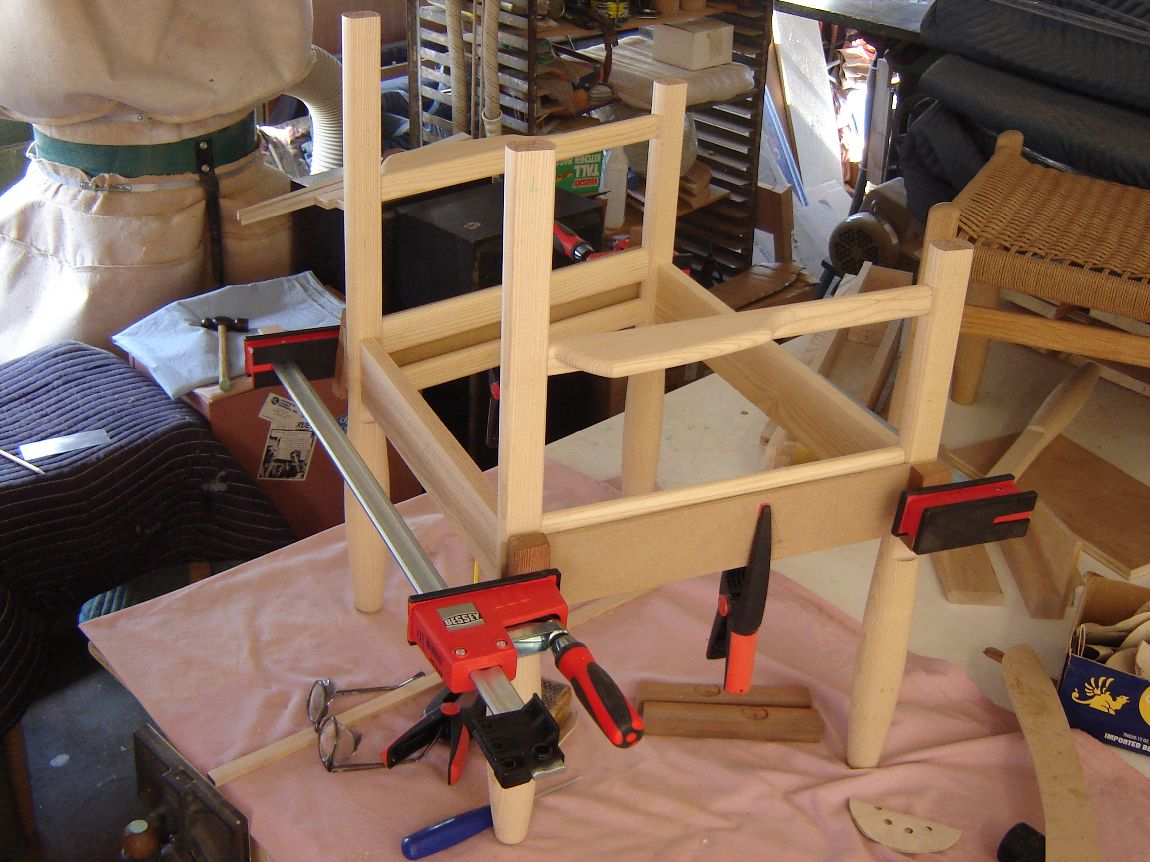
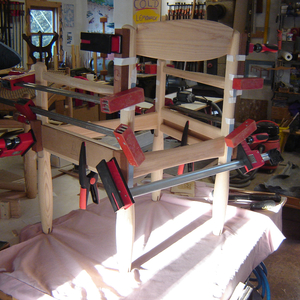
Dry run. This is the first dry-fit with all the rungs, arms and the front and back in place. The cauls are mounted on a 1/4" MDF base that positions them. They are cut to an angle that compliments the angled sides. This gives me square, parallel surfaces for the clamps.
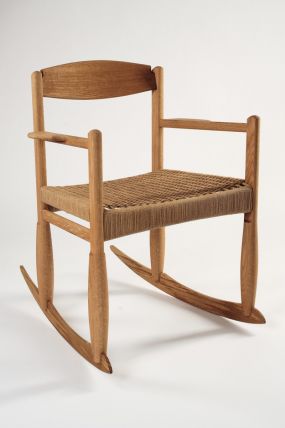
The rocker project is almost complete. Check out the photos above to see some of the shaping and fitting that happens prior to glue-up.
All posts on the rocker project:
Part 1: Mill the lumber and laminate the back rest
Part 2: Turn the rocker legs
Part 3: The joinery
Part 4: Final fitting and shaping (above)
Part 5: Project complete
When everything is said and done, the rocker will look a lot like this:
-
Dry run. This is the first dry-fit with all the rungs, arms and the front and back in place. The cauls are mounted on a 1/4" MDF base that positions them. They are cut to an angle that compliments the angled sides. This gives me square, parallel surfaces for the clamps.
-
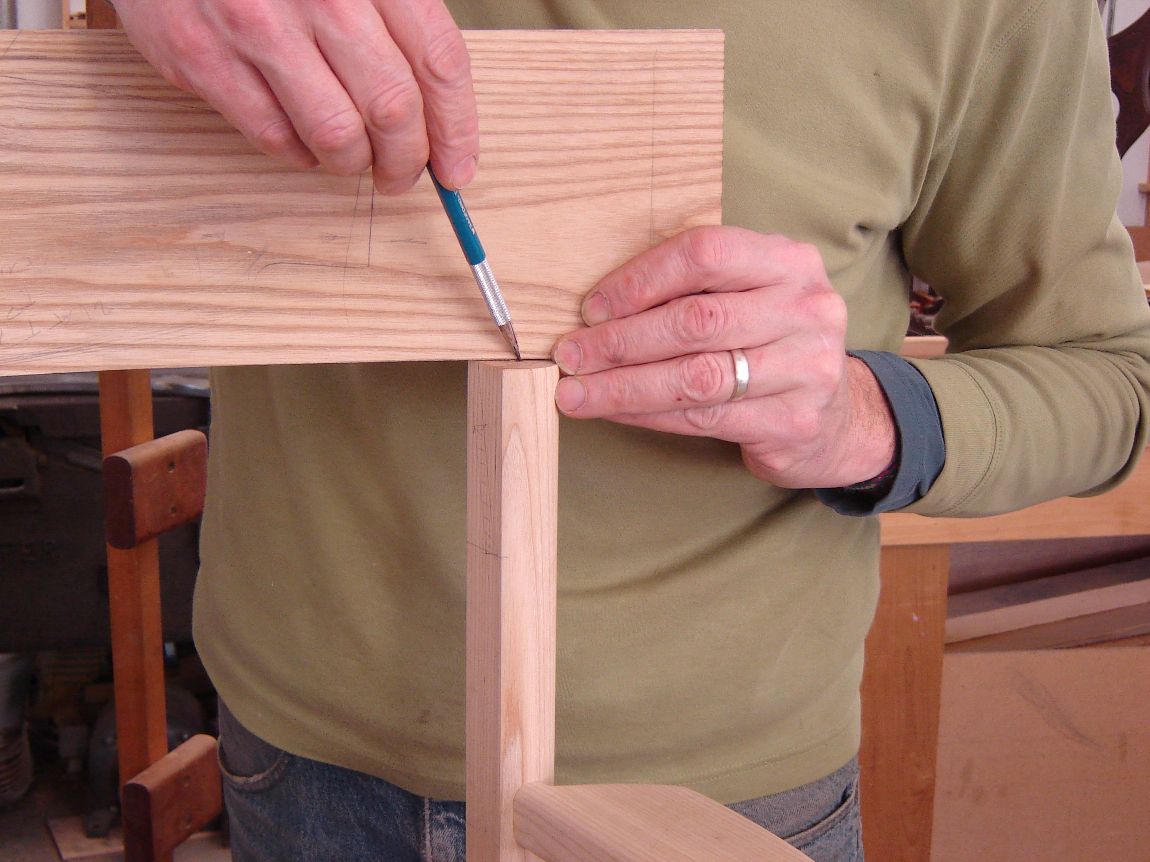
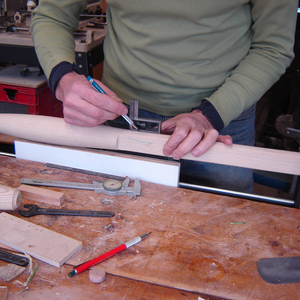
Lay out back rest joinery. Before disassembly, I rest the curved backrest blank on the top of the back legs to catch the angle for its mortise.
-
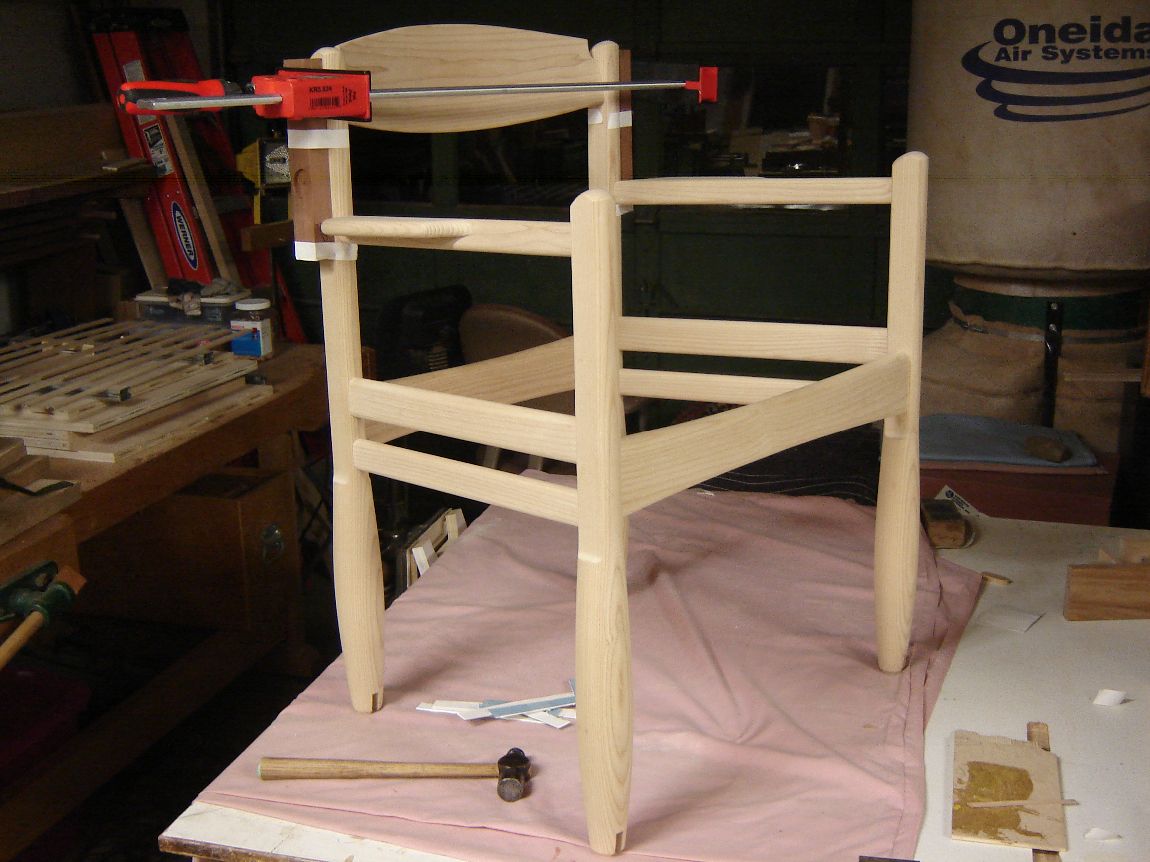
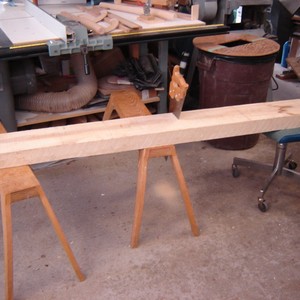
Ready for rockers. I have cut the slots for the rockers and shaped the tops of the legs and the backrest. This last dry-fit before glue-up is to check on the fit of the backrest in its freshly cut mortises.


Log in or create an account to post a comment.
Sign up Log in