Turning Furniture Parts (Part 2)
For smooth surfaces and intricate elements, a little practice makes perfect

Synopsis: In Part 2 of Peter Galbert’s series on turning, learn the subtleties involved in planing a smooth surface, plus cutting the precise notches, beads, and coves seen in traditional furniture parts. Master these cuts in practice and real furniture spindles will be a breeze. Galbert demonstrates some techniques that the usual sources neglect to explain, such as how to adjust your footwork and grip to put the tools and your body in the most comfortable position. Topics include planing with a skew chisel, cutting V-notches, cutting beads, cutting coves, and putting it all together.
One thing furniture makers don’t realize when they approach turning is that the smooth surfaces, sharp notches, and lovely beads and coves they covet all take a bit of practice. The great thing about a practice session is that you don’t have to fret over making something precious.
The basic drills in this article will teach you the subtleties involved in planing a surface smooth, plus cutting the precise notches, beads, and coves seen in traditional furniture parts. Master these cuts in practice and real furniture spindles will be a breeze.
Like I did in Part 1 (FWW #231), I’ll demonstrate some techniques that the usual sources neglect to explain, such as how to adjust your footwork and grip to put the tools and your body in the most comfortable position.
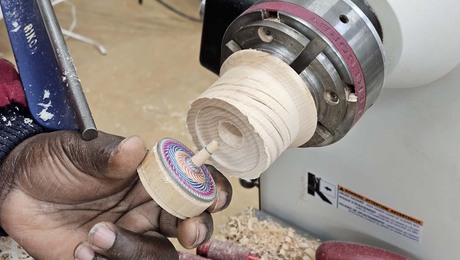
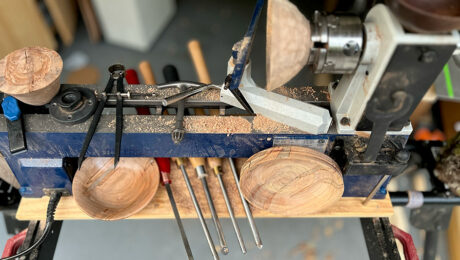
You won’t need as many tools as you think. Furniture work requires only four tools, a roughing gouge and parting tool, plus an oval skew chisel and spindle gouge that have been specially reground and honed (see Fundamentals, also in FWW #231). For the skillbuilding exercises in this article, you’ll need blanks 12 in. to 18 in. long that have been roughed down to 21 ⁄4-in.- dia. cylinders, as you learned to do efficiently in Part 1.
Planing with the skew chisel
Although planing all of the flat surfaces with an oval skew chisel is typically the last step I take in turning a spindle, it’s one of the first skills I teach novices because it’s simple to learn and develops a feel for the tool. The key is learning to balance the bevel of the tool on the spinning workpiece and rotate/angle the edge as needed to take whisper-thin, even shavings and leave behind a glass-smooth surface. Turners try to minimize sanding, which blunts sharp details.
You’ll need to learn to plane in both directions, but there is a more natural direction for lefties (going left to right) and righties (vice versa) to start with when getting a feel for the technique.
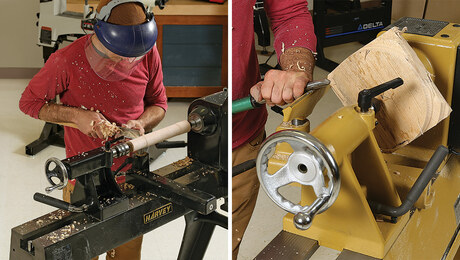
Hold the oval skew chisel like a roughing gouge, with one hand bracing the bottom of the handle against your hip. Press the barrel of the chisel against the tool rest with the thumb of your other hand. Keep the edge of the tool at about 45° to the axis of the workpiece with the toe pointed up. That position keeps the bevel bearing on the workpiece, stabilizing the cut.
Engage the blade either by rotating the tool down a bit so the curved edge begins to shave, or by swinging the handle up in an arc. In either case, the point of contact with the spindle should stay in the middle of the edge, as high on the workpiece as is comfortable.


Log in or create an account to post a comment.
Sign up Log in