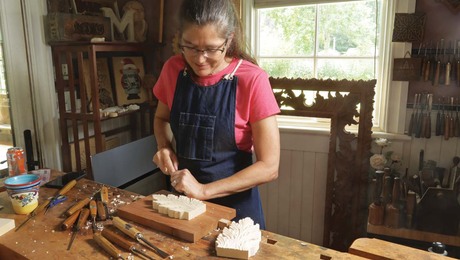
Carve a Shell on a Cabriole Leg
Though it seems intimidating, carving is easier than you might think
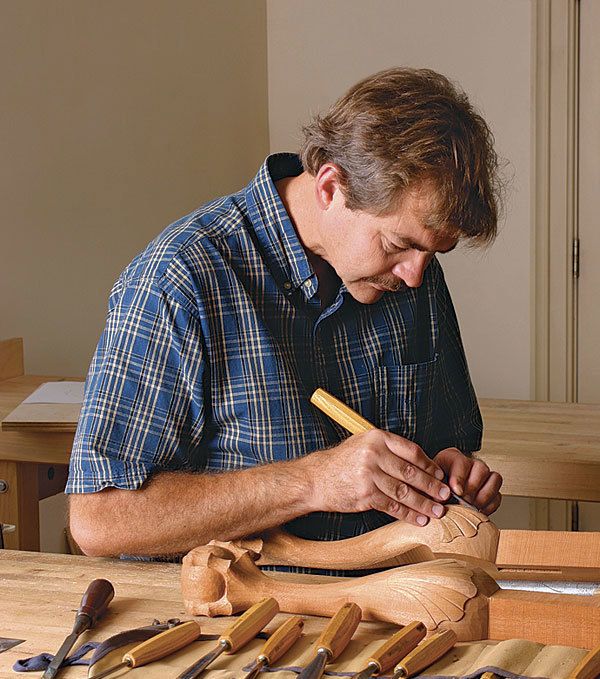
Synopsis: Though it seems intimidating, carving is easier than you might think—this shell carving on a cabriole knee is a good example. Based on the ones found in Pennsylvania, this type of shell carving was used on chairs, tables, and case pieces like dressing tables, often in several places on the same piece of furniture. For example, Pennsylvania chairs sometimes have several shells; one on the crest rail, one on the seat rail, and one on each of the knees. Together, they unify the chair parts, adding considerably to the overall look of a piece. Learn how to create this classic furniture element with a step-by-step guide from Lonnie Bird.
One of the surest ways to embellish a piece of furniture is to add a carved element or two. although the thought of carving your furniture can be intimidating, some carvings are easier to create than you might think. This shell on a cabriole knee is a good example. based on the ones found in Pennsylvania, the shell carving was used on chairs, tables, and case pieces like dressing tables, often in several places on the same piece of furniture. Pennsylvania chairs, for example, can have one shell on the crest rail, one on the seat rail, and one on each of the knees. Together, they unify the chair parts, adding considerably to the overall look of a piece.
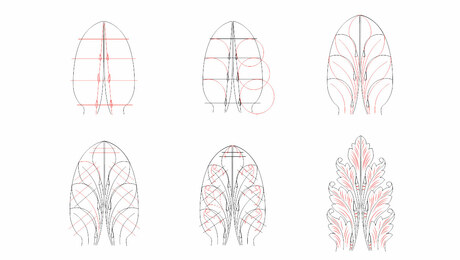
Careful layout is critical
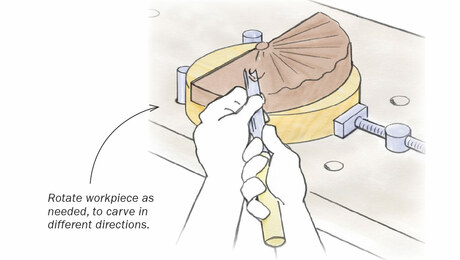
Begin the layout by photocopying the pattern of the carving below, magnifying it as needed. To cut out the pattern, place the paper on a flat piece of scrap wood and use carving gouges to create a series of overlapping cuts that match the outside shape.
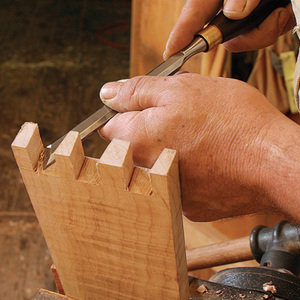
You’ll need three gouges for this: a #7-14 mm to incise the concave and convex lobes, a #7-18 mm for the semicircular bottom, and a #5-25 mm to incise the long curve between the lobes and the bottom. Later, you’ll use these same gouges to incise the pattern’s outline on the leg.
To draw the shell on the knee, place the pattern on the leg and trace around the perimeter. Because the leg is curved, it may be difficult to keep the pattern tight against the wood. after tracing, expect to do a fair amount of freehand sketching and blending of curves to get the perimeter to look right.
To ensure equally spaced lines for the lobes, use dividers to transfer measurements from the pattern to the leg at the top and bottom points of each lobe. Connect each pair of points with a smooth, flowing arc. each arc has a mirror-image mate; draw the arcs in matching pairs. use the arc at the edge of the shell as a guide for the first line. afterward, each line guides the layout of the next.
From Fine Woodworking #210
For the full article, download the PDF below:


Log in or create an account to post a comment.
Sign up Log in